- Call us 01444 237070

-
- Back
- Used Cameras
- Used Accessories
- Used Lenses
- Back
- Used Canon Lenses
- Used Nikon Lenses
- Used Fujifilm Lenses
- Used Sony Lenses
- Used Micro 4/3rds Lenses
- Used Leica Lenses
- Used Panasonic Lenses
- Used Pentax Lenses
- Used Samyang Lenses
- Used Sigma Lenses
- Used Tamron Lenses
- Used Tokina Lenses
- Used Voigtlander Lenses
- Used Zeiss Lenses
- Used Hasselblad Lenses
- Used Video
- Used Film Equipment
- Used Stock Alert
- Used Blank Test
- Sell or Part Exchange
- Used Clearance
- Recently Added Used Equipment
- Park Picks
- Faulty
- Trade-In
- Blog
- New in
- Call us
- Contact us
- Stores
- Sign in
Call us: 01444 237070
Search terms
Brands
Category
Products
[[{name}]]
[[{attributes.Price}]]
- Categories
- Tips & Inspiration
- Reviews
- News
- Events
- Features
- Buying Guides
- Competitions
Macro Photography with OM System
Different cameras are better suited to certain subjects. This is certainly true of the OM System. With reliable weather sealing, advanced image stabilisation and a smaller form factor, they're ideal for outdoor, adventure and nature photography.
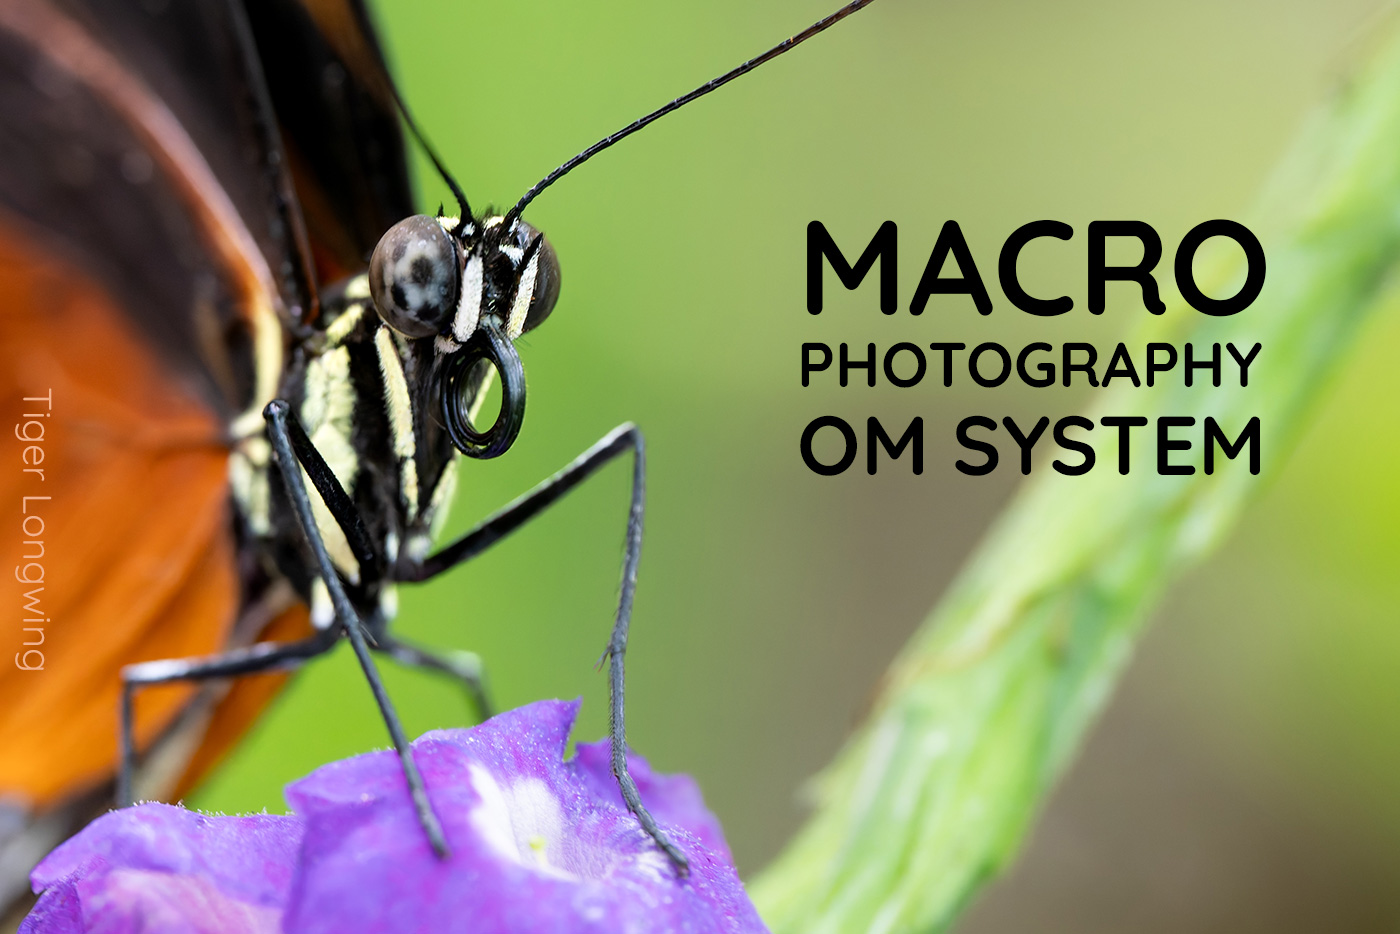
I'd heard how good they are at close-ups, also known as macro photography. I wanted to find out whether a beginner to this genre like myself could capture nice close-ups, without all of the technical know-how that this genre requires. So I asked to borrow an OM-1 II and lens kit.
All of the sample images are JPEGs with no post processing, so you can see the results before any editing.
ℹ️ Right-click an image to view larger.
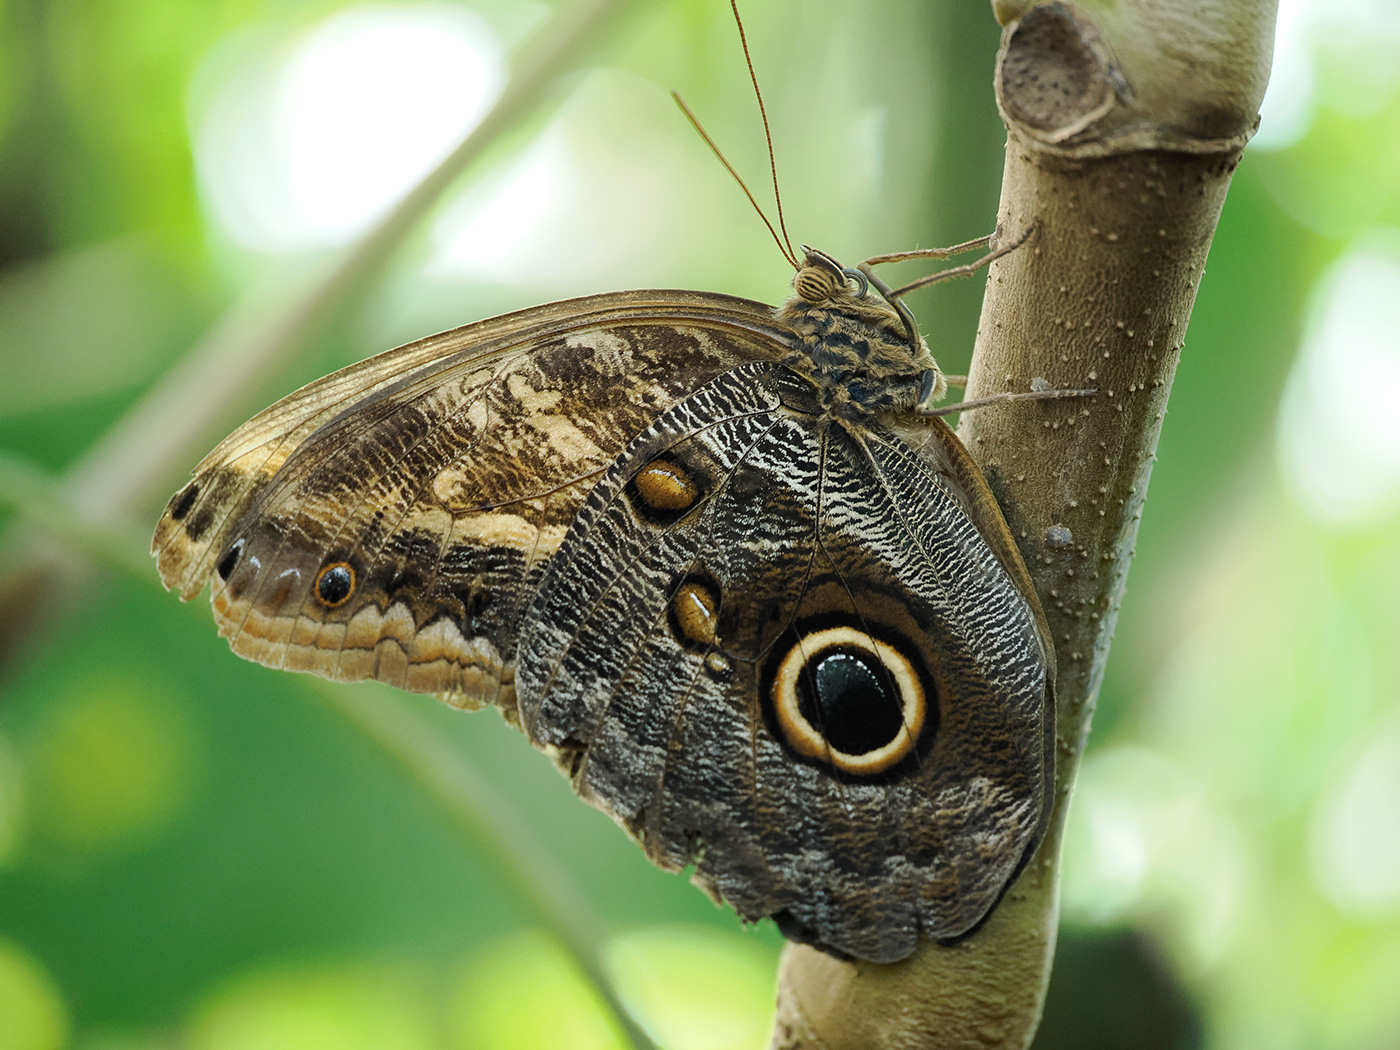
Sample 01 Owl butterfly. Settings: 1/250 sec. f/3.5. ISO 2500
Is the OM-1 Mark II good for macro photography?
I've got experience behind a camera, but I'm new to macro. Rather than approaching this as a tutorial, I wanted to find out how much this setup could help a beginner overcome some of the technical challenges in this popular subject.
It certainly helped me get good results, but it isn't a silver bullet. Features like in-body focus stacking, effective stabilisation and accurate touchscreen focusing are all useful. However it couldn't compensate for subject movement or my poor technique. Those limitations have to be worked out by the photographer.
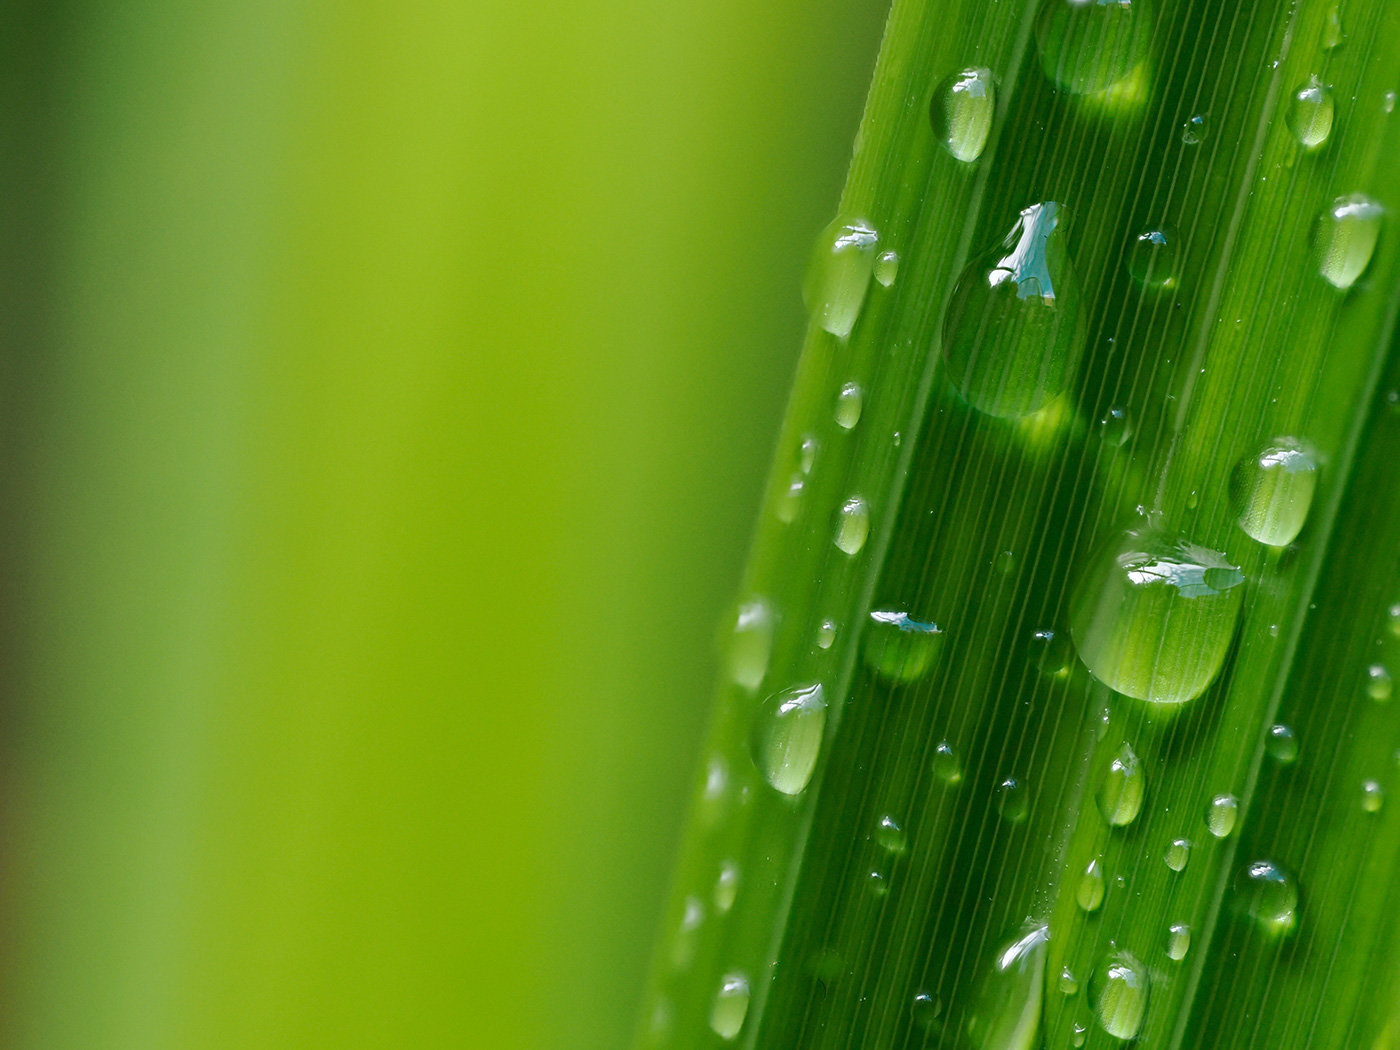
Sample 02 Rain droplets on blade of grass. Settings: 1/250 sec. f/5. ISO 1600
Why can macro be tricky for beginners?
This is one of the most demanding genres, making it especially tricky if you’re new to photography. That's largely due to the limitations of trying to get front-to-back sharp focus on small objects. When taking a regular portrait at f/1.2 we might see just a single eye in focus, which makes sense to our brain. When taking a photo of a tiny flower or insect and almost all of it is out of focus, it may look wrong.
The sharpness limitation comes down to the physics of optics. Stopping down the lens aperture increases depth of field, but only to a point. At very small apertures diffraction is introduced, which reduces detail.
Focus stacking is one of the solutions. This technique combines several images focused at different distances rather than relying on aperture for depth of field (DOF).
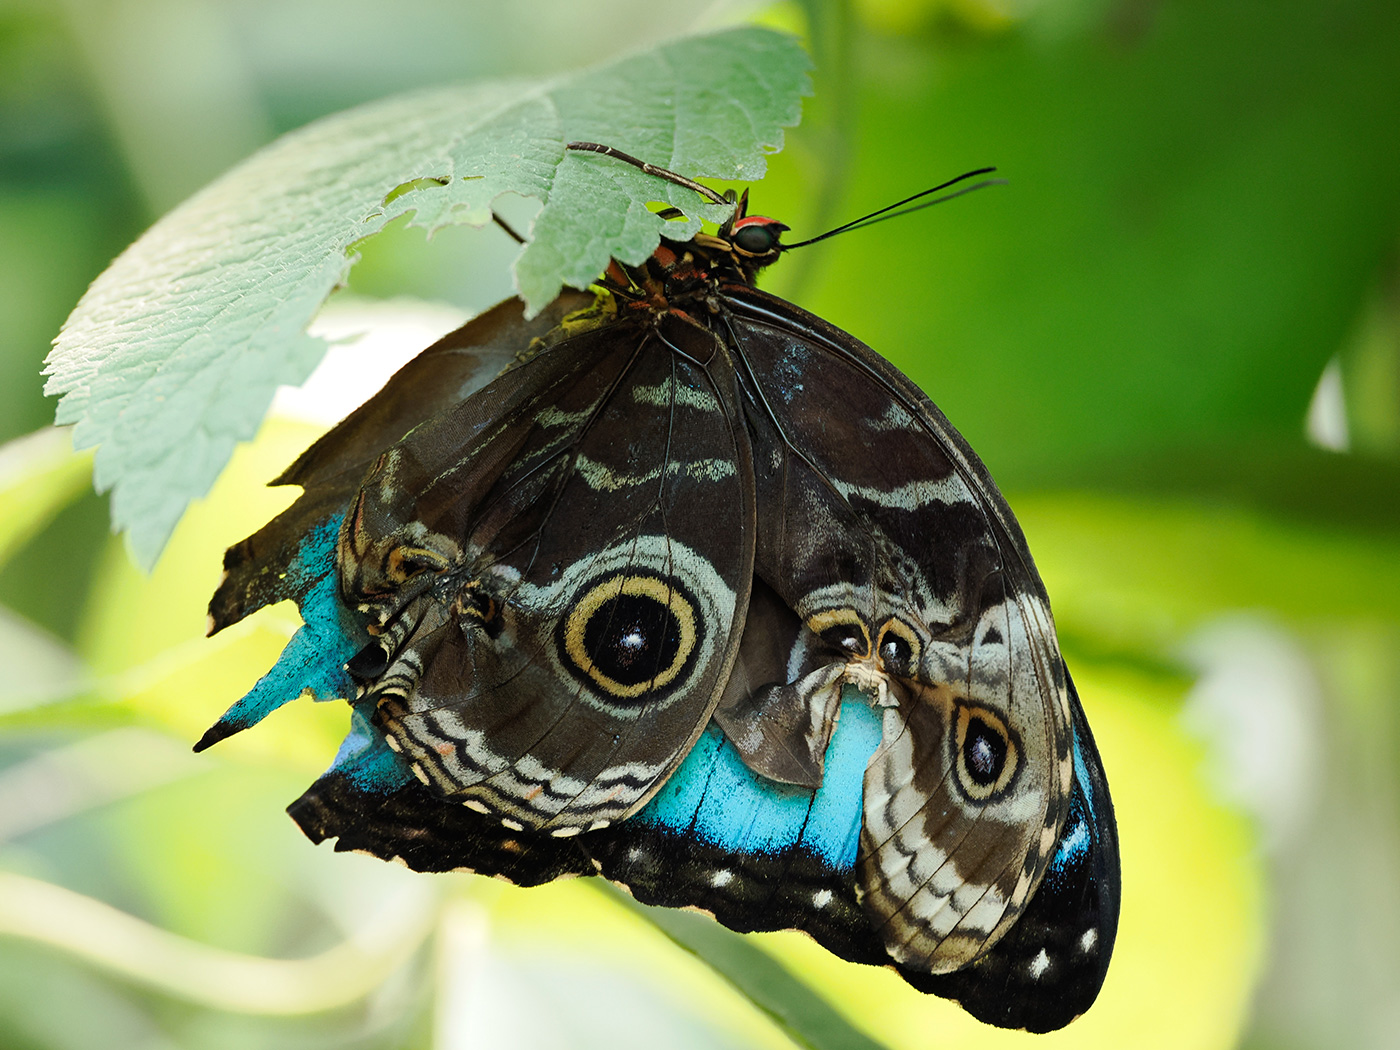
Sample 03 Blue Morpho. Settings: 1/250 sec. f/3.5. ISO 1250
In-camera focus stacking made the biggest difference
The OM-1 Mark II handles in-camera focus stacking incredibly well thanks to its fast TruePic X processor. It can take and then combine up to 15 images into a finished JPEG, with focus distances extending in front of and behind the initial position.
In-body computational software does all of the heavy lifting that you'd otherwise need specialised software like Photoshop or Helicon Focus to do.
You can choose how many images are taken depending on the depth of field you need, while the focus distance between shots can also be fine-tuned. Flash duration can be adjusted too. I didn't have one available, but a flashgun would have been really useful.
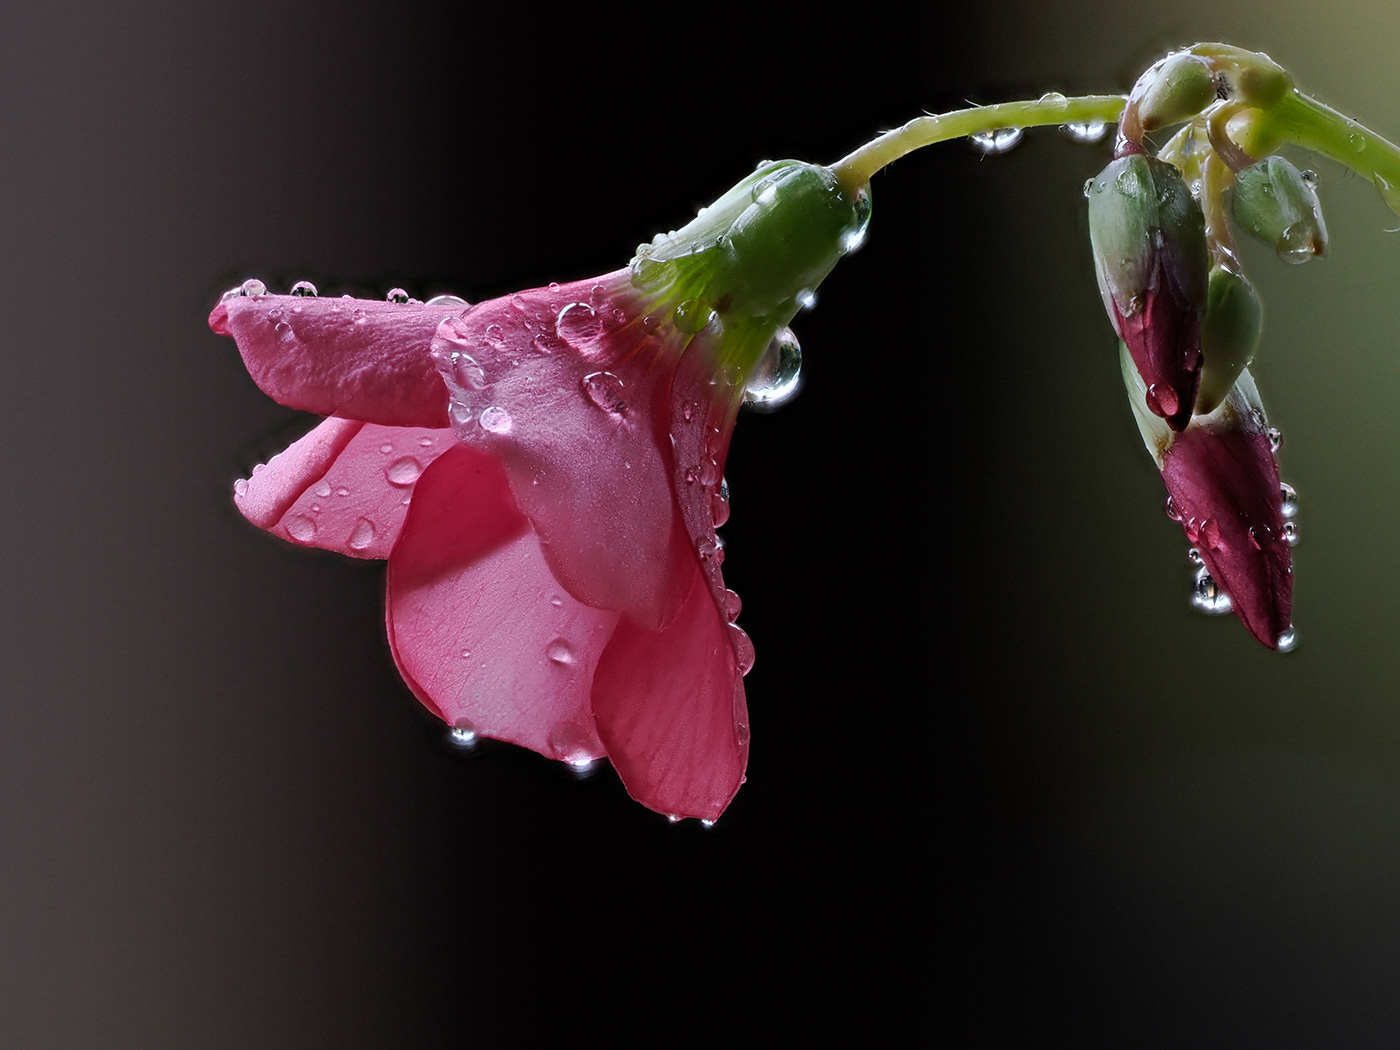
Sample 04 Pink Sorrel flower with droplets. Settings: 1/250 sec. f/5. ISO 1250
Use or find a clean background. Definitely use a tripod when starting out, it will show you how different it is from handheld shooting, and you might like that way of working. Choose your composition carefully to provide some breathing room around the subject as stacking crops the final image slightly. Almost all, but not quite all, of my favourite images were taken using a tripod. Having that stability allowed me to compose shots more easily and avoid shake.
Also try experimenting with light, colour and textures to create an interesting final result.
It’s worth noting that taking up to 15 shots in rapid succession and processing them into a single JPEG composite taxes the BLX-1 battery. I noticed it depleting more rapidly and the body getting a bit warmer after creating dozens of stacked images.
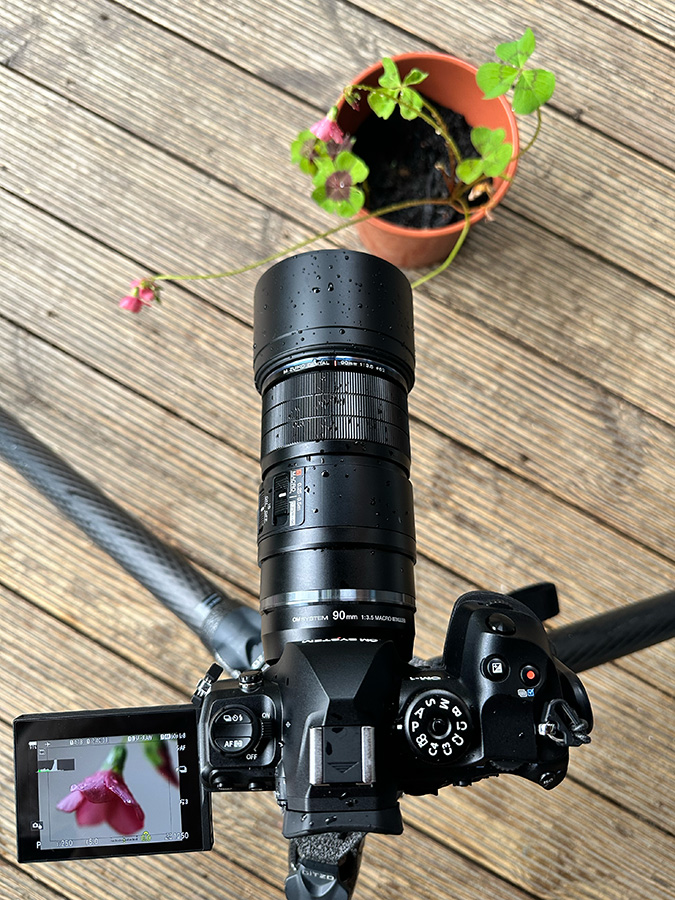
Can you shoot handheld?
Yes, it does work handheld, but I’d personally choose fewer shots if you’re stacking in-camera. I found that keeping the sequence short gave me a better chance of staying still throughout.
Focus bracketing is another option, with up to 999 shots available, although these need to be combined in software afterwards.
For single shots, the stabilisation is extremely effective, providing up to 8.5 EV of compensation. Even so, your own breathing can shift focus at such close distances, so technique still makes a difference. Expect failures while experimenting. I certainly had plenty, usually with blurry areas or shallower depth of field than I’d hoped. You can always invest in specialist equipment once you truly get the ‘bug’ (pun intended). Skip to the end for suggestions.
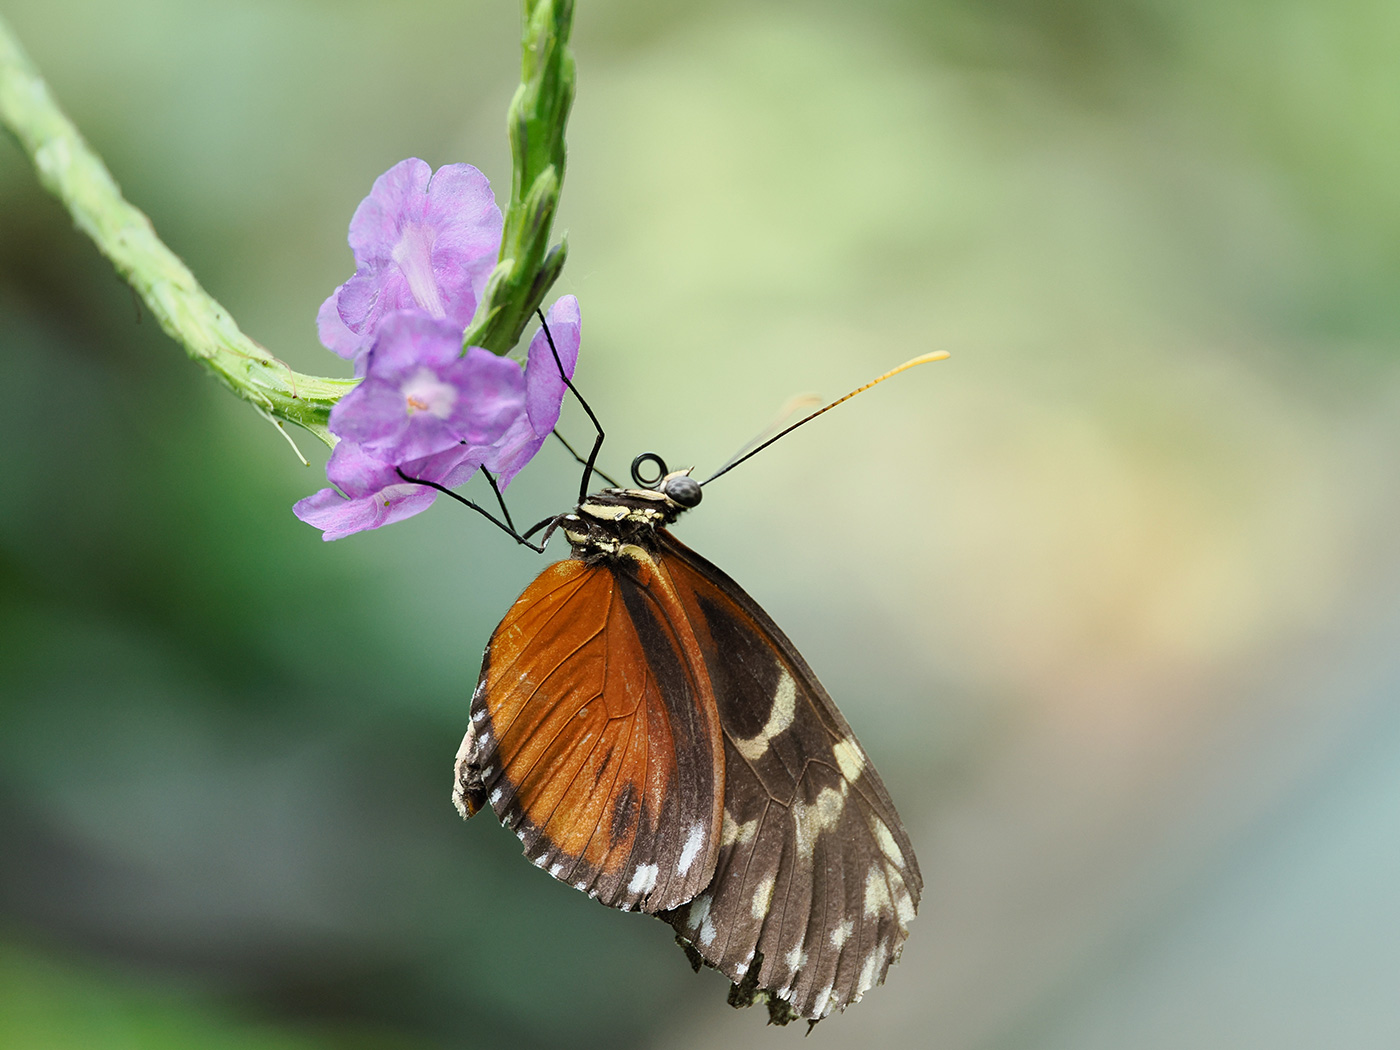
Sample 05 Tiger Longwing. Settings: 1/250 sec. f/3.5. ISO 1000
What about butterflies and moving subjects?
Butterflies presented a different challenge from static subjects. Focus stacking wasn't really viable when the subject was wing-pumping and twitching, so I switched to single-frame shooting and relied more heavily on the built-in image stabilisation.
This meant accepting a shallower depth of field, but that isn't always a disadvantage. When the eye and important parts of a subject are sharp, the softer surroundings can help to create background separation.
Shooting handheld allowed me to follow insects between leaves and flowers, compose and take the shot quickly when an opportunity appeared. I also learned that depth of field is a creative decision, not simply a technical problem. Personally, I love shallow depth of field images, which is one of the draws of really fast lenses.
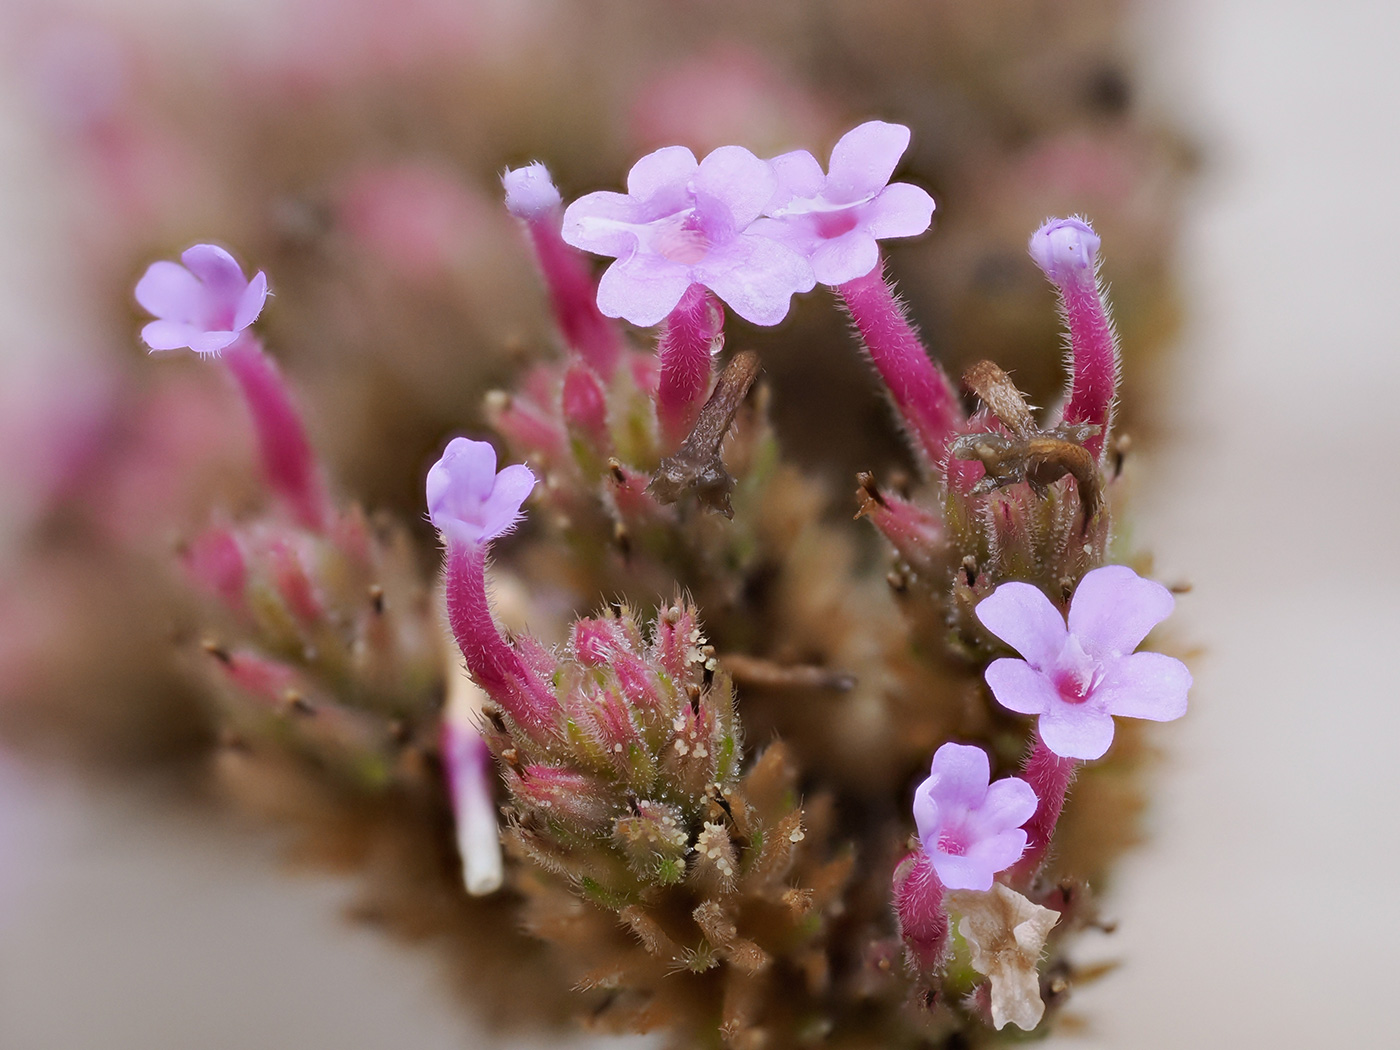
Sample 06 Verbena flowers. Settings: 1/250 sec. f/5. ISO 1000
What lens was used?
For all of these samples I used the OM System 90mm f/3.5 Macro PRO, which also comes in the OM-1 Mark II with 90mm F/3.5 Macro lens kit. It provides an equivalent field of view to 180mm on full frame and is remarkably compact for this type of lens. Despite being lightweight it was capable of pin-sharp detail throughout the frame.
Focus falloff is rendered beautifully between in- and out-of-focus areas, complementing close-up photography really well. The lens barrel has a useful 3-position focus limiter. S-MACRO covers 0.224–0.5m for the highest magnifications, with a second 0.25–0.5m close-up range. The third goes from 0.25m to infinity, which I found useful with larger insects, where I needed to step back and fit the whole into a frame.
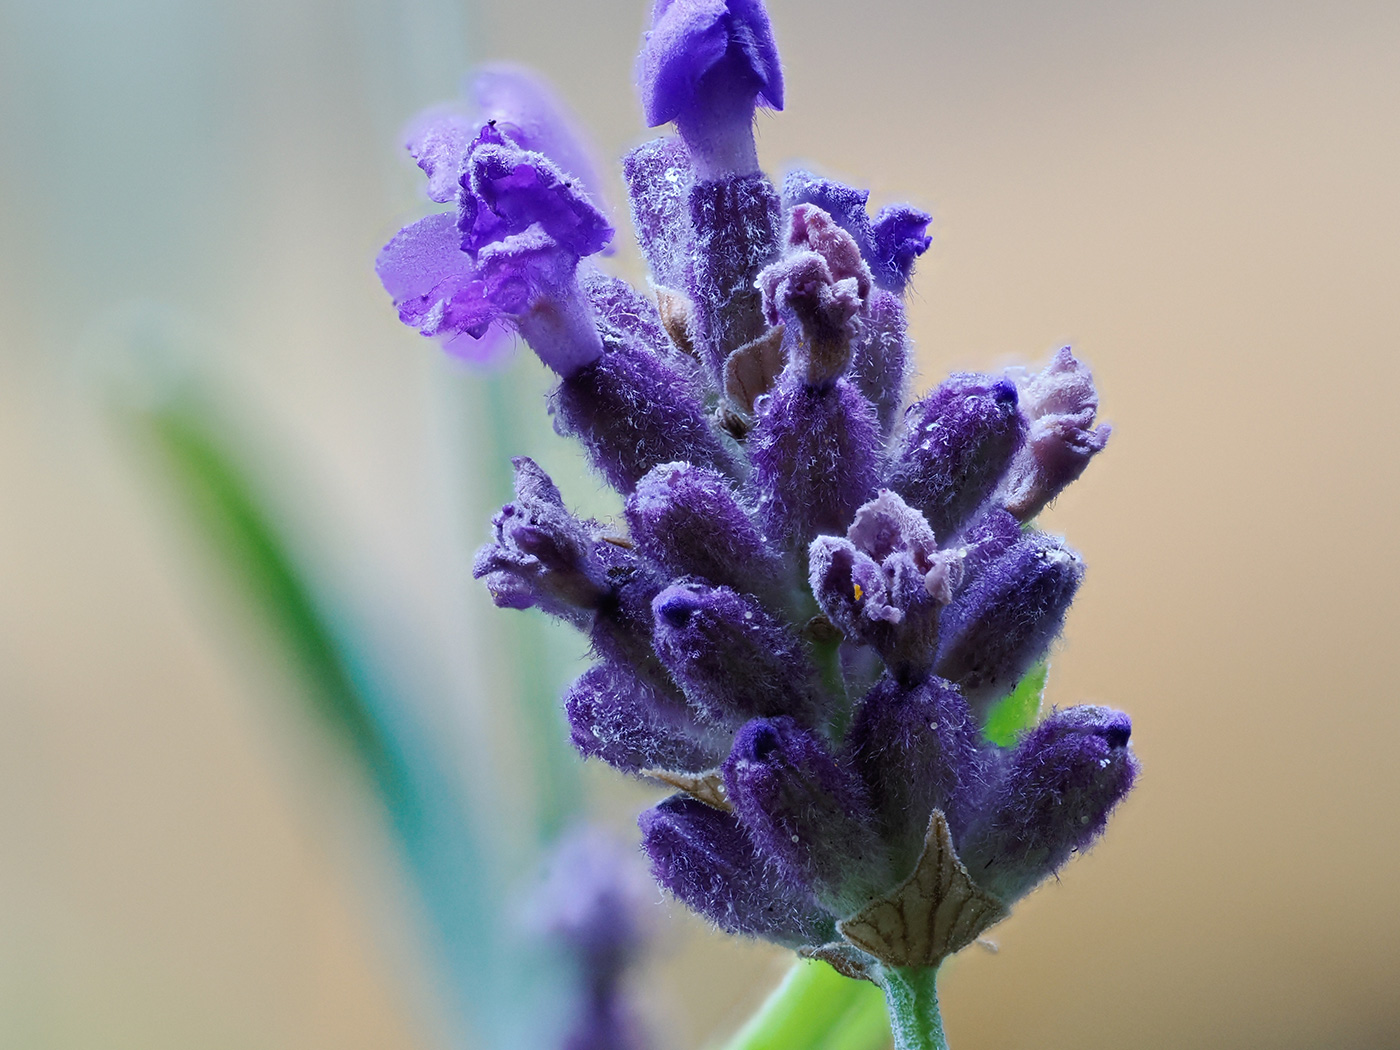
Sample 07 Lavender flower. Settings: 1/250 sec. f/5. ISO 2500
What I learned as a beginner
Take the time to learn the most important menu settings as soon as possible. You’ll want to experiment between stacking and bracketing, natural and artificial light, and different focusing options. If you’re stuck hunting around in menus, opportunities will be missed.
I was surprised to get so many sharp images, packed with details I would never otherwise see. Stacking is remarkably easy when there’s no wind and you have a stable platform. I’d say it worked about 70% of the time, with most failures caused by movement or outside influences.
Tap-to-focus on the LCD is excellent when working at such small scales, although in bright light I occasionally found the screen difficult to judge precisely. Manual focus is another option when bracketing or shooting single frames.
It’s also useful that the individual RAW files can be retained together with the final composite. You can stack them manually afterwards or pick out individual frames that works on their own.
Next time I’d try a flash, experiment with bracketing and spend more time finding subjects. I’d also head to wildlife reserves or ponds and look for soft light, just as I would for landscape and nature photography.
I also discovered that you can get more of the subject in focus by keeping the sensor plane parallel to it, although this again comes down to creative preference.
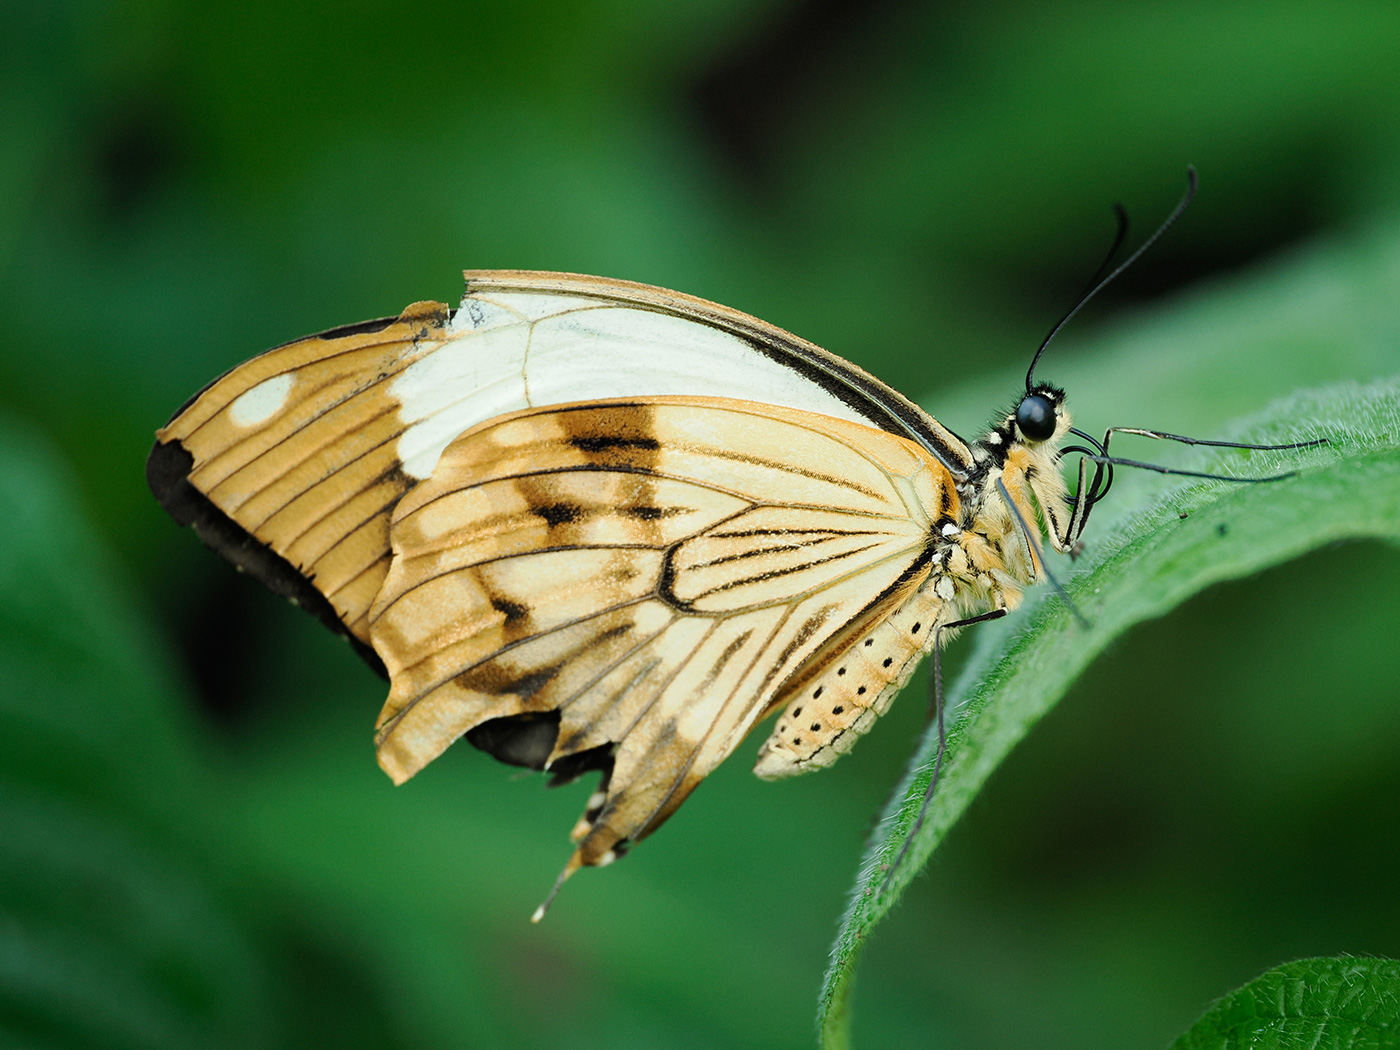
Sample 08 African swallowtail. Settings: 1/250 sec. f/3.5. ISO 1250
Buy macro photography equipment at Park Cameras
- OM-1 Mark II – 2x crop factor, in-camera focus stacking, bracketing, 5-axis stabilisation and IP53 sealed.
- 90mm f/3.5 Macro PRO – Native 2x magnification, teleconverter compatibility, AF in Super mode and three focus-limiter ranges.
- Tripods – Add stability when composing and creating focus-stacked images.
- Flashguns – Take control over lighting, particularly at higher magnifications.
- Focus Rail – Allow precise positioning for controlled focus stacking.
- Teleconverter – Increase the magnification with supported lenses.
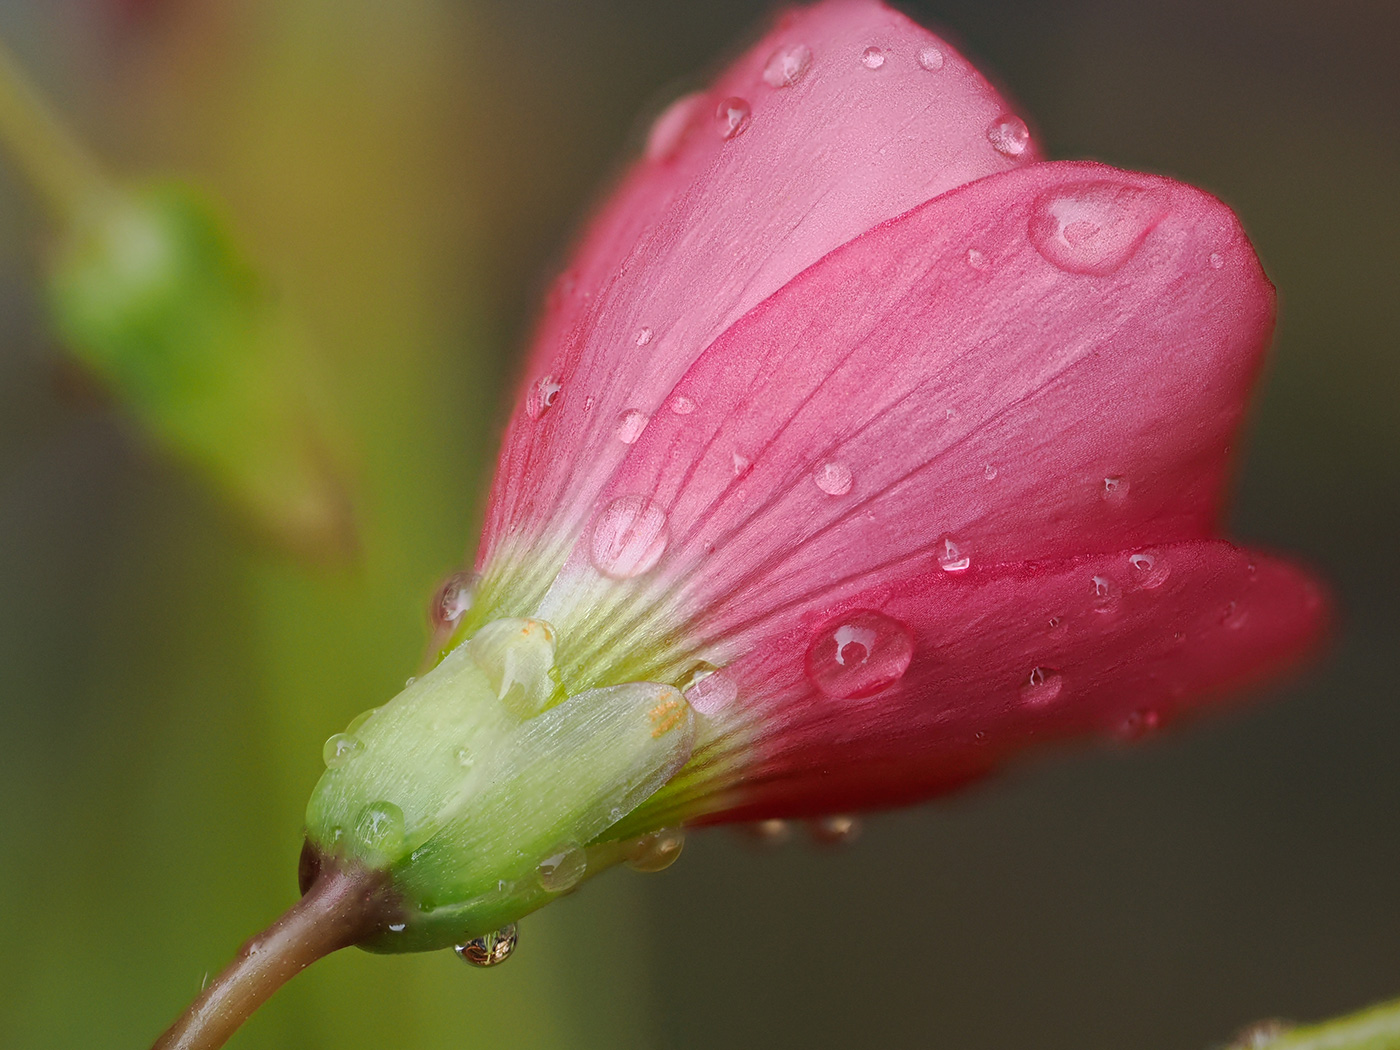
Sample 09 Pink Sorrel flower with droplets. Settings: 1/250 sec. f/5. ISO 800
Did the OM-1 Mark II make it easier for me?
Yes, definitely. Stacking, stabilisation and other computational tools made challenging shots easier to achieve. You still need to practise, work the light and learn which techniques suit different subjects.
Is it an entry-level camera? Absolutely not. It’s extremely powerful, but equally capable across lots of subjects, making it a brilliant option to explore other areas like birds and wildlife photography.
For more specific advice, read our tips for getting started in macro photography, where Geraint Radford shares his expert guidance and really inspiring images.
Share this post:
By Nick Dautlich on 01/09/2026

Nick Dautlich
Senior Content Writer and Product Reviewer
Nick Dautlich is the Senior Content Writer and Product Reviewer at Park Cameras, with over 15 years of photography experience. A Sony Imaging Professional and expert reviewer, Nick has worked with major brands such as Canon, Sony and Nikon. His work is also featured on Vanguard World UK’s website, Capture Landscapes, and Shutter Evolve. Nick’s photography includes National Trust projects and magazine covers and he is passionate about landscapes and storytelling. Nick also enjoys hiking and teaching his children about nature. Learn more on his profile page.
Trade in your old equipment
Fast and easy trade in service ensures your old gear is collected efficiently and you are paid quickly! It's very simple to trade in your unwanted photography gear. Just head over to our dedicated Sell or Part Exchange page, fill out the details, and we'll get back to you with an offer for your old gear. Take the cash, or put it towards the cost of your new gear. It's up to you! Find out more
sign up to the newsletter
Keep up to date on the latest photography news, events and offers. Sign up now