- Call us 01444 237070

-
- Back
- Used Cameras
- Used Accessories
- Used Lenses
- Back
- Used Canon Lenses
- Used Nikon Lenses
- Used Fujifilm Lenses
- Used Sony Lenses
- Used Micro 4/3rds Lenses
- Used Leica Lenses
- Used Panasonic Lenses
- Used Pentax Lenses
- Used Samyang Lenses
- Used Sigma Lenses
- Used Tamron Lenses
- Used Tokina Lenses
- Used Voigtlander Lenses
- Used Zeiss Lenses
- Used Hasselblad Lenses
- Used Video
- Used Film Equipment
- Used Stock Alert
- Used Blank Test
- Sell or Part Exchange
- Used Clearance
- Recently Added Used Equipment
- Park Picks
- Faulty
- Trade-In
- Blog
- New in
- Call us
- Contact us
- Stores
- Sign in
Call us: 01444 237070
Search terms
Brands
Category
Products
[[{name}]]
[[{attributes.Price}]]
- Categories
- Tips & Inspiration
- Reviews
- News
- Events
- Features
- Buying Guides
- Competitions
Is the Sony A9 II Still Worth Buying for Birds and Wildlife
When it launched in 2019, the Sony A9 II arrived as a professional sports and action camera. It has a stacked 24.2 megapixel sensor, blackout-free burst shooting at up to 20 fps and an autofocus system designed to excel at following fast-moving subjects. New Sony mirrorless cameras have come and gone since then, so is the A9 II still worth buying for birds and wildlife?
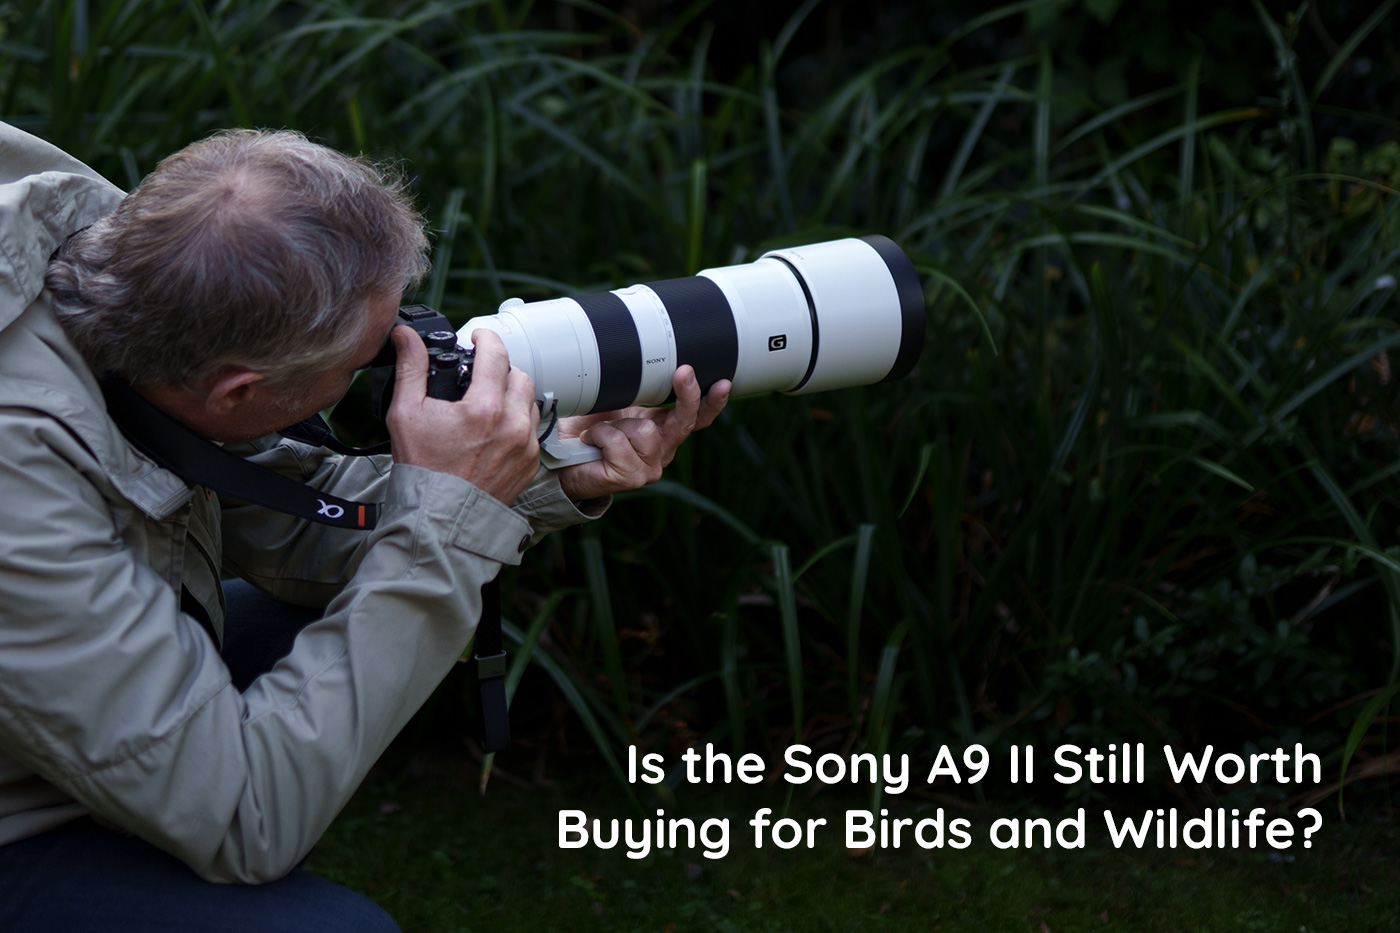
To find out, I spent some autumn mornings photographing with a used A9 II and a second-hand FE 200-600mm F5.6-6.3 G OSS lens. Subjects included woodland birds, gulls, and geese and coots chasing across the water, giving me plenty of opportunities to test the AF system and subject tracking.
Having photographed with Sony for years, I was interested in how an older professional action body would perform today, especially compared to sophisticated autofocus and higher-resolution sensor in my own A7R V.
This review covers experiences in the field. There are some of the best bird settings to use at the end, along with the camera’s strengths and limitations, to help you decide whether it’s worth buying used if you’re into birds and wildlife.
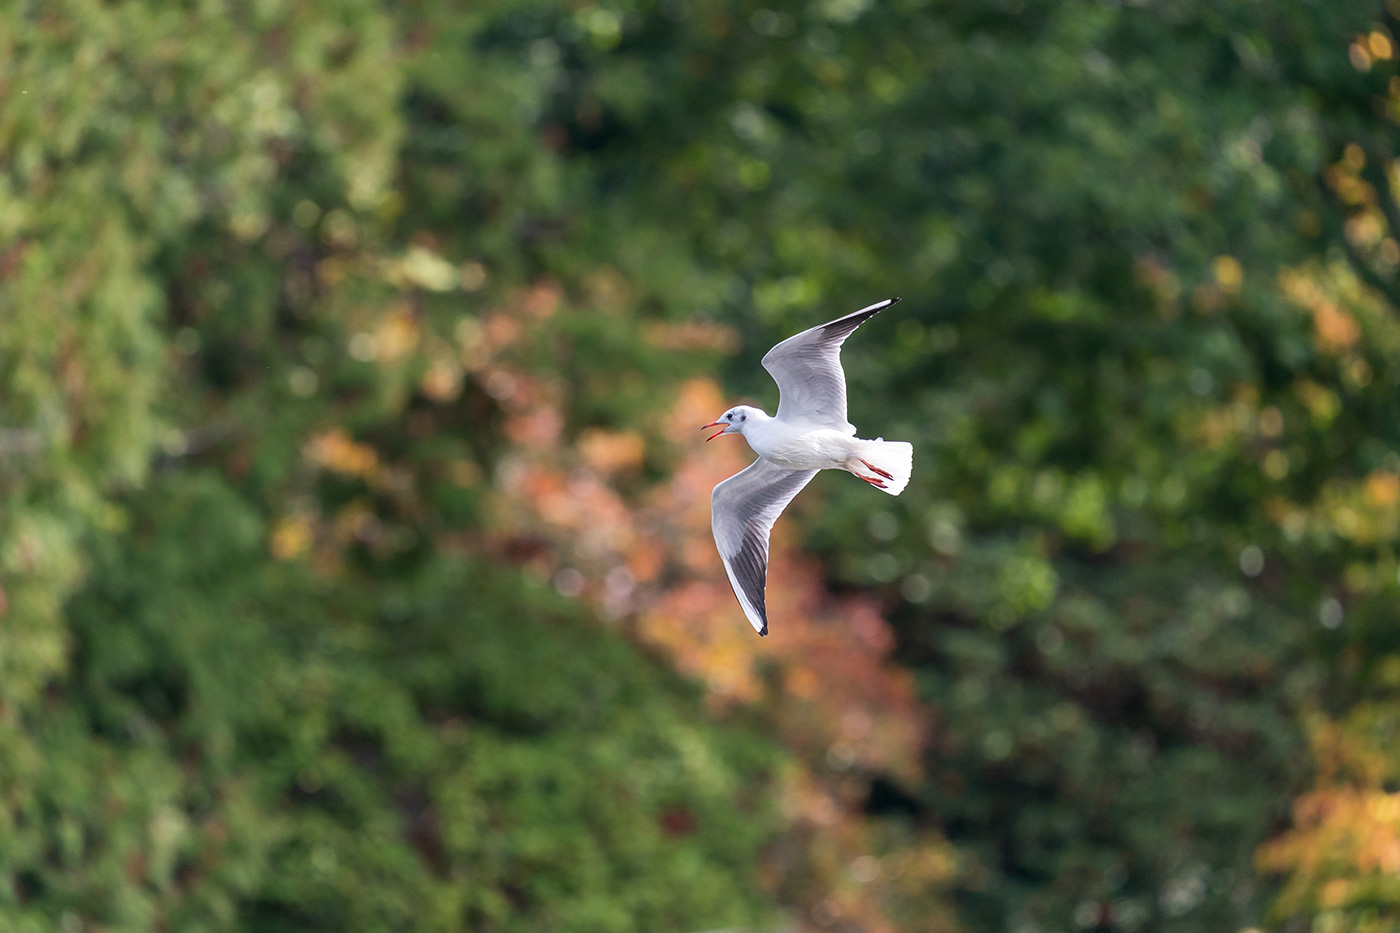
Sample 01 Black-headed gull in flight against autumn woodland at 452mm. Settings: 1/1000 sec. f/6.3. ISO 1000
Why Consider the Sony A9 II Today?
I’ve always wanted to try the A9 series, and the Mark II was one of the most capable mirrorless bodies of its day. At £4,800.00 it was out of my budget, but now that you can get one for as little as £1,100 with a warranty, it’s hard to ignore.
Newer Sony models may have more advanced AI-based subject recognition and higher-resolution sensors, but many of the original features are still useful today.
The 24.2 megapixel full-frame stacked CMOS sensor hits a sweet spot. Blackout-free shooting means the viewfinder never goes dark when you take a picture. DSLRs mechanically block your view with a moving mirror, and standard models like my A7R V lag between shots. A blackout-free shutter keeps the action continuously visible, which proved invaluable in the field and helps you keep sight of your subject.
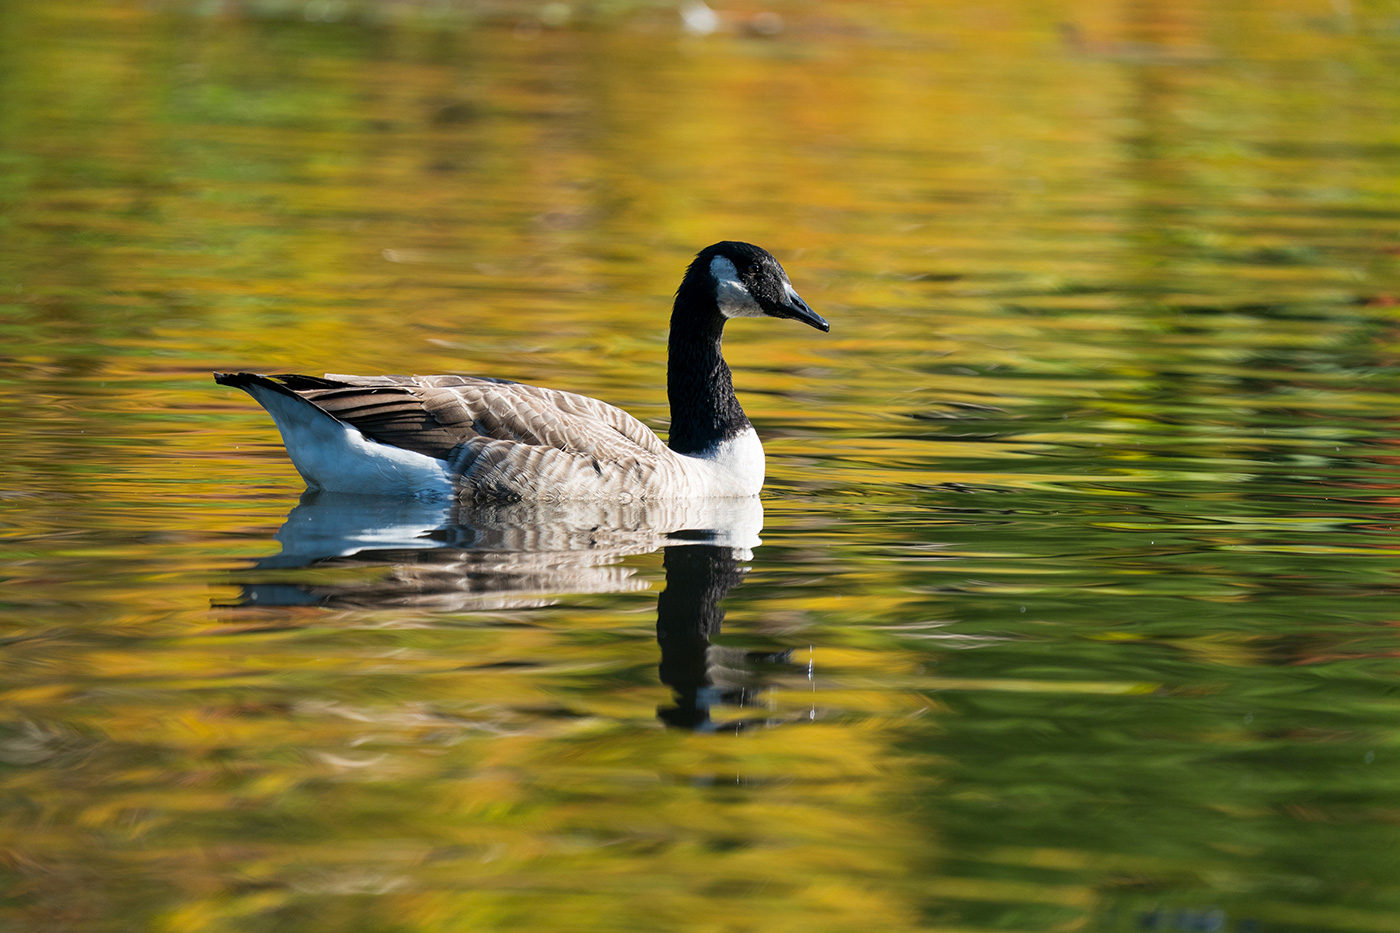
Sample 02 Canada goose in golden reflections at 600mm. Settings: 1/1000 sec. f/6.3. ISO 800
It has wide AF coverage and effective stabilisation, as key specs below show:
- 24.2 MP full-frame stacked Exmor RS CMOS sensor
- BIONZ X image processor
- Up to 20 fps blackout-free continuous shooting
- 693-point phase-detection autofocus covering 93% of the frame
- Real-time Tracking and Real-time Eye AF for people and animals
- 5-axis in-body image stabilisation up to 5.5 stops
- 3.69-million-dot OLED electronic viewfinder with a 120 fps refresh rate
- Dual UHS-II SD card slots and a weather-resistant magnesium alloy body
Add the impressive range of telephoto lenses now available for E-mount, and this really is a desirable option for speed over resolution, even seven years later.
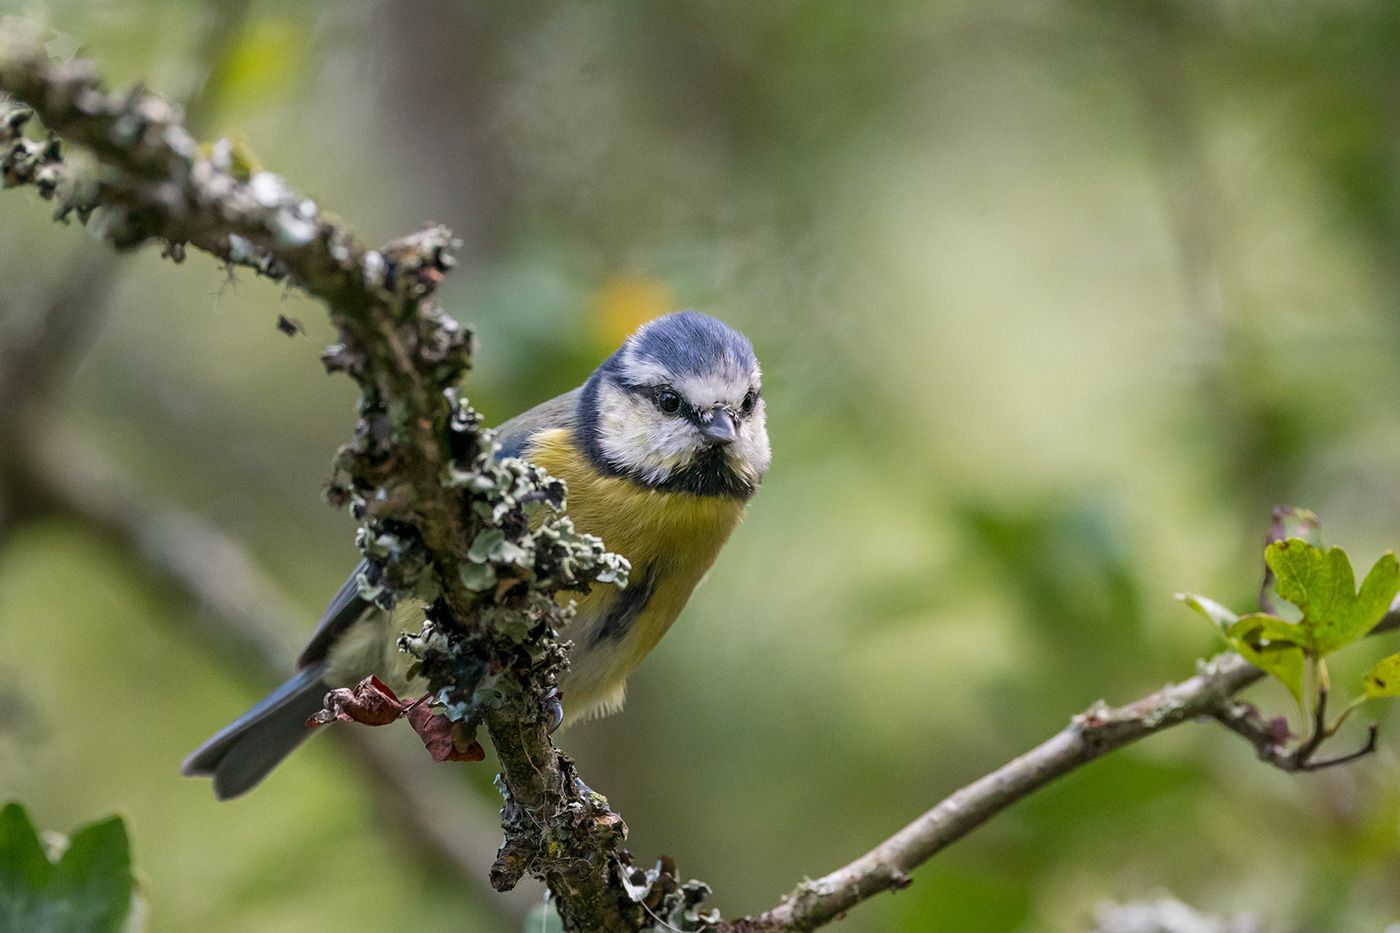
Sample 03 Blue tit perched among lichen-covered branches at 600mm. Settings: 1/1000 sec. f/8. ISO 5000
How is the Autofocus for Birds and Wildlife?
Autofocus is one of the most important features for high-speed photography. That’s especially true when subjects are small, move out of frame or are surrounded by distracting backgrounds. It proved really quite capable, although there were obvious differences compared with newer models.
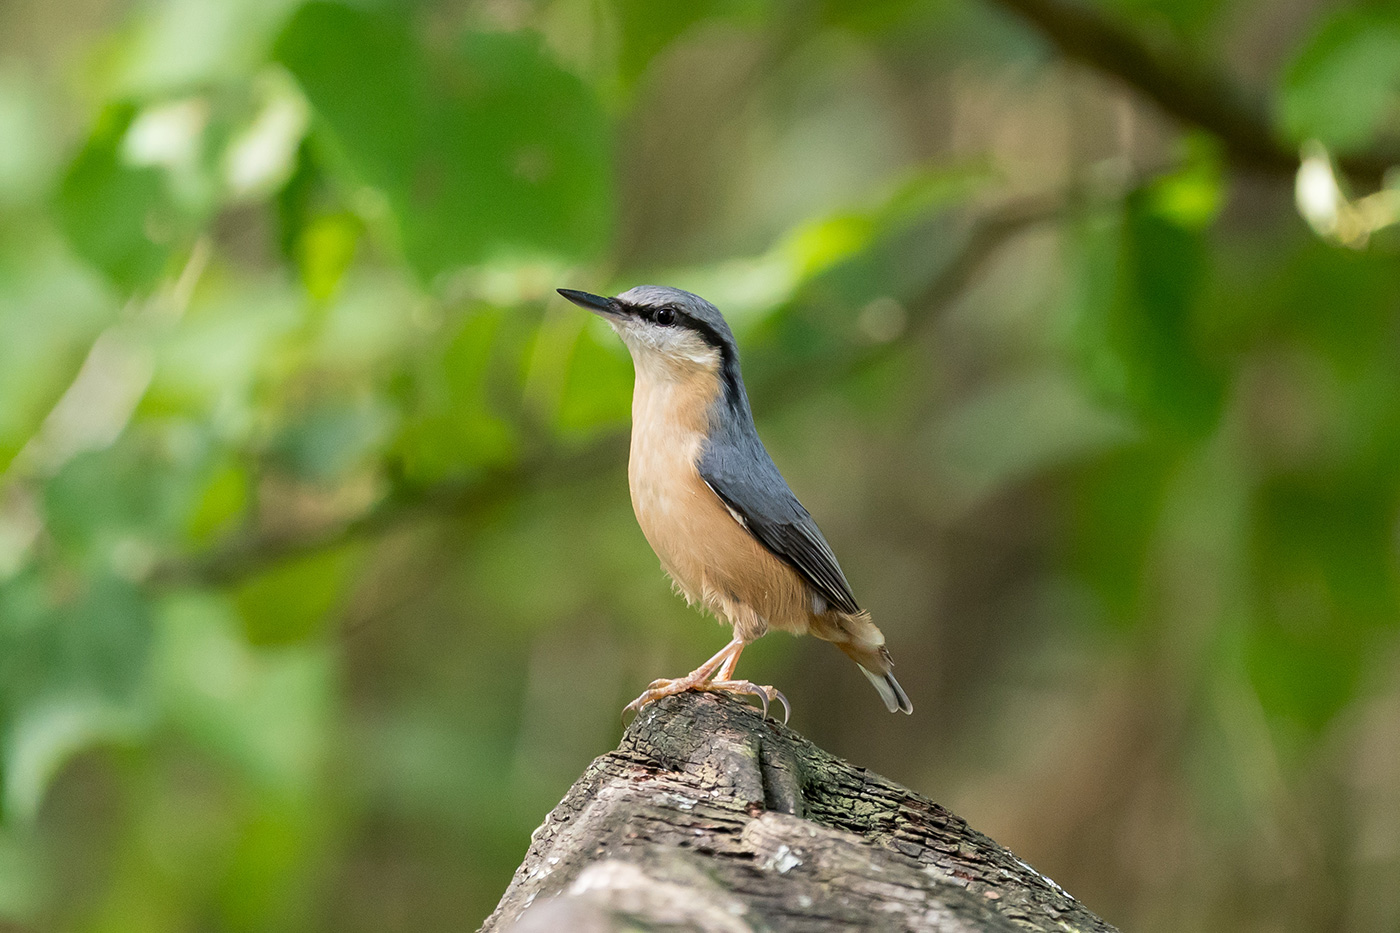
Sample 04 Nuthatch perched on a fallen tree at 600mm. Settings: 1/500 sec. f/6.3. ISO 3200
Tracking birds in flight
One of the greatest strengths was its ability to maintain focus once a subject was acquired. During my time on the lake, I found tracking extremely reliable, making it easy to follow subjects as they moved around the frame.
However, I also took the 200-600mm lens out on my A7R V, which revealed just how far autofocus technology has come on. That setup was considerably better at locking onto smaller subjects, particularly on the eyes, often finding subjects that the older model missed.
This is important to note if you’re considering one. The older model tracks movement extremely well, but it lacks the sophisticated bird-eye recognition available today. That just means that you might need to work a bit harder to gain initial focus. Once it does, you’re golden.
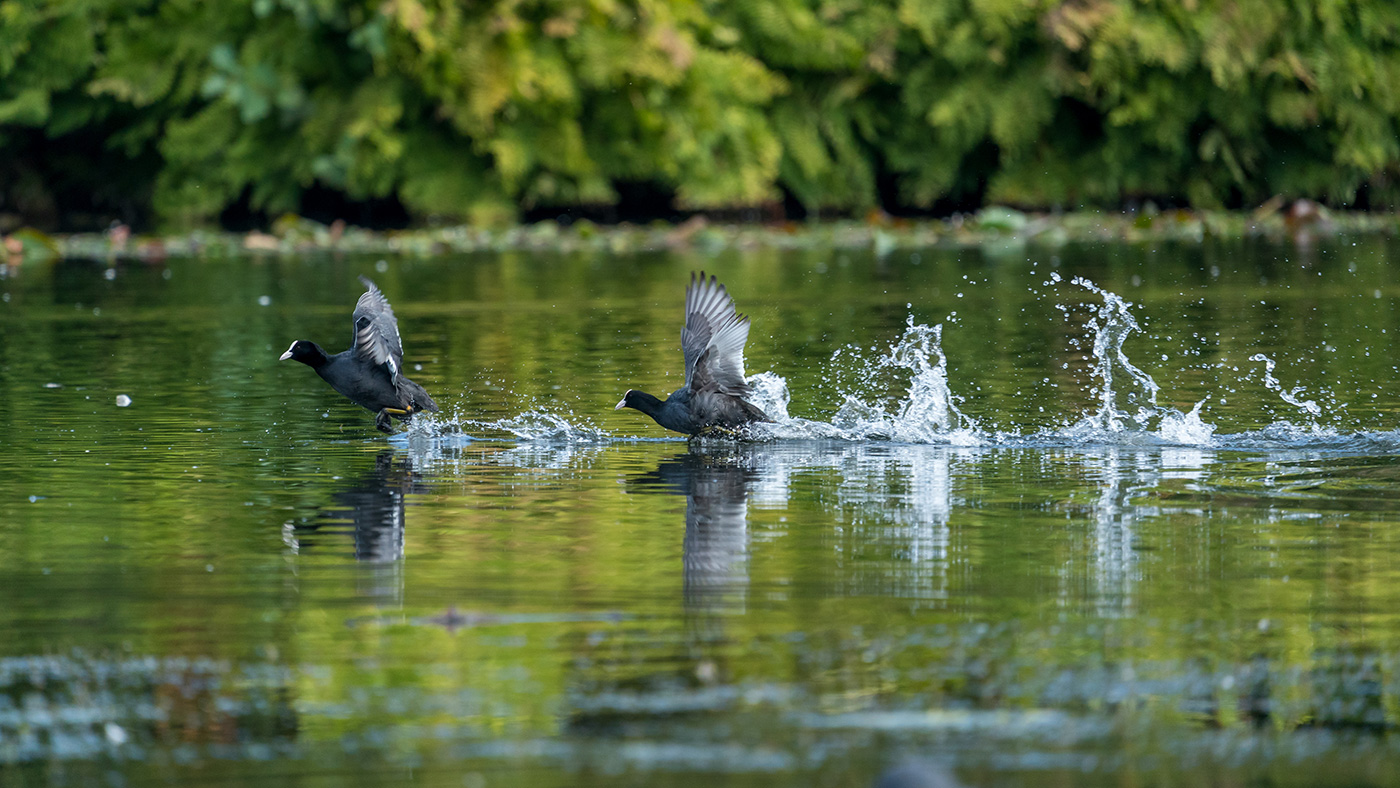
Sample 05 Coots chasing, with splashes frozen mid-air at 600mm. Settings: 1/1000 sec. f/6.3. ISO 1600
AF against busy backgrounds
When shooting birds in woodland or over contrasty water, autofocus has to distinguish the subject from difficult surroundings. Again, it performed well once focus was acquired, maintaining tracking easily thanks to its phase-detection system. AF covers approximately 93% of the frame, giving the tracking system room to follow moving subjects without you needing to constantly reposition the focus point.
A difference in consistency was apparent with smaller objects against complicated backgrounds, where the A7R V’s more advanced subject recognition was noticeably more effective.
Nevertheless, it’s highly capable, particularly with larger subjects.
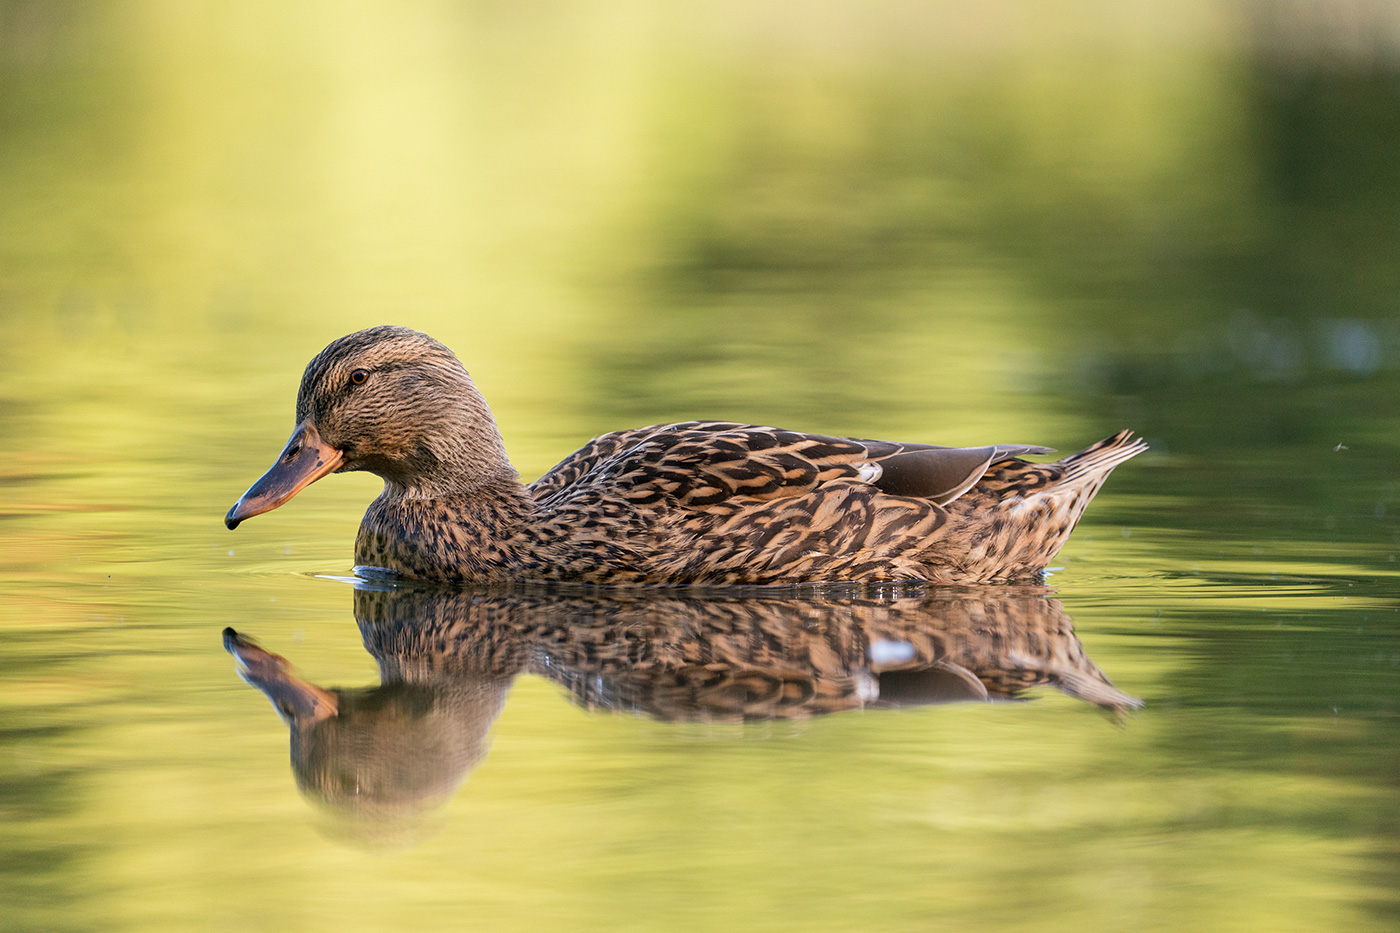
Sample 06 Female mallard fine feather detail and autumn tones at 500mm. Settings: 1/1000 sec. f/6.3. ISO 2500
Can it Capture fast and unpredictable motion?
In my quite limited experience bird photography rarely gives you much warning before something interesting happens, often leaving only a moment to react after hearing a new call. Once locked onto a subject, the camera was quick and responsive, allowing me to concentrate on following the action rather than checking focus.
Combined with its blackout-free continuous shooting, it is formidable, especially given the lower price tag.
Is 20 fps Quick Enough?
I’m used to 10 frames per second and a slow sensor readout speed, which has real-world implications, so I was very impressed by the 20 fps the camera manages. There are some caveats to bear in mind, however. 20 fps requires shooting in compressed RAW, which reduces the bit depth from 14-bit to 12-bit.
In practice, most of us wouldn’t notice the difference in image quality. Deep shadow recovery may be trickier and gradients may not be quite as smooth, but if you’re publishing electronically you probably won’t see it. I don’t think the samples here with lots of graduations and subtle autumn tones look bad at all.
Back to the programme…
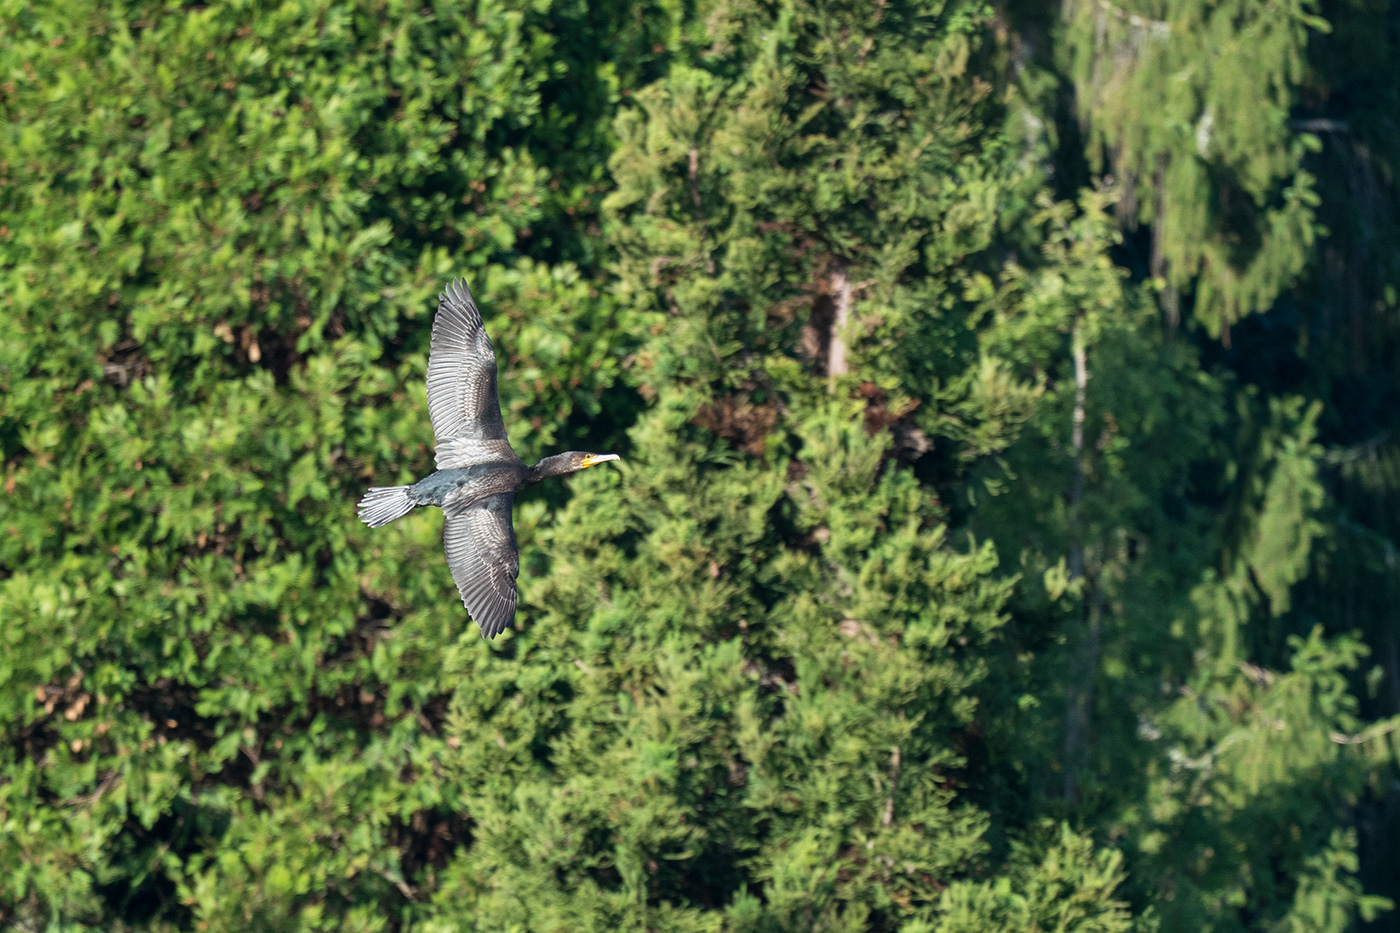
Sample 07 Cormorant in flight against a busy background at 500mm. Settings: 1/1000 sec. f/6.3. ISO 800
It makes for a decent option that is more than acceptable even by today’s standards.
The buffer goes for around 239 compressed RAW frames at 20 fps before filling. I am so used to 60 MP files, though, that I subconsciously never held the trigger down for more than a couple of seconds.
You will of course need to sort lots of images afterwards, but newer Lightroom and third-party tools can auto cull, which saves a lot of time.
Several bodies now offer 30 fps, and the third-gen. shoots a remarkable 120 fps (full RAW resolution), but I never felt 20 was too slow. I always got a frame worth keeping from each sequence, so don’t let it hold you back for most applications.
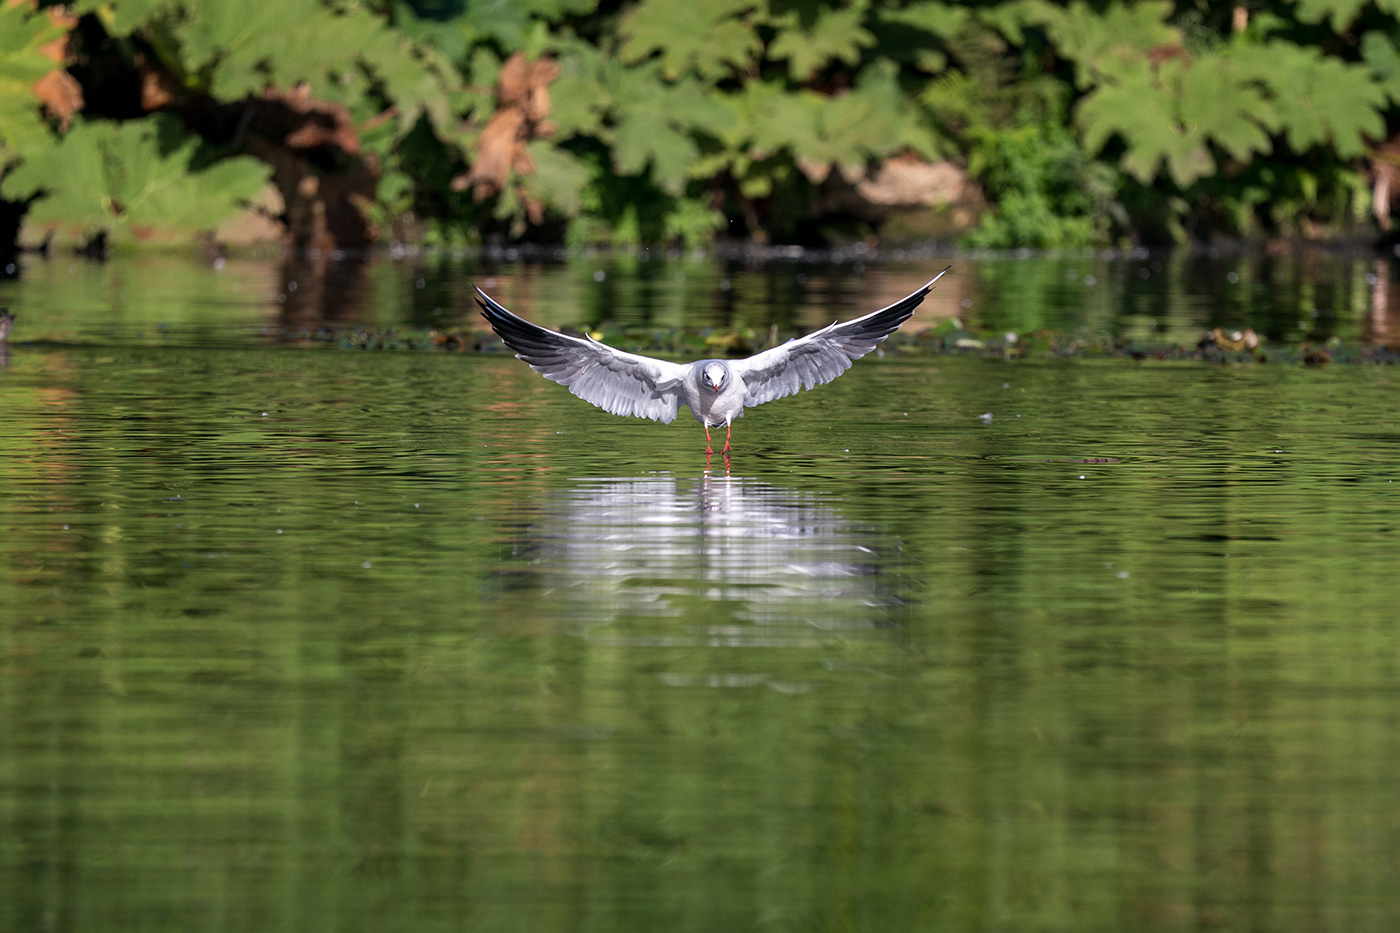
Sample 08 Black-headed gull approaching head-on, wings spread above the water at 500mm. Settings: 1/1000 sec. f/6.3. ISO 250
Is 24 MP Enough Resolution?
Coming from 61 MP, I wasn’t sure if this sensor would be limiting, as bird photos often need cropping. However, Sony knocked it out of the park, and I was really impressed by the level of detail it captures, even when shooting compressed RAW.
Looking closely at my photographs, there’s excellent definition in fine feather detail, with natural colour and plenty of texture, even in darker coot plumage. Noise is also well controlled overall, giving clean, sharp images without needing excessive noise reduction.
The biggest compromise for you may be cropping flexibility. I’m used to having more pixel freedom, although I was actually able to crop more drastically than expected. The 600mm reach of the zoom lens helped compensate for the lower resolution, especially as I’m used to a 100-400mm. Bear that in mind when choosing a lens for a wildlife setup, which we cover later.
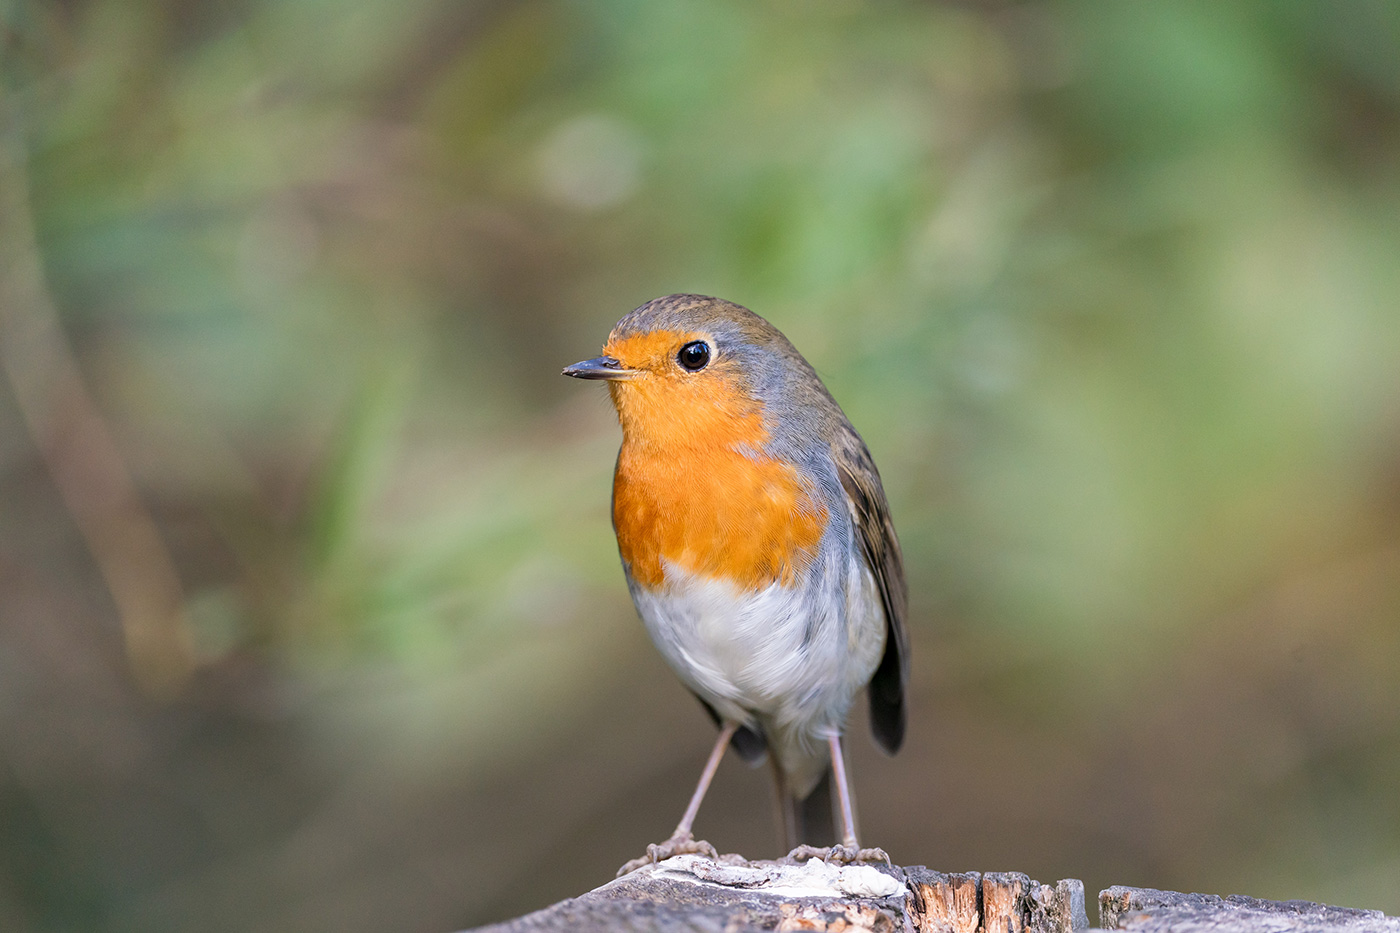
Sample 09 Robin showing fine feather detail at 518mm. Settings: 1/1000 sec. f/6.3. ISO 2000
Of course, a sharp 24 MP image is better than an out-of-focus 61 MP one, and that’s worth remembering when choosing a speed-oriented camera. I have plenty of A7R V shots with warped, bent or stretched bird wings because its sensor is slower to read out. With blisteringly quick readout, you’ll experience very little rolling shutter distortion.
Don’t let the resolution put you off. A higher-resolution body offers some advantages for bird photography, but if subjects are moving quickly, it’s more than capable of delivering excellent results.
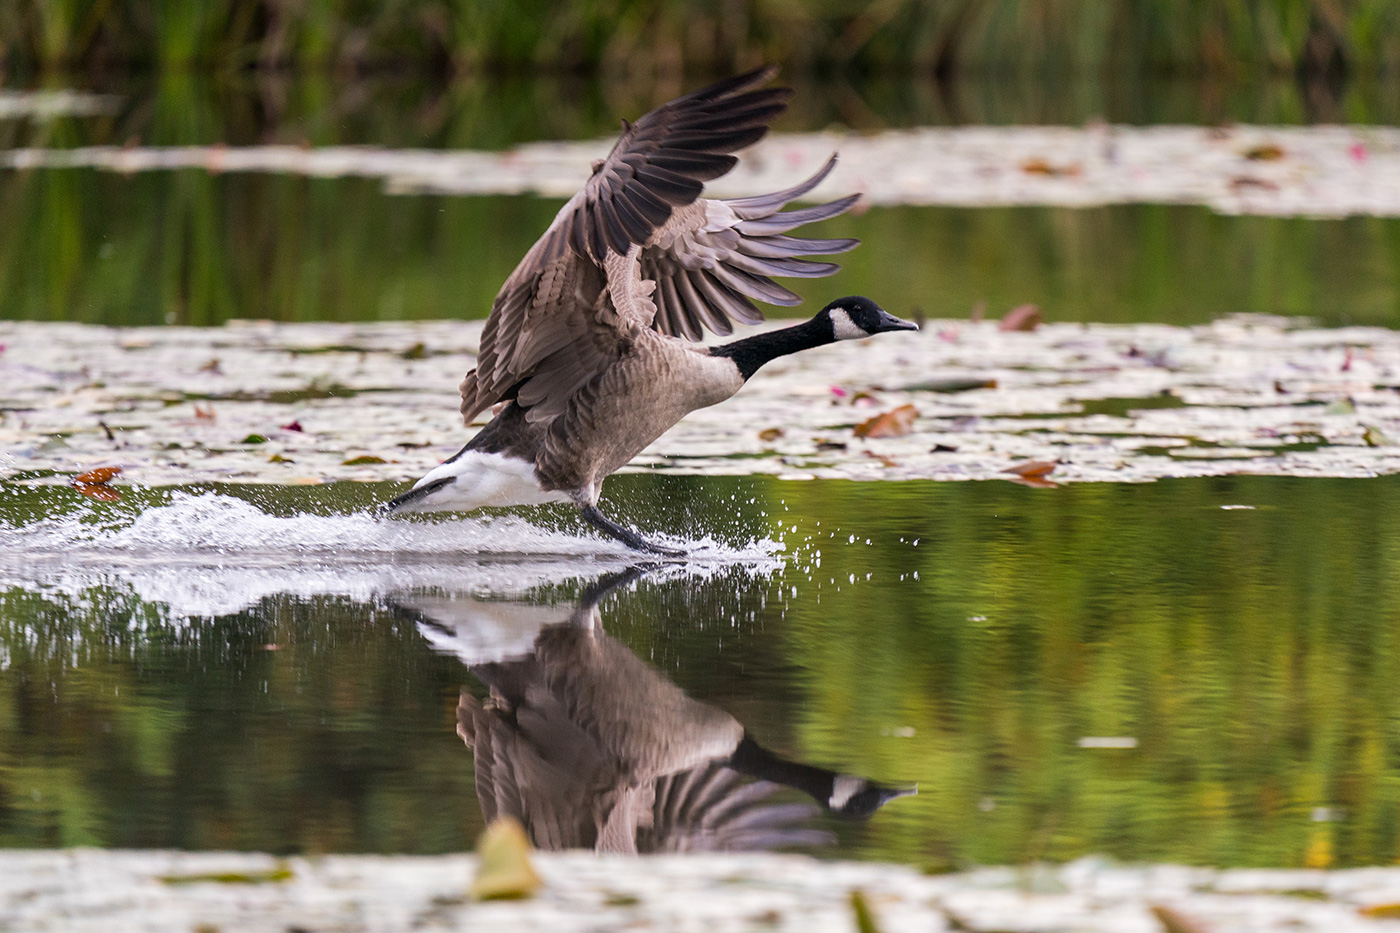
Sample 10 Canada goose skimming the water, wings raised at 600mm. Settings: 1/1000 sec. f/6.3. ISO 2000
What are the Best Lenses to pair with it?
Lenses are a major consideration for any wildlife setup. I shot entirely with the Sony FE 200-600mm F5.6-6.3 G OSS, which has its own review. However, Sony released a trio of new super-telephoto lenses in 2026, including the lightest in their class, so we’re really spoilt for choice when it comes to E-mount telephoto options.
I covered the recent ones in a guide, Sony G Master Super-Telephoto Lenses Compared. There are plenty of G series options too, such as the 400-800mm F6.3-8 G, which Gareth got his hands on, along with a plethora from third parties like Sigma, Tamron and Samyang.
Whether you’re considering new or used Sony lenses, you really are spoilt for choice.
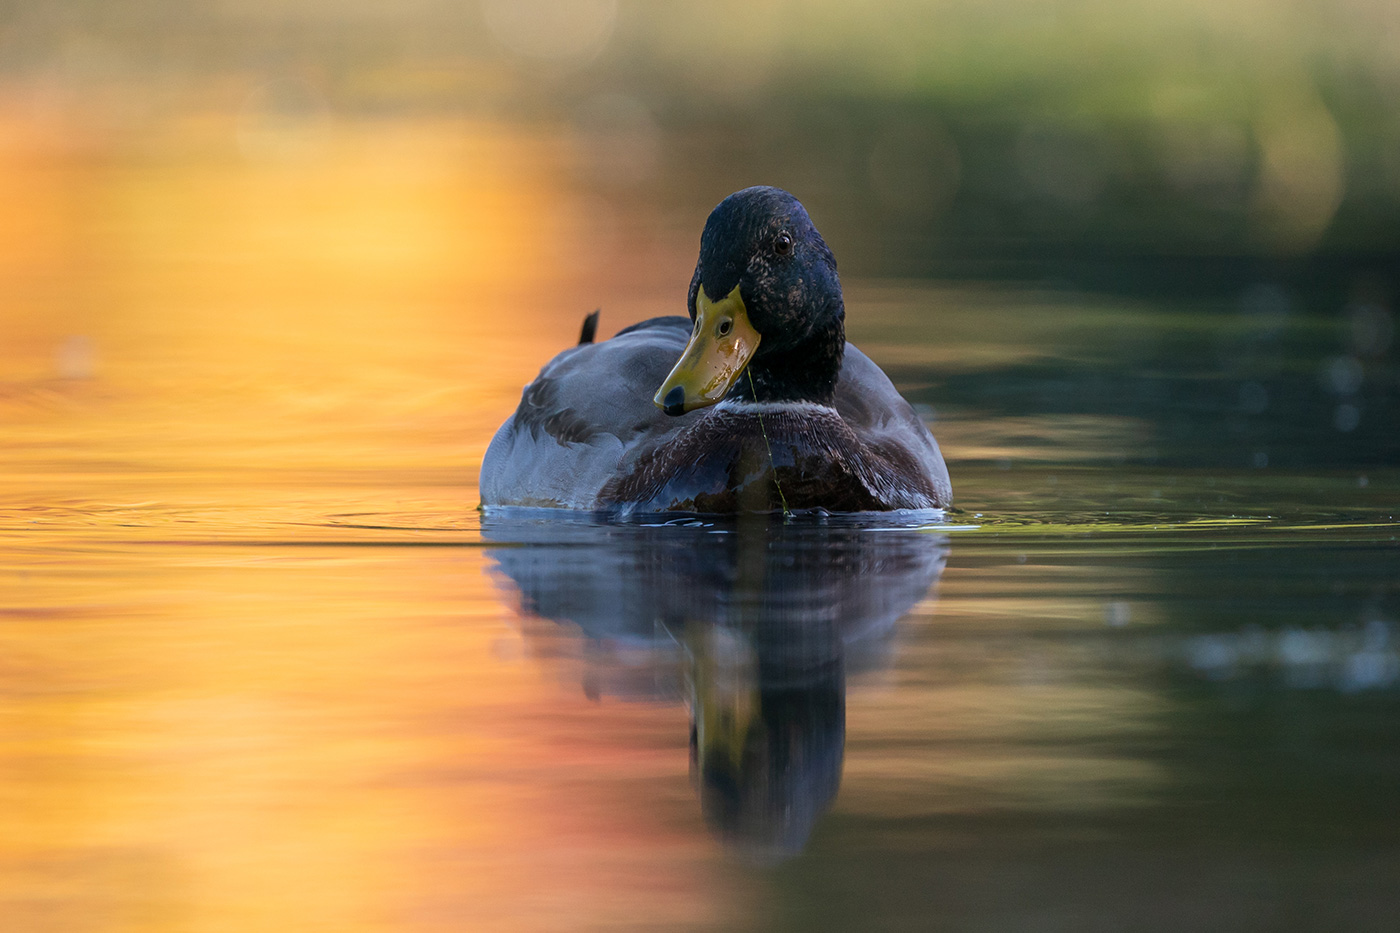
Sample 11 Mallard against golden autumn reflections at 600mm. Settings: 1/1000 sec. f/6.3. ISO 1600
How is handling?
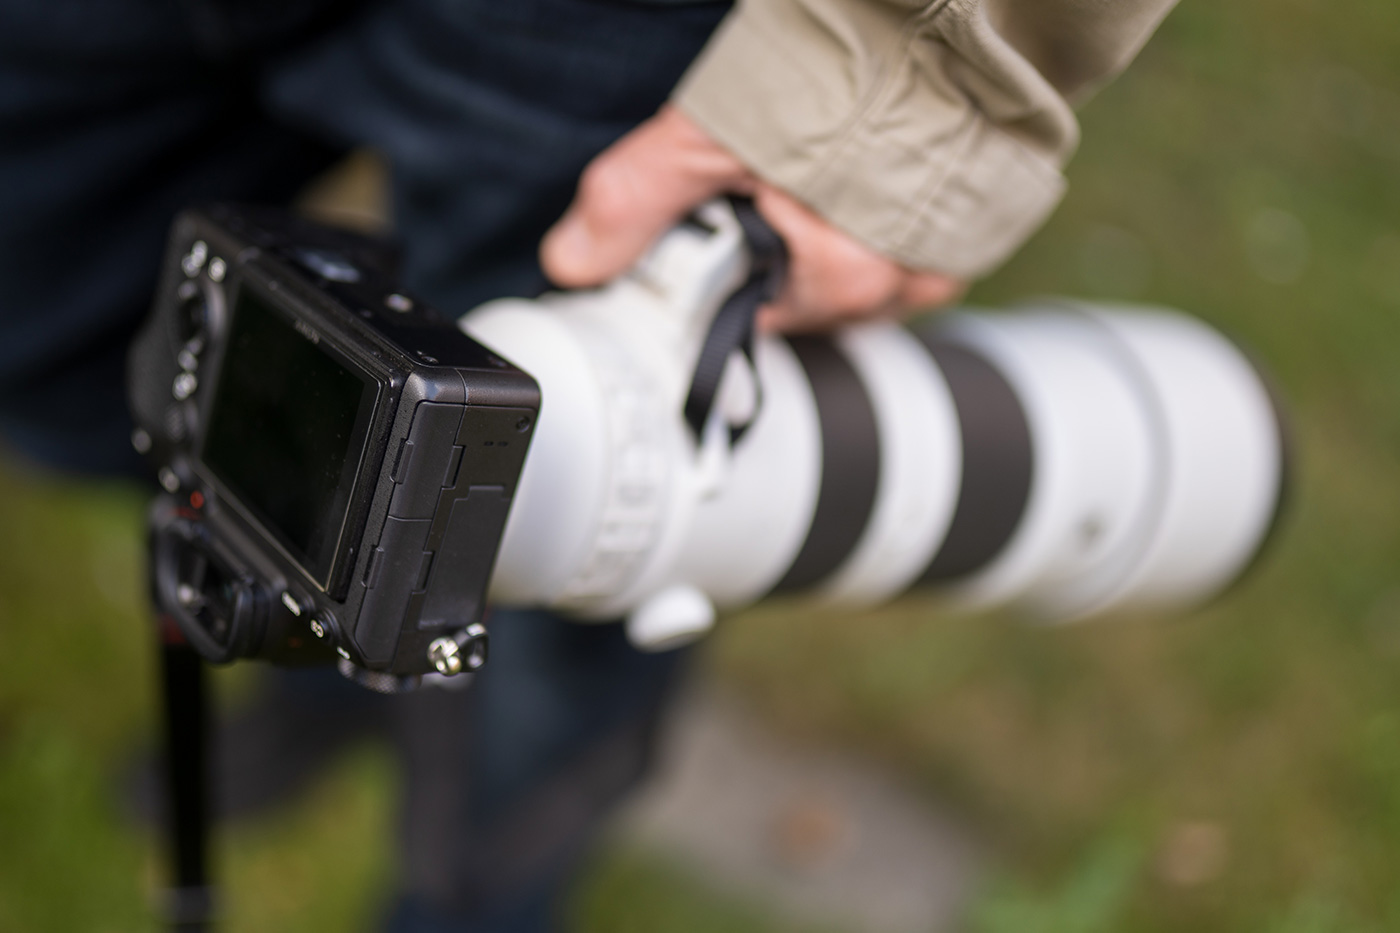
As mentioned, the blackout-free EVF is stellar and makes the whole experience refined and enjoyable. The grip is also nice, deeper than some and very similar to what I am used to, giving reasonable balance even with the hefty 200-600mm lens attached.
The body weighs around 678g, which is lightweight for a pro-level model, and it was easy to handhold for extended periods. With distant subjects, it’s the lens that adds the major weight, so balance becomes important.
The body has drive and focus mode dials, which make changing settings quick. The older menu is a little cumbersome and reminded me just how good the updated version is in comparison! Don’t worry though, most settings are easy to find, and you can always ask Uncle Google.
I was surprised there’s no CFexpress card support, with dual SD slots instead. In practice, though, it burst continuously without any issues using UHS-II cards. These are readily available and, despite the recent rise in memory prices, still cheaper than CFexpress Type A.
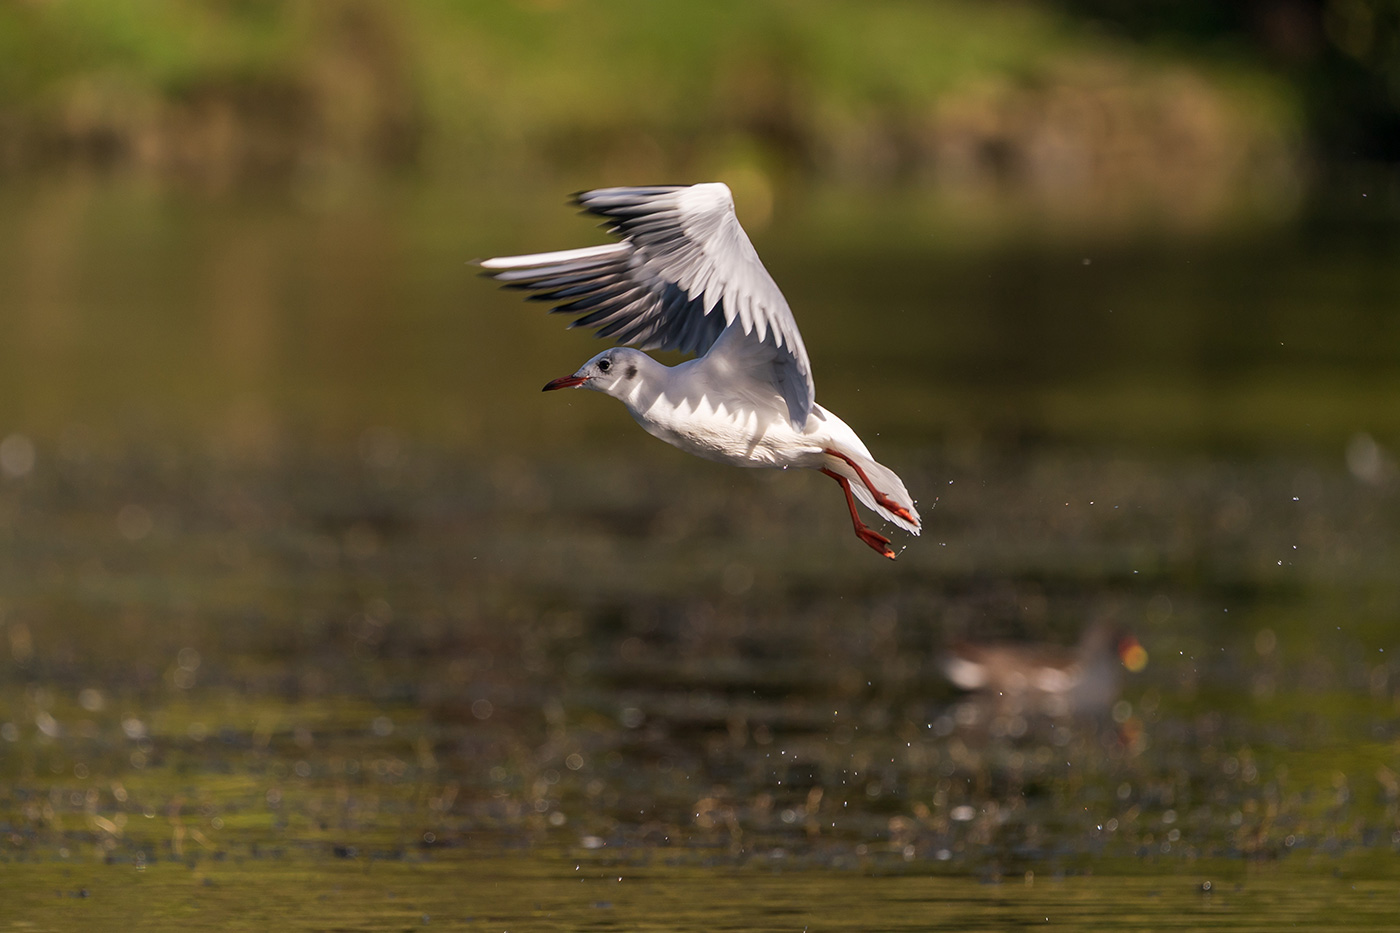
Sample 12 Cropped black-headed gull in flight at 600mm. Settings: 1/1000 sec. f/6.3. ISO 200
Battery life was excellent. It is rated at between 500 and 690 shots per charge depending on whether you use the EVF or LCD, but real-world use ran into the thousands because of burst shooting. With sessions of over two hours and no dead batteries, the NP-FZ100 rechargeable battery does its job very well in this body.
I didn’t use the rear screen much, as I find it easier to look through the EVF with a heavy lens attached. It is adequate but fairly basic by modern standards, as it doesn’t allow menu navigation. The articulation is handy for low shots just above the water, which I did a couple of times.
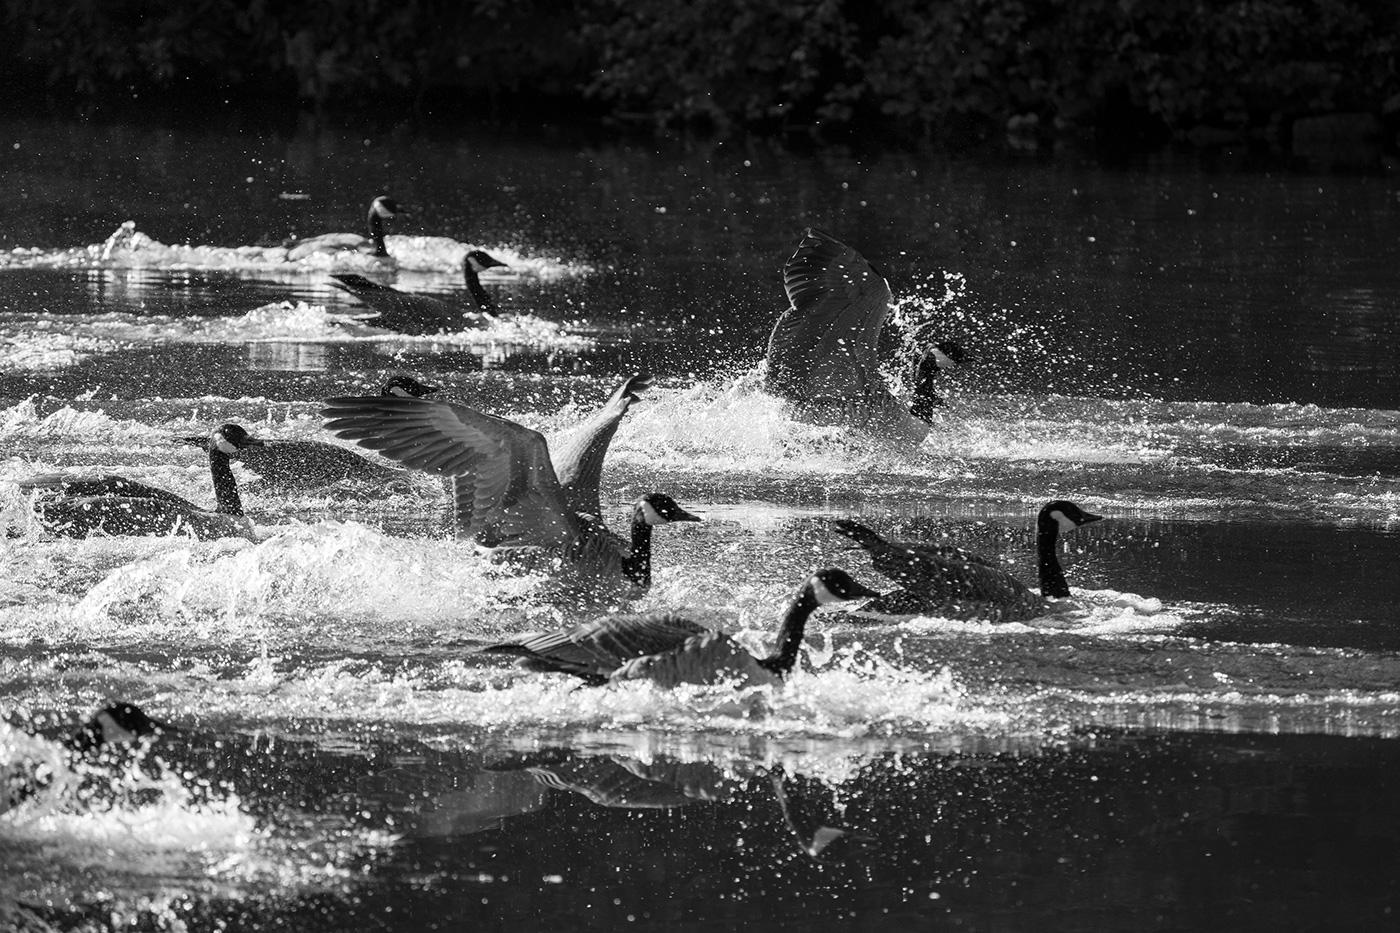
Sample 13 Migrating geese landing, with spray frozen in black and white at 600mm. Settings: 1/1000 sec. f/6.3. ISO 640
Is it still worth buying?
There are a few alternatives worth considering in both the new and used market, which are outlined below. Please note that second-hand prices and availability obviously fluctuate with demand.
|
Body |
Est. Used Price Tier |
Best For |
Trade-off |
|
Mid-tier (£1,100 upwards) |
Fast action, 20 fps blackout-free shooting, minimal rolling shutter and strong high-ISO performance. |
24 MP limits heavy cropping compared with higher-resolution bodies; no dedicated bird-eye AF. |
|
|
Entry-to-mid (£1,049 upwards) |
Modern AI bird recognition, a compact APS-C body and extra effective reach with telephoto lenses. |
11 fps maximum, slower sensor readout and more rolling shutter. Smaller buffer and less comfortable handling with large telephotos. |
|
|
Entry-to-mid (£1,100 upwards) |
33 MP resolution, dedicated bird-eye recognition and versatile all-round performance. |
10 fps maximum, dropping to around 6 fps with uncompressed RAW. Viewfinder blackout and pronounced electronic-shutter rolling shutter. |
|
|
Premium (£1,700 upwards) |
Exceptional 61 MP cropping flexibility and advanced AI bird recognition. |
10 fps maximum, slower sensor readout and significant rolling shutter with the electronic shutter. Large files demand more storage and processing power. |
|
|
A1 II / A9 III |
Flagship (£3,000 upwards) |
The A1 combines 50 MP with 30 fps stacked-sensor shooting. The mark III offers 120 fps and a global shutter with no rolling shutter distortion. |
Both cost substantially more. The A9 III has 24 MP rather than the A1’s 50 MP, so it offers less cropping flexibility. |
Verdict
If your priority is getting outdoors and capturing action cleanly (freezing splashes, smooth flight tracking, no warped wings) rather than cropping from a mile away, the A9 II is still a spectacular choice. For fast action shooting, the stacked sensor and blackout-free viewfinder give it a clear advantage over the A7 IV, A7R V and others.
It also makes a fantastic second-hand purchase. A clean example at a good price is one of the best value-for-money action wildlife cameras on the market. Consider the A6700, which is perhaps the most serious alternative at this price point, particularly if newer bird-recognition autofocus is a priority.
Browse for a used Sony A9 II camera or create a stock alert to find out when one becomes available.
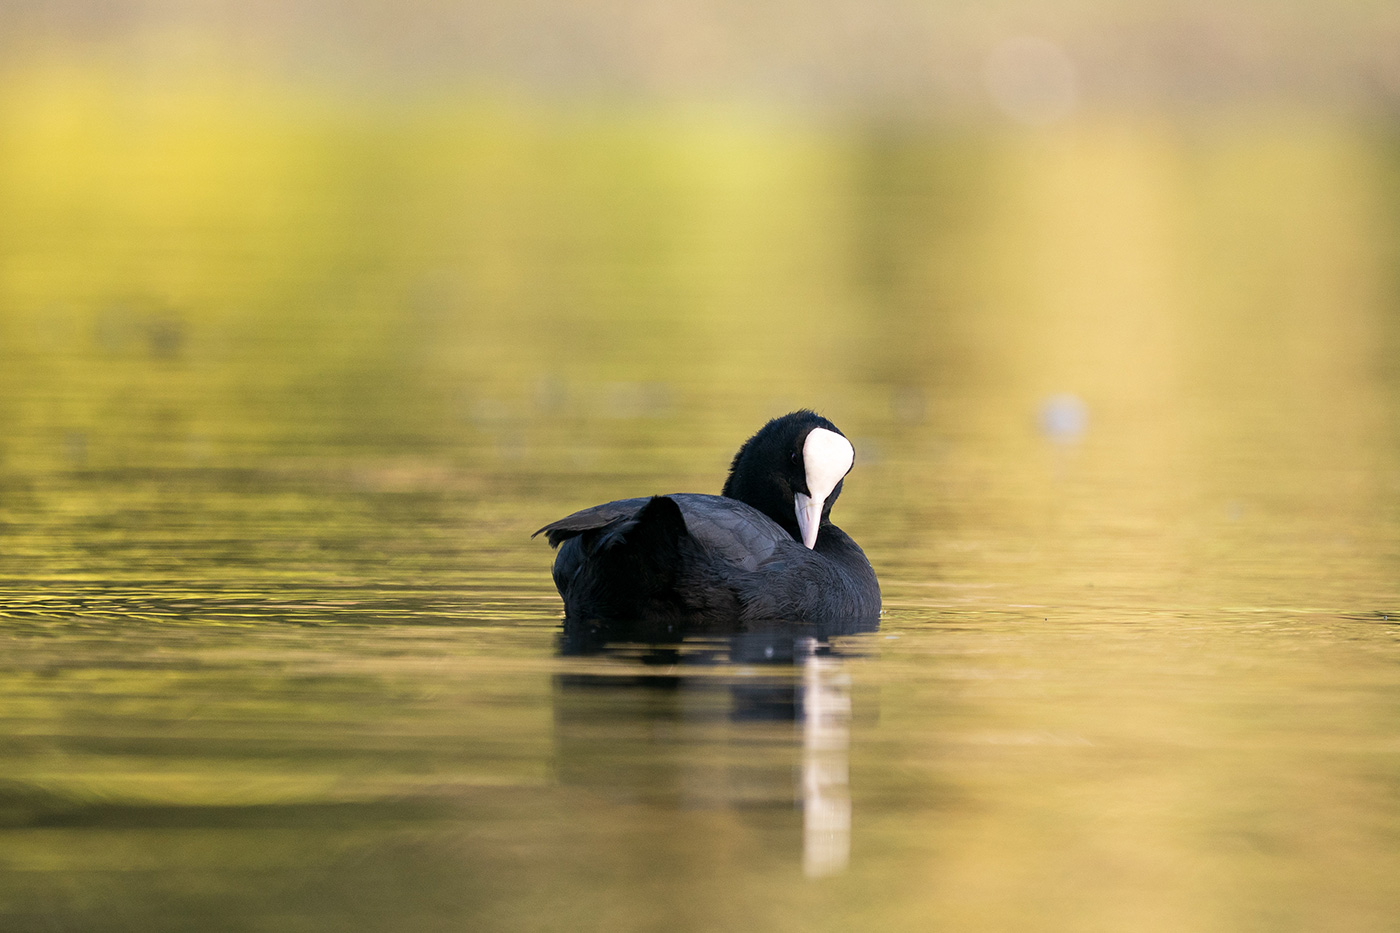
Sample 14 A quiet moment with soft autumn light at 600mm. Settings: 1/1000 sec. f/6.3. ISO 1250
Settings for Bird Photography
I’ve included these in case you’re considering pulling the trigger on this model, giving you a starting point to adjust as needed according to the subject, light and background.
Exposure
- Mode: Aperture Priority, wide open (F6.3 at 600mm), or Manual with Auto ISO.
- ISO: Auto, with a range of 100–12800. (Use AI noise reduction if needed)
- Auto ISO Min. SS: I love this feature. Set a fixed minimum shutter speed rather than Standard or Fast. Try 1/1000 sec for perched or swimming subjects, to 1/2000–1/3200 sec for flight and splashing water. Note that it can drop below if reaching the ISO limit.
- Exposure compensation: Start around −0.3 to −0.7 EV for white feathers or bright water, adjusting according to the histogram and available light. Experimenting with exposure comp can really elevate an image.
- Metering: Multi.
- Format: RAW for editing.
Autofocus and Drive
- Focus mode: AF-C for continuous autofocus.
- Drive: Continuous Shooting: Hi, up to 20 fps with the electronic shutter and compressed RAW.
- Shutter: Electronic for blackout-free shooting at the maximum frame rate.
- Focus area: Tracking: Flexible Spot (M or S). Place the initial focus point over the bird and allow tracking to follow it. Tracking: Zone can be useful when acquiring fast-moving subjects is difficult. I used Zone most of the time.
- Eye AF: Don’t rely on Animal Eye AF. It lacks dedicated bird-eye recognition, so use Real-time Tracking instead to follow the subject.
- AF Tracking Sensitivity: Start at 3 (Standard). Try 1 or 2 when distracting backgrounds or splashing water make the focus jump away from the bird. Use 4 or 5 when you need more responsiveness to changes in subject distance.
Share this post:
By Nick Dautlich on 22/10/2026

Nick Dautlich
Senior Content Writer and Product Reviewer
Nick Dautlich is the Senior Content Writer and Product Reviewer at Park Cameras, with over 15 years of photography experience. A Sony Imaging Professional and expert reviewer, Nick has worked with major brands such as Canon, Sony and Nikon. His work is also featured on Vanguard World UK’s website, Capture Landscapes, and Shutter Evolve. Nick’s photography includes National Trust projects and magazine covers and he is passionate about landscapes and storytelling. Nick also enjoys hiking and teaching his children about nature. Learn more on his profile page.
Trade in your old equipment
Fast and easy trade in service ensures your old gear is collected efficiently and you are paid quickly! It's very simple to trade in your unwanted photography gear. Just head over to our dedicated Sell or Part Exchange page, fill out the details, and we'll get back to you with an offer for your old gear. Take the cash, or put it towards the cost of your new gear. It's up to you! Find out more
sign up to the newsletter
Keep up to date on the latest photography news, events and offers. Sign up now