- Call us 01444 237070

-
- Back
- Used Cameras
- Used Accessories
- Used Lenses
- Back
- Used Canon Lenses
- Used Nikon Lenses
- Used Fujifilm Lenses
- Used Sony Lenses
- Used Micro 4/3rds Lenses
- Used Leica Lenses
- Used Panasonic Lenses
- Used Pentax Lenses
- Used Samyang Lenses
- Used Sigma Lenses
- Used Tamron Lenses
- Used Tokina Lenses
- Used Voigtlander Lenses
- Used Zeiss Lenses
- Used Hasselblad Lenses
- Used Video
- Used Film Equipment
- Used Stock Alert
- Used Blank Test
- Sell or Part Exchange
- Used Clearance
- Recently Added Used Equipment
- Park Picks
- Faulty
- Trade-In
- Blog
- New in
- Call us
- Contact us
- Stores
- Sign in
- Categories
- Tips & Inspiration
- Reviews
- News
- Events
- Features
- Buying Guides
- Competitions
MagMod MagBeam and MagMask Guide
As the nights draw in, photographers here in the UK often find themselves packing away earlier than they’d like, but short winter days don’t have to stifle your creativity.
Using a camera flash can allow you to keep shooting through the winter months, whether you enjoy portraits, product photography or wildlife.
That said, flash photography can be a bit tricky, especially when you’re trying to control where the light goes or precisely how it looks in the final image. Enter MagMod, a well-established US company that has developed a range of simple yet effective magnetic lighting modifiers that makes shaping light easier.

The MagBeam Kit and MagMask Kit are two more recent products, which were both updated in 2024 as part of the new and improved second-generation MagMod system.
The MagBeam is like a zoom lens for your flash, concentrating light into the distance with a focused beam that’s ideal for effects and fill lighting for portraits, weddings and wildlife photography. The MagMask Kit creates light shapes, forms, and patterns, and works by placing stainless-steel masks inside the modifier.
In this guide we explore what these Magmod lighting kits do, how to set them up, and share some examples to help kickstart your own creative flash photography setups, particularly during the darker months.
If you’re just starting out with flash photography, or looking to expand your lighting options, here’s a closer look at the MagBeam and MagMask from MagMod.
Pros and Cons At a Glance
If you’re in a hurry here are the main pros and cons of the Magmog MagBeam and MagMask Kits.
Pros
- The MagBeam focuses flash output, giving much greater reach for wildlife and portraits
- The MagMask Kit adds creative effects by throwing patterned light from a flashgun
- Once the MagGrip 2 is mounted on your flash, magnetic mounting is quick, secure and tool-free
- The system is modular and stackable, so you can add coloured gels, grids or diffusers for extra effects
- Can help to preserve battery life by enhancing light output
- Durable design made from thick silicone
- The second-generation design is refined, lighter and easier to use on regular and round flash heads
Cons
- The MagBeam adds noticeable size and weight to your setup, which can feel front-heavy
- Getting the beam angle right can be tricky, depending on your flash model
Precautions
- Because it concentrates light, the lens should never be left in direct sunlight, as it could potentially start a fire
- Avoid using the system at night for wildlife, as it could disturb subjects and temporarily affect vision
- MagMasks are made from thin stainless steel and have sharp edges, so handle them carefully and keep away from children

Quick Introduction to MagMod
MagMod has been around for several years, appealing to photographers who use camera flash regularly. The idea they’ve developed is to make flash modifiers faster and easier to use by attaching everything magnetically. Instead of using clips or elastic bands, each modifier snaps into place with strong neodymium magnets.
Fast forward over a decade and MagMod has updated their most popular modifiers to be easier to attach, more universally compatible, as well as smaller and lighter. Let’s find out how it works next.
What is the MagMod Lighting Modifier System?
MagMod is a completely modular on-camera flash photography system, allowing for expansion as you get more into it. You will of course need a flashgun for your camera, then you add a MagGrip 2 (which is included in the MagBeam Kit).
MagGrip 2 is a heavy duty stretchy silicone mount that fits over the head of your flash, creating a magnetic base for attaching modifiers such as grids, gels, diffusers and the MagBeam in this guide. It’s quick to fit and stays securely in place, so you can leave it on your flash all of the time if you choose.
In 2024, MagMod introduced the second-generation, which improved the design with stronger magnets and lighter materials. The new versions are more compact, stack, and offer broader compatibility with different flashguns, including round head flash.
How does the MagMod MagBeam Kit (2024) Work?
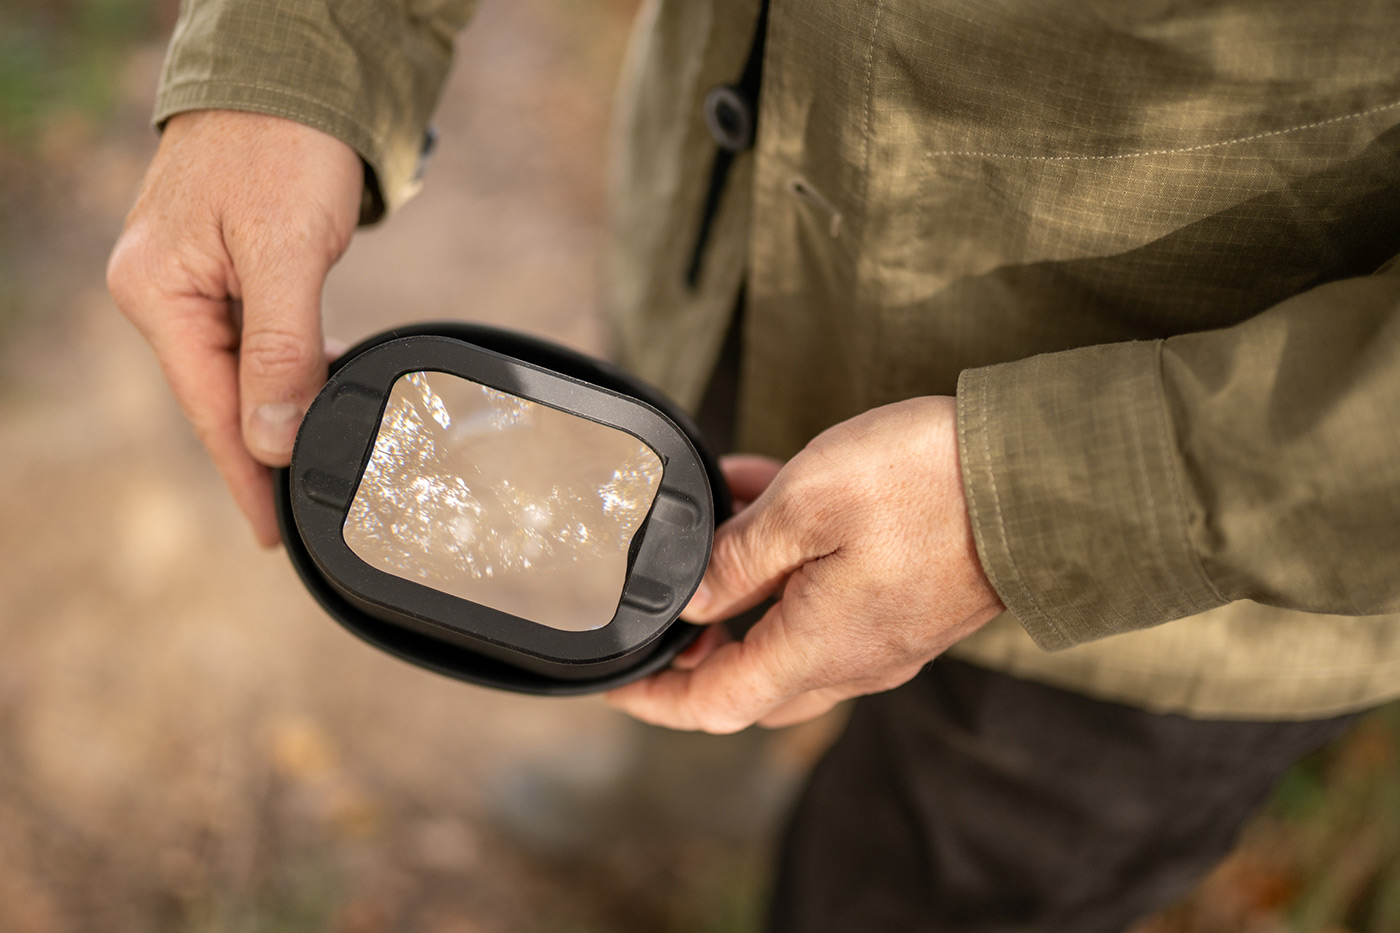
The MagBeam is a collapsible silicone body that holds a swappable Fresnel lens at the front. The Fresnel lens focuses light in a similar way to those in lighthouses, narrowing a broad flash output into a more efficient beam. By adjusting the body between collapsed, mid and fully extended, you can control how far the light is thrown.
When fully extended, the light is focused over long-distances, reaching much further than your flashgun can on its own, which is perfect for using a telephoto lens. When collapsed MagBeam spreads light more evenly for closer shots. This simple yet clever design allows you to adapt your flash coverage to match longer focal lengths, giving more control over reach, spill and exposure.

How to set up the MagBeam
Although it works in both TTL and HSS, you may prefer to use your flashgun in manual mode, as this lets you adjust the settings for the MagBeam regardless of your lens’s focal length.
- Set up your MagBeam on your flash and extend it halfway.
- Choose one of the MagMask patterns and slide it into the holder slot.
- Aim your flash at a background or wall.
- Adjust the distance by moving the flash closer or further away until the pattern appears sharp.
- If you want colour or focus your projection, add a coloured gel or MagGrid 2 between the lens and mask.
The focused beam makes your light output more efficient, so you can use lower power settings while achieving the same reach, reducing recycle times and enhancing battery life.

Is it effective for wildlife?
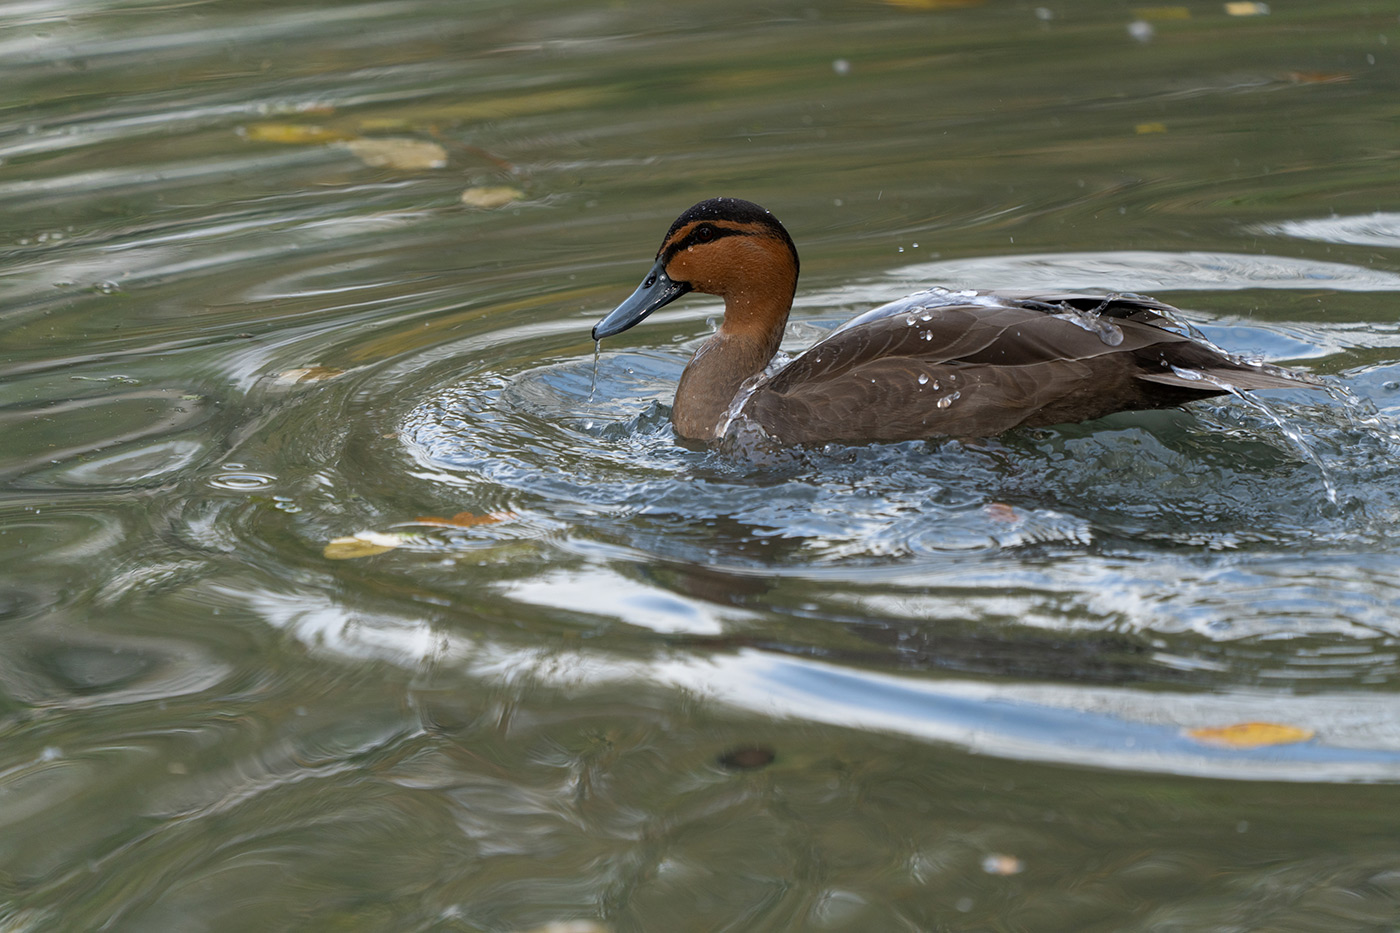
During my time with the MagBeam, I primarily photographed birds, and I found that once I had the settings right when shooting manually, I could illuminate the subject far more effectively, even when fully extended to 400mm.
Using flash for wildlife photography isn’t something I had ever considered before, but it allows you to achieve a more accurate result in camera rather than lifting shadows in post. With this level of reach, it may well be one of the most effective flash options for wildlife photography.
Using the MagMod MagMod MagBeam Kit (2024) for Wildlife Photography
Powerful camera flashguns rarely zoom beyond 200-300mm, which is fine for some subjects but too wide for a lot of wildlife. The MagBeam solves this by concentrating your light output through the Fresnel lens into a tighter beam at longer focal lengths. This focused light allows your flash to illuminate distant subjects far more effectively, especially in low light or shade.
By adding a subtle fill light, the MagBeam can also reveal finer details in fur and feathers, and adds a small catchlight to the eyes of your subject, which can bring the image to life. It is especially useful when shooting in dense undergrowth or forests, where light can be low, uneven and shadows hide detail. I liked the effect when shooting backlit subjects, as it allows for more even exposure.
Because the light is concentrated, your flash also becomes more efficient. You can work at lower power levels, which reduces recycle times and extends battery life, which is something every photographer appreciates.
It is a great solution for low light, and for distant subjects, but bear in mind the additional weight on top of your telephoto lens. You should also avoid using the system at night, as the concentrated flash beam can stress wildlife and may temporarily affect their vision.
How does the MagMod MagMask Kit (2024) Work?
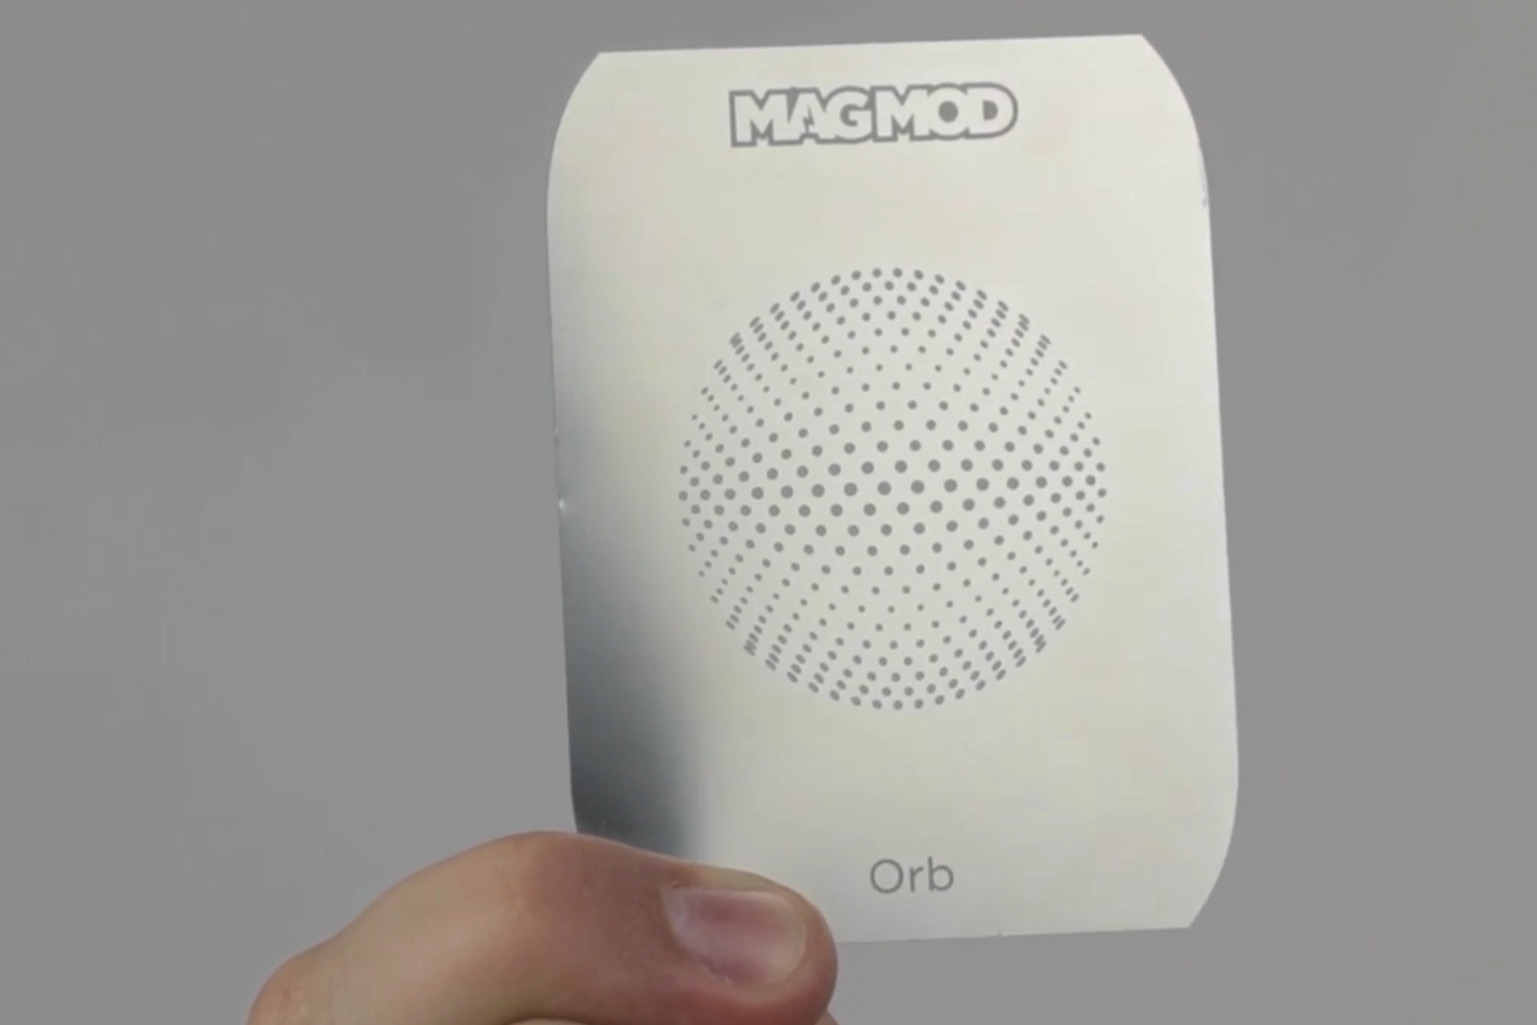
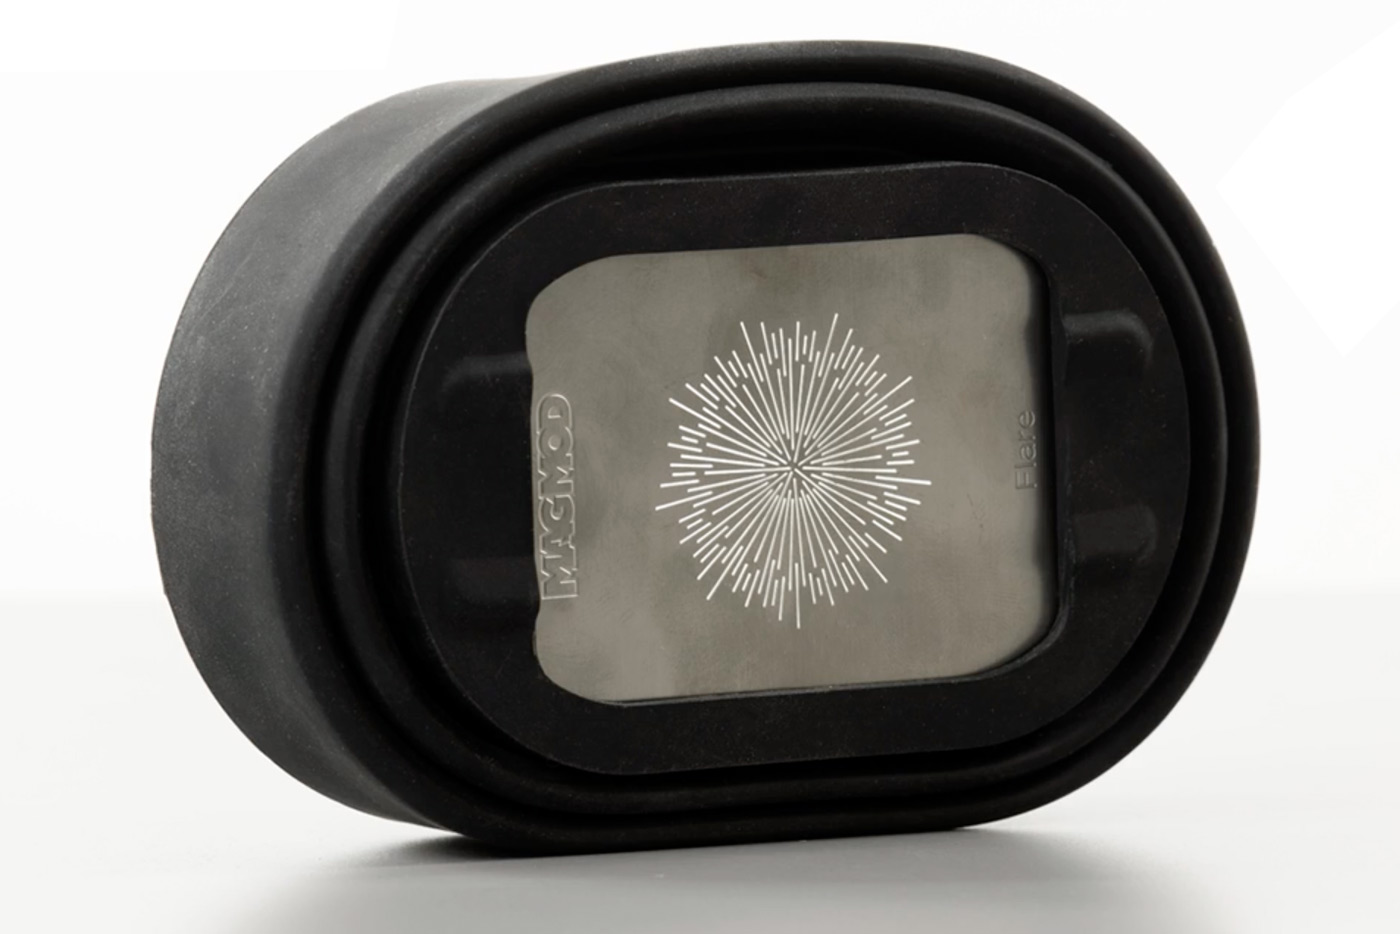
The MagMod MagMask Kit (2024) is an accessory for the MagBeam that adds creative effects with shape and texture to your light. It includes a wide lens (differentiated from the Fresnel lens by a cutout notch) for even projection. There are twenty stainless steel MagMasks with different patterns or stencils included, and a storage wallet.
When you combine the MagMask Kit with the MagBeam, the flash light passes through the stencil mask, projecting the stencil shape onto your background in the same way that stage lights use gobos. It gives you the ability to add patterns, interest and atmosphere to your images, especially when combined with coloured gels.
Because the masks fit inside the MagBeam, setup is pretty straightforward once you have done it a couple of times.
How to use the MagMask:
- Mount the wide lens on the front of the MagBeam instead of the Fresnel lens
- Insert your chosen MagMask into the holder slot at the rear
- Fully contract the MagBeam, as the MagMask only works at its widest setting
- Attach the MagBeam to your flash using the MagGrip or MagGrip 2
- If you want to add colour to the projection, place a gel between the lens and mask
The MagMask is designed to project a pattern, so it may not provide enough light for your subject, in which case you might want a second off-camera flashgun. A second flash fitted with a diffuser, softbox or MagMod modifier can balance the exposure and give better results.
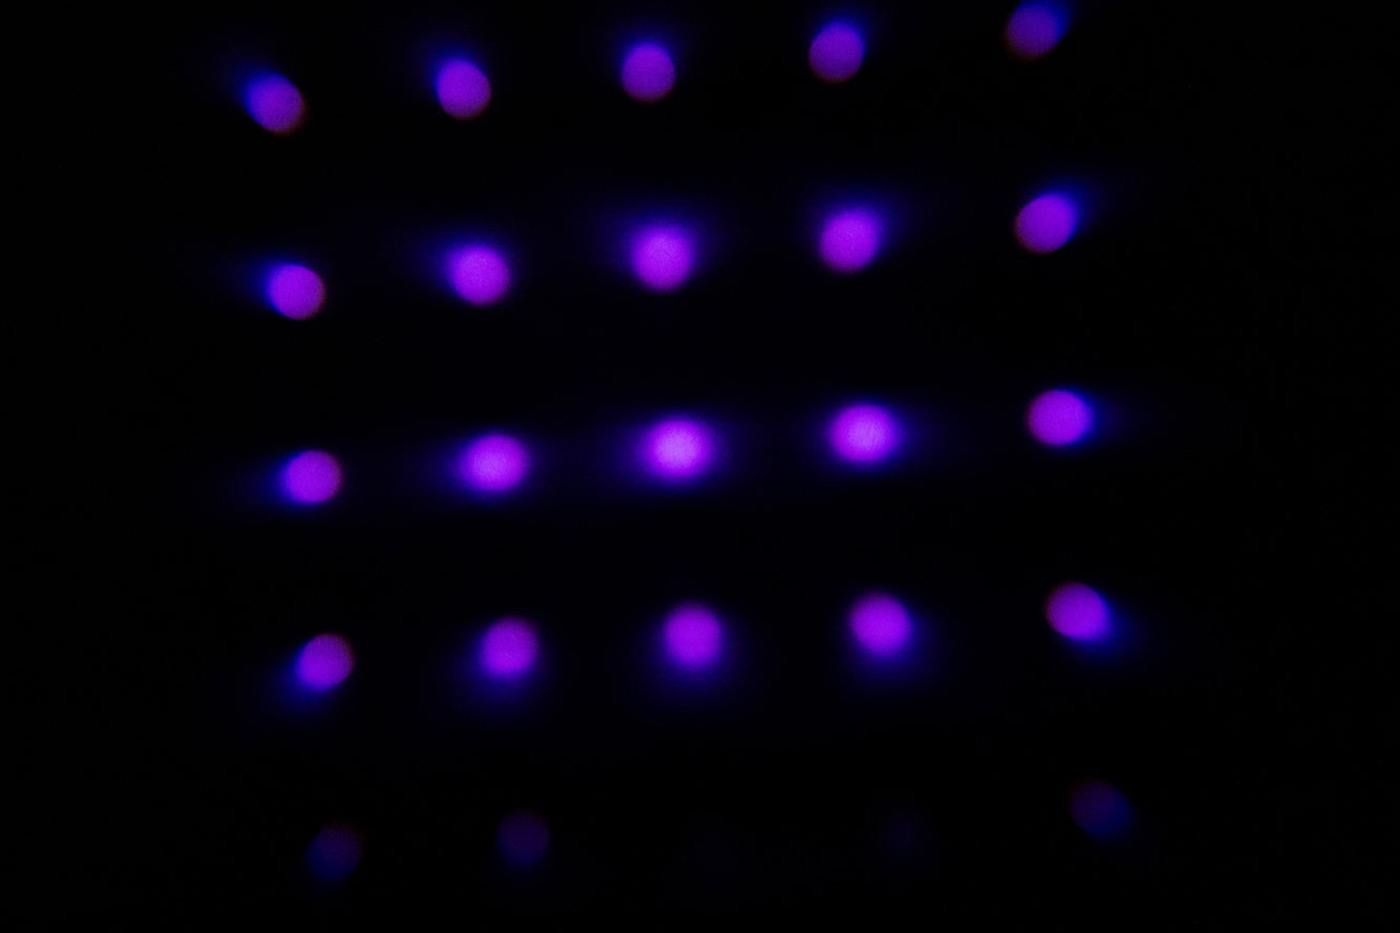
There are countless creative ways to use these masks. You can project a window-like pattern behind a subject to create the impression of sunlight through blinds. You can add circles or abstract textures to product and food photography backgrounds, or create distinctive looks for engagement or fashion shoots.
What’s new for MagMod Generation 2?
Both the MagBeam and MagMask Kits are part of MagMod’s improved second-generation system, which features stronger magnets, a lighter design, and improved compatibility with round-head flashes. Additionally, MagMod Pro Gels have built-in magnets for quicker changes, and come in several different colour groups.
The new kits are compatible with original modifiers, so you can upgrade as you go, while mixing elements from both systems although MagMod states that for the best experience they recommend using MagMod 2 modifiers together.
These Kits show how much creativity you can get from a single flash. The MagBeam extends reach for portraits or wildlife, while the MagMask lets you project creative patterns and textures.
MagMod’s system is also stackable, so you can combine the MagBeam and MagMask with other modifiers such as gels and grids to create different looks and effects.
If you enjoy experimenting with light, this setup opens the door to new creative possibilities, particularly when it is harder to get outside to shoot. Explore the full MagMod range today, or go straight to the MagMod MagBeam Kit (2024) and MagMod MagMask Kit (2024) to learn more about the products featured in this guide.
Frequently Asked Questions
Do I need the MagBeam to use the MagMask?
Yes, the MagMask Kit relies on the MagBeam to project its shapes and patterns. The MagBeam focuses the flash output, and the MagMask defines the light’s form as it passes through.
Which lens should I use, telephoto or wide?
The MagBeam Kit includes a Fresnel lens. Use the telephoto lens when you want a narrow, focused beam for wildlife or distant subjects, and the wide lens when you are using the MagMask or lighting subjects at closer range.
Can I use coloured gels with the MagMask?
Yes, MagMod gels can be placed between the MagBeam lens and the MagMask to tint the projected pattern. It is a simple way to introduce colour into your backgrounds or creative setups.
Is one flash enough when using the MagMask?
If you are lighting a background pattern only, one flash will work. However, when photographing people or products, it is best to use a second flash for your main subject. This allows you to balance light between the foreground and background for a cleaner result.
Does the MagBeam work in TTL and HSS?
Yes, it supports both modes, although you may prefer using manual flash settings for more consistent results. Manual mode lets you fine-tune power and distance without depending on your lens’s focal length or camera metering.
Will these kits fit my flash?
The second-generation MagMod system fits most standard speedlights and round-head flashes using the MagGrip 2 adapter. Optional accessories are available for less common flash shapes if needed.
How do I keep the projected pattern sharp?
Move the flash closer or further from the background until the edges of the projection appear crisp. The correct distance depends on the flash power, lens choice and room size, so it is worth experimenting until you find the best result.
Share this post:
By Nick Dautlich on 16/12/2025
Nick Dautlich
Senior Content Writer and Product Reviewer
Nick Dautlich is the Senior Content Writer and Product Reviewer at Park Cameras, with over 15 years of photography experience. A Sony Imaging Professional and expert reviewer, Nick has worked with major brands such as Canon, Sony and Nikon. His work is also featured on Vanguard World UK’s website, Capture Landscapes, and Shutter Evolve. Nick’s photography includes National Trust projects and magazine covers and he is passionate about landscapes and storytelling. Nick also enjoys hiking and teaching his children about nature. Learn more on his profile page.

Trade in your old equipment
Fast and easy trade in service ensures your old gear is collected efficiently and you are paid quickly! It's very simple to trade in your unwanted photography gear. Just head over to our dedicated Sell or Part Exchange page, fill out the details, and we'll get back to you with an offer for your old gear. Take the cash, or put it towards the cost of your new gear. It's up to you! Find out more
sign up to the newsletter
Keep up to date on the latest photography news, events and offers. Sign up now