- Call us 01444 237070

-
- Back
- Used Cameras
- Used Accessories
- Used Lenses
- Back
- Used Canon Lenses
- Used Nikon Lenses
- Used Fujifilm Lenses
- Used Sony Lenses
- Used Micro 4/3rds Lenses
- Used Leica Lenses
- Used Panasonic Lenses
- Used Pentax Lenses
- Used Samyang Lenses
- Used Sigma Lenses
- Used Tamron Lenses
- Used Tokina Lenses
- Used Voigtlander Lenses
- Used Zeiss Lenses
- Used Hasselblad Lenses
- Used Video
- Used Film Equipment
- Used Stock Alert
- Used Blank Test
- Sell or Part Exchange
- Used Clearance
- Recently Added Used Equipment
- Park Picks
- Faulty
- Trade-In
- Blog
- New in
- Call us
- Contact us
- Stores
- Sign in
- Categories
- Tips & Inspiration
- Reviews
- News
- Events
- Features
- Buying Guides
- Competitions
How to Create a Time-Lapse Tutorial Tuesday
Welcome to Tutorial Tuesday where every Tuesday, you get a brand new photography tutorial. This week, we're covering time-lapses and the best way to create one. You can watch our full video above or read our step by step guide below.
SHOOTING
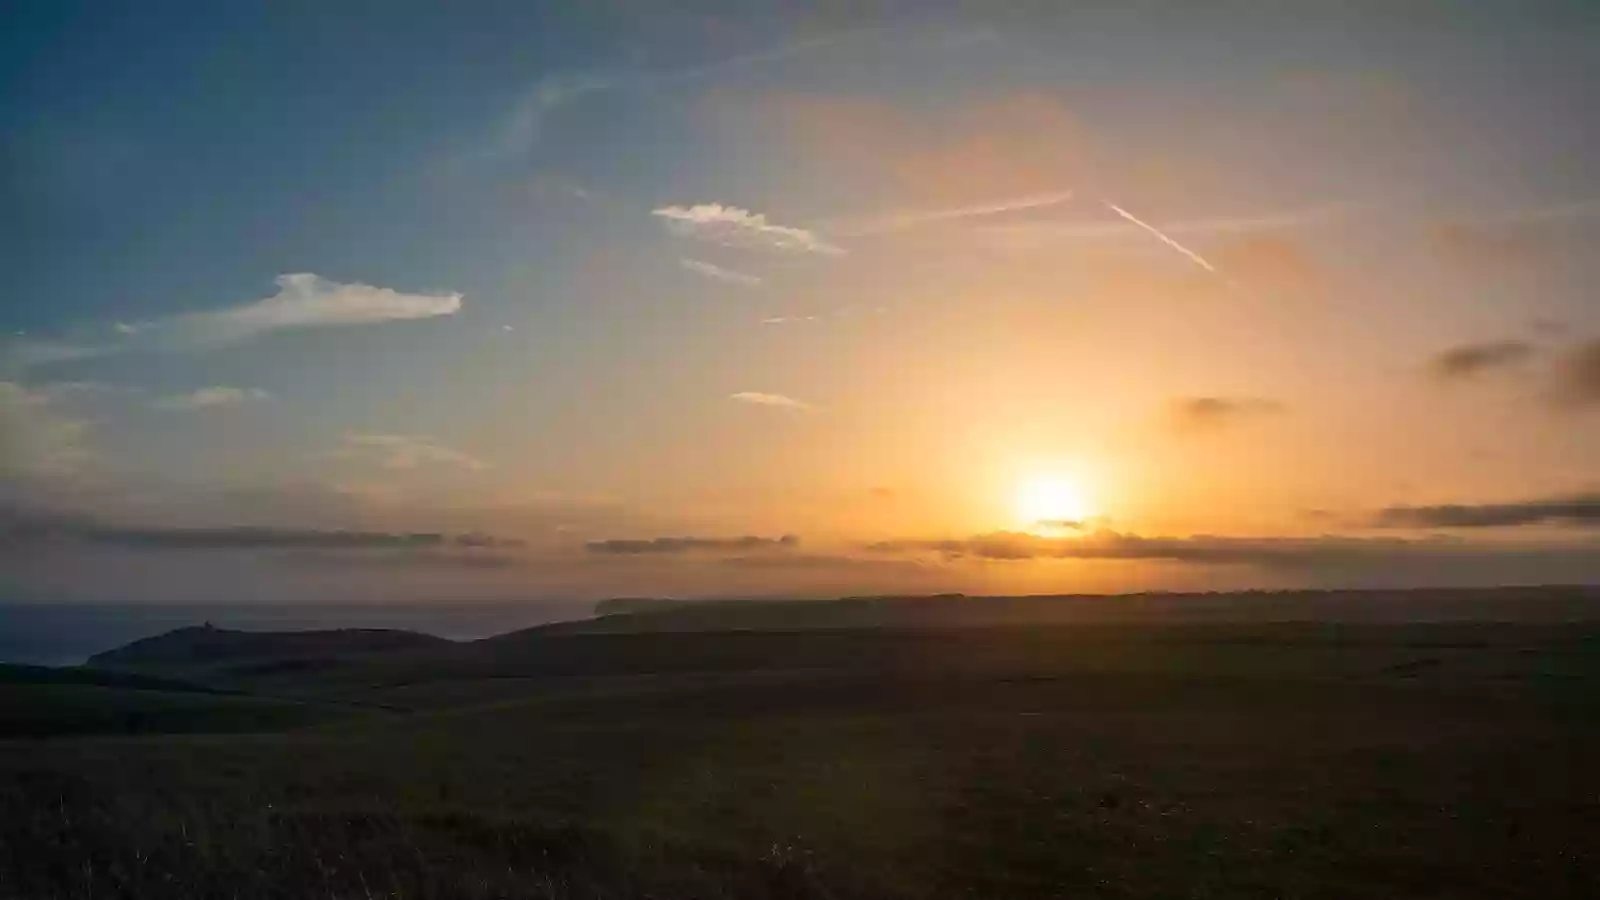
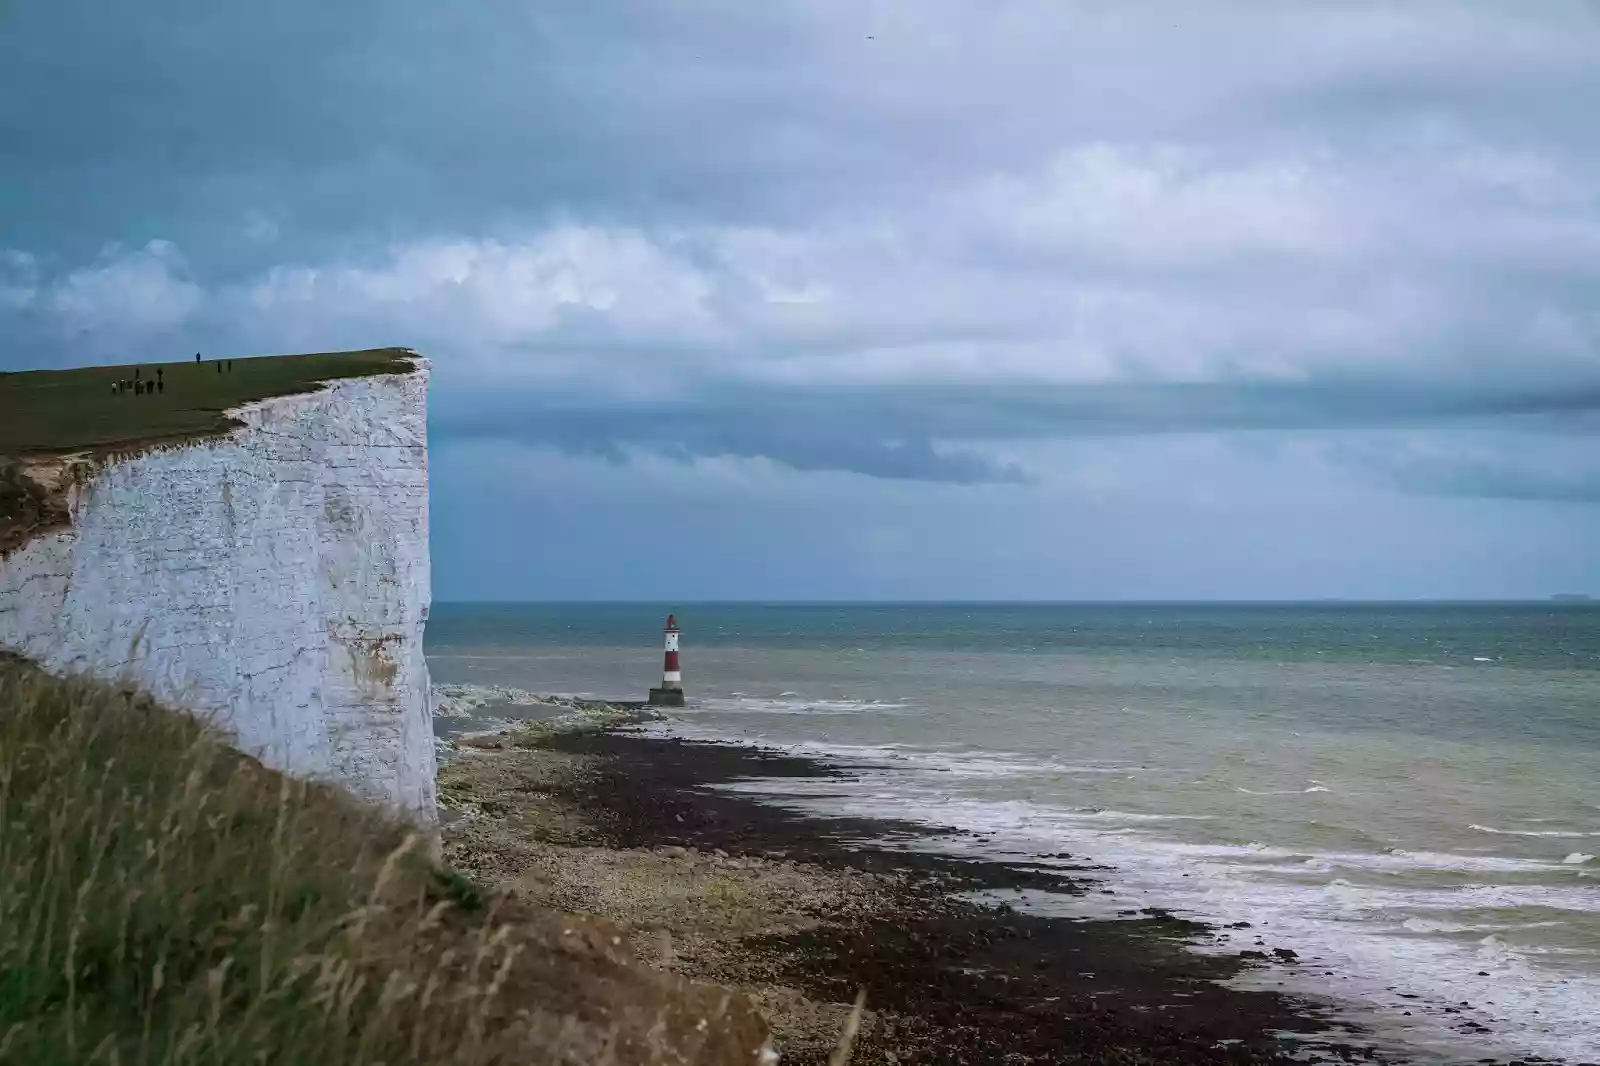
To start with, you're going to need to find something to shoot. Movement is key here so you're going to want to look for something like clouds, water, people, anything that is moving through the frame. It's that movement that is going to be most noticeable. Clouds always look great and coupled with a sunset (as in the video above), it looks great.
Time-lapses allow us to see the slow movement that you otherwise wouldn't detect with the naked eye. You can watch as the clouds take on new shapes and rush across the sky.
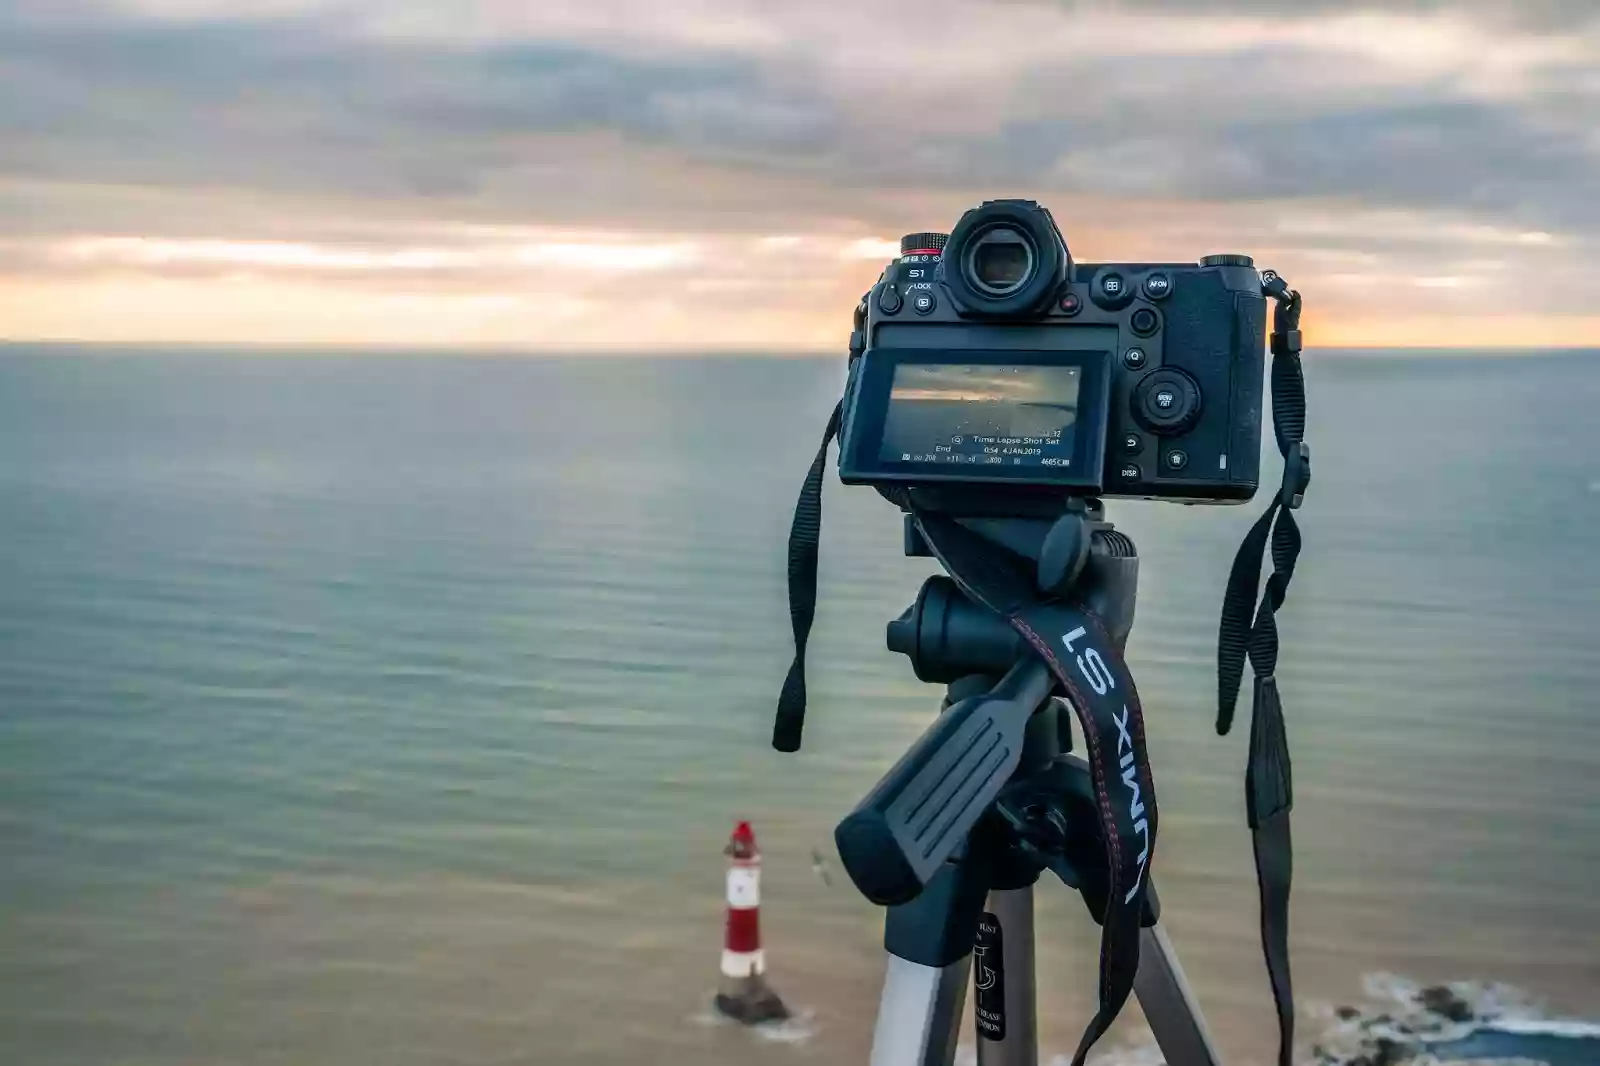
You're going to need a tripod to steady your camera and keep it in the same position and an intervalometer. A huge amount of modern cameras have a built in intervalometer, otherwise, there are several external ones to plug into your camera. An intervalometer allows you to set the camera up to take a number of shots with a variable amount of time between the shots. For example, in the video above, I was creating a time-lapse of the sunset; I was shooting on the Sony A7 III which (as of firmware update 3.0) has a built in intervalometer. I was able to set it up to shoot 400 photos with 5 seconds between each photo. That was enough to capture the sun going down and the clouds moving across the sky.
EDITING
Now that you've got your RAW photos, you can bring them into Lightroom (or any other editing software) to edit them. You're going to want to make sure that each photo is edited in exactly the same way so that there's no strange change in white balance or anything else through the time-lapse.
Fortunately, Lightroom allows you to sync your settings across multiple images. Once you've edited your first image, select that image and hold shift and click on the final image to select all of them. In the Library tab of Lightroom there is a button in the bottom right corner that says 'Sync Settings'.
Click that to sync your settings across all of the images and then you're free to export all of the edited images to a new folder.
CREATING THE TIMELAPSE
Once your images have exported, you're ready for the final step. Open your video editing software (in my case, I'm using Premiere Pro). Click File > Import to open a new window. Navigate to the folder with the new edited photos and click on the first photo. At the bottom of this window, just above the file name, there is a checkbox that says 'Image Sequence'.
This needs to be checked. This is going to tell Premiere Pro that you want to import all sequentially named images as one video file. That means that all of the images from the first one with a number going up in sequence will be included, so in this case, all 400 images will be imported as a single video file.
Click open and you will now have a single (in this case 16 second long) video file in your project. Each photo has been imported as an individual frame in the video so as it plays through at 24 or 25 frames per second (depending on your settings), it's going to play back at high speed creating a stunning time-lapse.
It's really not as hard as it sounds and it's a great way to create some truly amazing imagery.
To learn more about time-lapses and to make sure you never miss a Tutorial Tuesday, make sure to subscribe to our YouTube channel here.
Gear used to shoot the timelapses:
Share this post:
By Park Cameras on 02/07/2019

Trade in your old equipment
Fast and easy trade in service ensures your old gear is collected efficiently and you are paid quickly! It's very simple to trade in your unwanted photography gear. Just head over to our dedicated Sell or Part Exchange page, fill out the details, and we'll get back to you with an offer for your old gear. Take the cash, or put it towards the cost of your new gear. It's up to you! Find out more
sign up to the newsletter
Keep up to date on the latest photography news, events and offers. Sign up now