- Call us 01444 237070

-
- Back
- Used Cameras
- Used Accessories
- Used Lenses
- Back
- Used Canon Lenses
- Used Nikon Lenses
- Used Fujifilm Lenses
- Used Sony Lenses
- Used Micro 4/3rds Lenses
- Used Leica Lenses
- Used Panasonic Lenses
- Used Pentax Lenses
- Used Samyang Lenses
- Used Sigma Lenses
- Used Tamron Lenses
- Used Tokina Lenses
- Used Voigtlander Lenses
- Used Zeiss Lenses
- Used Hasselblad Lenses
- Used Video
- Used Film Equipment
- Used Stock Alert
- Used Blank Test
- Sell or Part Exchange
- Used Clearance
- Recently Added Used Equipment
- Park Picks
- Faulty
- Trade-In
- Blog
- New in
- Call us
- Contact us
- Stores
- Sign in
- Categories
- Tips & Inspiration
- Reviews
- News
- Events
- Features
- Buying Guides
- Competitions
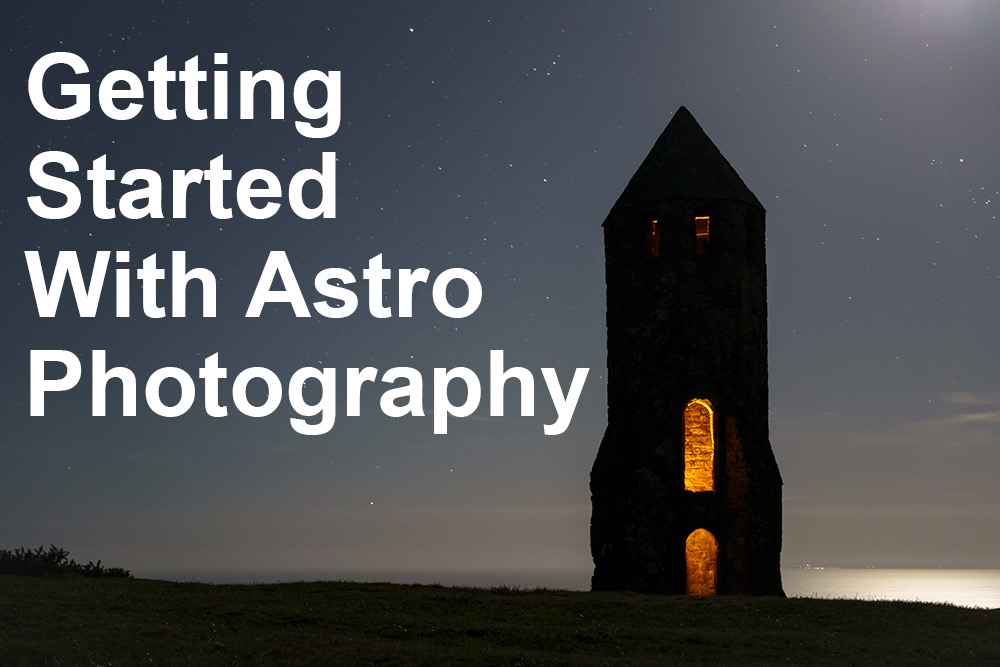
Getting Started With Astrophotography
Wide field astrophotography can be pretty demanding. Whilst shooting long exposures is, by definition, slow paced, you’re going to find yourself shooting at antisocial hours and cool temperatures. Sure, there’s things you can do to look after your physical welfare but how do you ensure that it’s all worthwhile - that you’re able to bring home a successful shot or two? These tips offer a solid starting point for anyone interested in getting started with astrophotography.
Preparing for Astro Photography
Beyond the obvious things like wrapping up warm (even in summer!) and taking a hot drink / sugary snacks there's other things that you can do to give you the best chance of success.
Make sure your camera battery is fully charged - I was getting 3+ hours of continuous shooting with the Sony A7Riv and could have used an external power-bank to extend this, if needed. If you're planning to shoot a stacked star trail it’s particularly important to make sure your memory card has plenty of free space. A sturdy tripod is a must, and remember your torch and cable release - unless your camera has a built in interval timer.
Shoot in full manual mode
Sure, the latest camera models have increasingly powerful features built in to support the use of shutter priority or aperture priority modes. But what none of these modes can determine is your vision for the shot: do you want a short exposure with pinpricks of starlight? Or do you need a longer duration to capture movement through the frame?
Whilst the camera will usually make a decent attempt to judge exposure levels, shooting in full manual gives you the control you need to get the result you want. Furthermore, if you’re shooting a sequence of images like a stacked star trail, controlling the exposure manually will give you consistency and repeatability at a time when a glancing blow from a momentary light source - car headlights, for example- could trick the camera’s metering and leave you with a frame that’s considerably under-exposed in its context.

Long or short exposure? When you shoot in full manual, the choice is yours.
Embrace higher ISO
Going back years, I’ve always started each composition with a test frame at higher ISO to get a feel for the local conditions, along with guiding me on what exposure values to use in my subsequent "proper" shot, even when the advent of live settings view started to render this approach obsolete.Latterly the low noise characteristics of my A7s- and, in fact, every A7 model I’ve tried- has meant that my high ISO "test" frames became usable shots. Discovering that I could select ISO 6400 and beyond was a revelation for productivity on location and to create a different feel between two shots in the same composition.
For instance, at any given aperture setting, ISO6400 for 8 seconds will give essentially the same exposure value as ISO400 for 120 seconds (2 minutes).The former will freeze stars as pinpricks of light; the latter will allow star trailing and blur any other movement within the frame.
Nail your focus
It’s generally true that using autofocus at night, your focal sharpness will either be spot on or miles off. On this basis, my first attempt to focus is usually achieved by illuminating my subject with a torch and using the AF.
Reviewing my test shot will confirm if this approach worked. On the few occasions it doesn’t, I’ll switch into manual focus at which point the combination of viewfinder magnification and focus peaking will help me focus accurately.Whether focussing manually or with AF, one big secret here is to position the torch a few metres to your side, from where it will add texture and contrast to the subject making it so much easier to lock focus.

Adding light to your foreground adds depth and provides a further opportunity for creativity
Add some light
Having just mentioned torchlight, adding gentle illumination to the foreground whilst the camera is exposing will further elevate your Astro photos. Particularly on moonless nights, the landscape can appear flat and lacking in definition or detail.This all changes with the brush of light from a torch- again from one side of the scene or the other, rather than from directly behind the camera. When you control the light source, you’re really in charge of highlighting the landscape as you want it to appear.
I’ve found the A7Riv’s remote control camera app to be of huge assistance when working out where I need to stand to add some light. Looking at a live viewfinder feed as I move around the foreground is the quickest way to ensure I’m out of frame. Once I’m in position, I can start the exposure without moving a step. Before this tech was available, I’d have to place my torch where I thought was the right position, walk back to the camera to start the shot and then return to my mark to add some light. It’s so much quicker and easier now!
Edit your RAW files (with a couple from Andrew Whyte to try)
When I first started shooting digital long exposures in 2007, there was a strong Straight Out Of Camera ethos amongst the tight-knit night photography community. A lot’s changed since then and whilst that’s still an admirable approach, the reality is that shooting SOOC disregards a lot of technical progress, like the A7Riv’s huge dynamic range. RAW files hold so much shadow and highlight detail that’s left untapped if you don’t fire up your image editor of choice.The other key adjustment I find myself making to almost every astro image is colour temperature, adjusting that slider to offset general light pollution and specific sources of light.
If you want to truly get to know what your camera’s capable of, there’s no better challenge than spending a few nights shooting SOOC. By the end of it you’ll know every menu option, be familiar with each nuance of white balance and your muscle memory will have you dialling in the right settings without even looking. Best of all, it’s likely you’ll be wearing a big, proud grin too - between yawns.
No matter how you choose to shoot, the first step is to venture outside.Dark sky areas like the South Downs National Park are great but if you adjust your expectations, you don’t have to stray far from home - I’ve shot star trails from beneath the street lamps of central London! However, the further away from light pollution you can get, the more the night sky will come to life in your images.
Andrew Whyte is a commercial photographer specialising in low-light scenes.
Share this post:
By Andrew Whyte on 09/03/2022

Trade in your old equipment
Fast and easy trade in service ensures your old gear is collected efficiently and you are paid quickly! It's very simple to trade in your unwanted photography gear. Just head over to our dedicated Sell or Part Exchange page, fill out the details, and we'll get back to you with an offer for your old gear. Take the cash, or put it towards the cost of your new gear. It's up to you! Find out more
sign up to the newsletter
Keep up to date on the latest photography news, events and offers. Sign up now