- Call us: 01444 237070
- Contact Us
- Stores
- Sign In / Register
-
- Back
- Used Cameras
- Used Accessories
- Used Lenses
- Used Video
- Used Film Equipment
- Used Stock Alert
- Used Blank Test
- Sell or Part Exchange
- Used Clearance
- Recently Added Used Equipment
- Park Picks
- All Used Black Friday Deals
- Faulty
- Trade-In
- Blog
- New in
- Call us
- Contact us
- Stores
- Sign in
- Categories
- Tips & Inspiration
- Reviews
- News
- Events
- Features
- Buying Guides
- Competitions
11 Essential Pieces of Advice for Amazing Blog Photography
Photography. Some of us love it, some of us hate it, but whichever way you swing, if you’re a blogger and you’re talking about fashion, products, culture, travel, you name it, photography is essential to telling your story.
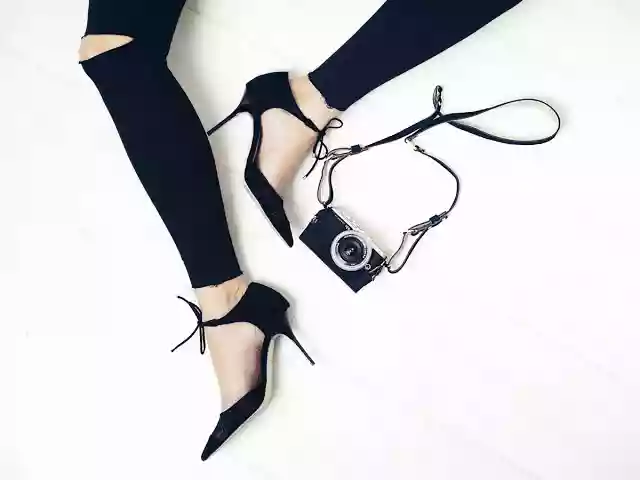
We’re here with some essential tips, tricks, and advice so you can take your photography to the next level and achieve blogging greatness.
It’s not all about the camera you’ve got
Honestly, you don’t need the best or latest camera in the world to take the best photos. You’ll be amazed at what you can do with a smartphone or a compact camera and a bit of ingenuity.
Although technology certainly helps, there are many facets to photography and to what makes a good image.
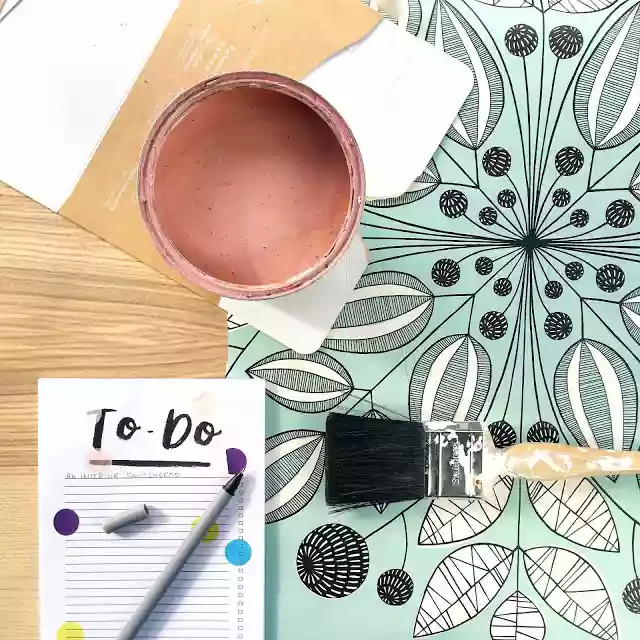
(Credit: Becky from https://www.bkyrouncefield.co.uk)
For example, the problem a lot of smartphones have is that they’re not designed for low light environments. So here’s a quick tip - if you’re trying to shoot a flat-lay or selfie at home (especially in Winter), you’re going to struggle with a poor photo. The quick solution to this is to introduce more light into your image – more light means brighter colours, stronger shadows, and higher quality images.
Upgrade your lighting setup
You don’t need to go all-out and spend £100k on a fully equipped photography studio, but a couple of small lights will make the world of difference to your blogging photography.
The biggest light source available to you just also happens to be completely free.
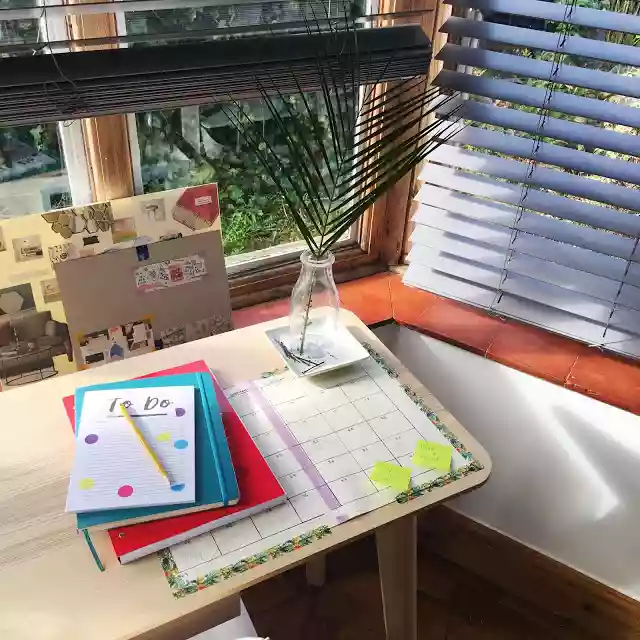
(Credit: Becky from https://www.bkyrouncefield.co.uk)
Make use of daylight by shooting near a large window. A good trick is to position the camera between you and the window you end up with essentially a massive soft-box, or you can sit side-on to the window and use curtains to create a ‘beam’ of light to go across you – this can make for incredible, and simple portraits.
Another tip is to use net curtains or a thin sheet across the window to diffuse the light if it’s too sunny.
Shoot in the Golden Hour
Known by photographers as The Golden Hour, the hours before and after sunset and sunrise are when the Sun is at its most golden and softest.
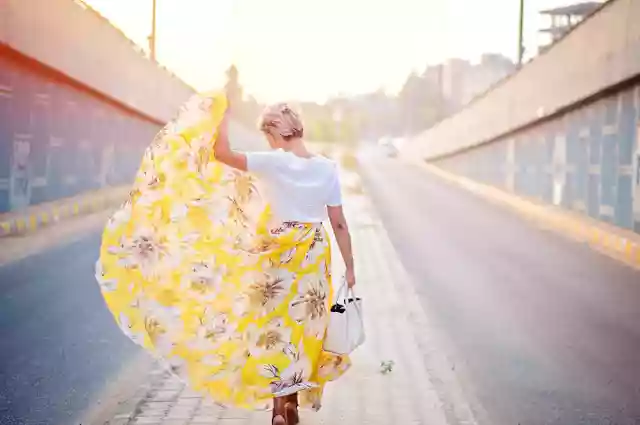
(Credit: Nilu from https://www.bighairloudmouth.com)
With the sun low across the sky, the Golden Hour is a great source of beautiful imagery, particularly on a beach or somewhere where you can see the sunset in the background of your photo.
Tip: Plan ahead and head out early so you’re all set up when the light changes.
Think About Your Background
Backgrounds can either be completely distracting, or absolutely make the photo.
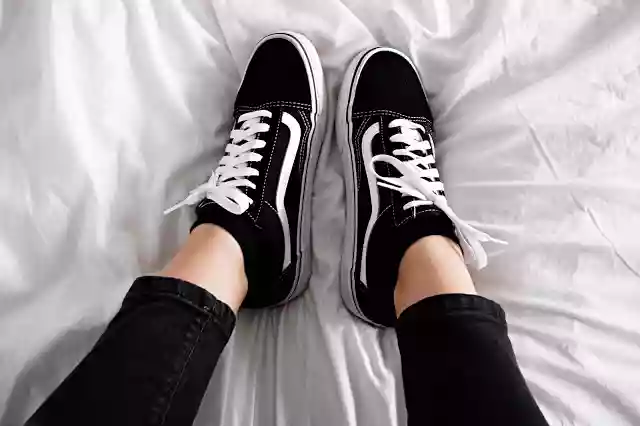
(Credit: Laura from https://styleandsushi.blogspot.co.uk)
If you want your background to be part of your image – a statement – then make it interesting. If you’re outside, a good tip is to look for distressed brick walls, graffiti walls, metal shutters, anything with texture and or patterns that looks good.
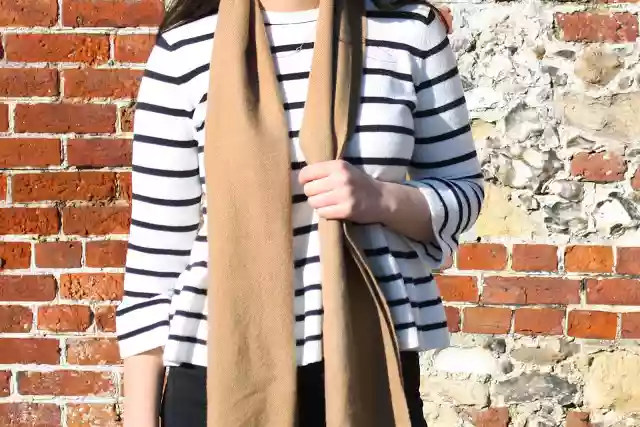
(Credit: Georgette from https://www.foreverstyling.co.uk)
However, if you want the subject (you or your model) to be the absolute, undistracted focus of your photo, then look for simple backgrounds. Plain white, grey, or black walls look great, but so do no background at all – using a shallow depth of field* and having your subject stand in a large open space can focus the attention on them rather than distracting scenery.
*Will explain this in greater detail later.
Scout Your Location
No matter what you’re photographing, if you’re shooting outside it’s a great idea to scout out your location beforehand.
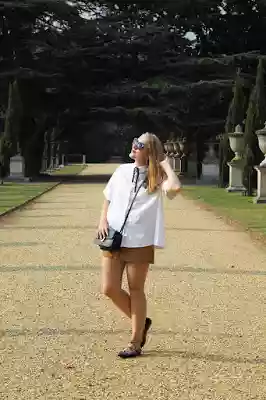
(Credit: Martha from https://www.marthajaneedwards.com)
My advice is to get to know your local area, find backdrops and places with nice light that you can shoot in – keep a list of locations and what you think they would be useful for – this can be a great reference guide when you need to find somewhere.
Scouting your location before shooting means you can find out what time of day the light is best there, when its least busy, or if there’s anything else you should avoid, or you can include.
Look for Leading Lines
On the topic of photographing outdoors, it’s very easy to look at a location with the naked eye and thin it looks great, only for the photo to turn out a bit rubbish.
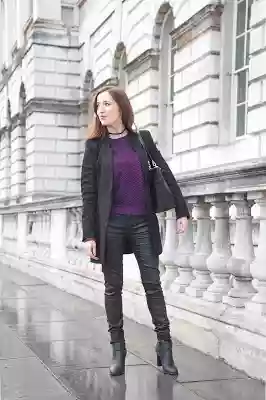
(Credit: BecBoop - https://becboop.com)
A great way to add a dynamic element to your photos is to use ‘leading lines’. These are simply lines that run through your image and guide the viewers eye across it. These lines can be anything – powerlines, roads, curbs, pavements, rivers, hills – anything that adds an interesting element to your photo.
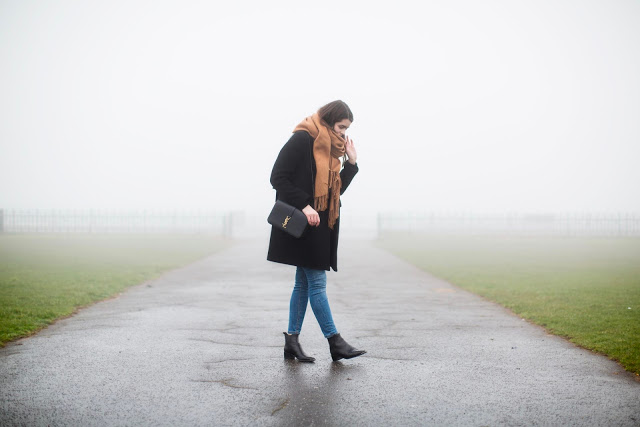
(Credit: Anna from https://www.theannaedit.com)
Leading lines can also be used to point the viewers eye towards your main subject – by having the lines all converging on or pointing to your subject matter.
Play With Light & Contrast
If light is the Queen of photography, contrast is King.
Use light to your advantage – think about playing with silhouettes, bright light, diffused light, dark light with a spotlight on your subject, coloured lights, neon lights.
Look at every source of light you come across and think about how you can incorporate it into an image for your blog. Then, next time you see it, use it.
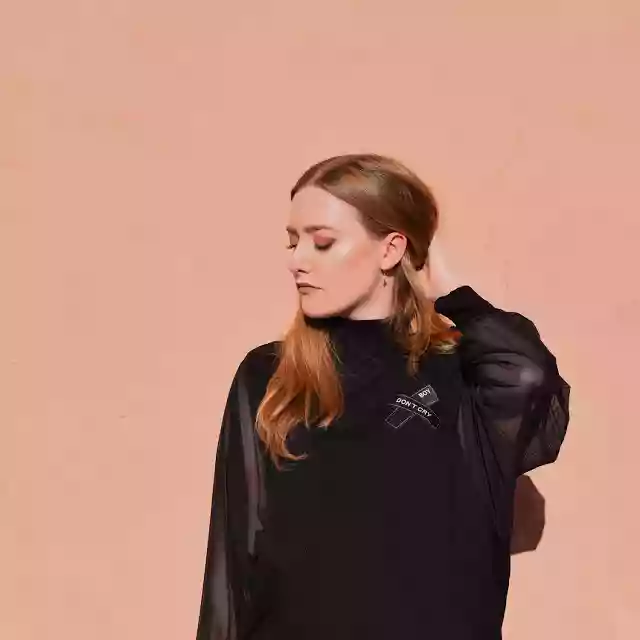
(Credit: Cara from https://www.cara-scott.com)
Contrast is a great photography tool to play with. If you’re photographing at home, try turning all your lights off and just using the window light – get up close to the window with your camera between you and the window - you’ll show up more clearly against the darkness of your room.
If you’re heading out to photograph your outfit on the streets, a good tip is to look for colours that are on the opposite side of the colour wheel to your outfit, this will make your outfit stand out against the background.
Stop Using Instagram to Edit Your Images
Instagram is great. We love it, we do. But sometimes the filters absolutely butcher our images and throttle our creativity.

(Credit: Jay McLaughlin - https://www.jaymclaughlin.co.uk)
If you really want to get the best out of your photos, especially if you’re using a digital SLR camera and shooting in RAW, my advice is to start using a software program such as Adobe Photoshop, or Adobe Lightroom, or any other highly-regarded piece of photo-editing software as it will let you to finely adjust and edit your blog photos to create some truly unique images.
By allowing you to edit the exposure, contrast, shadows, highlights, vibrancy, and infinite other options, programs like Adobe Photoshop are used by professional photographers for a very good reason.
Get a Sturdy Tripod, or Two
Tripods are one of the key ingredients in any photographers’ kit bag.
When photographing for blogs, a lot of your photography and videos will be shot at home, but a lot will also be shot out and about.

(Credit: Becky from https://www.bkyrouncefield.co.uk)
Unless you’ve got a huge camera and lens, you can get away with many of the most compact tripods. For example, a Manfrotto PIXI Evo or Joby Gorillapod is perfect for setting your camera up on somewhere to shoot video or take photos.
However, if you’re taking shots in the street, especially of yourself, you’ll want to invest in a full-size tripod. Carbon fibre tripods are the lightest and easiest to carry (such as the Manfrotto BeFree), and aluminium tripods are a bit more cost effect if you’re not so worried about weight.
Invest in a Decent Camera
I know I implied earlier that you don’t need anything more than a smartphone for decent blog photography, and while that is true for anyone just starting out, or when it’s not practical to carry a camera with you, for most of us it’s essential to invest in a high-quality camera to upgrade your photography.
Let me breakdown the different types of camera:
Compact cameras – small, lightweight, pocket sized. Sensors barely larger than a smartphone in some cases – cannot change the lens – great for holiday snaps but limits your creativity.
Digital SLR (DSLR) cameras – professional level cameras with interchangeable lenses. Range from basic ones to get you started with menus to guide you through your shot, to larger, faster, professional level DSLRs used by sports, press, wedding photographers and others.
Mirrorless cameras – Also sometimes referred to as CSC or Compact System Cameras. These are compact cameras that also use interchangeable lenses and feature the power and quality of Digital SLR cameras in a compact body that’s only slightly larger than the compact cameras they’re named after.
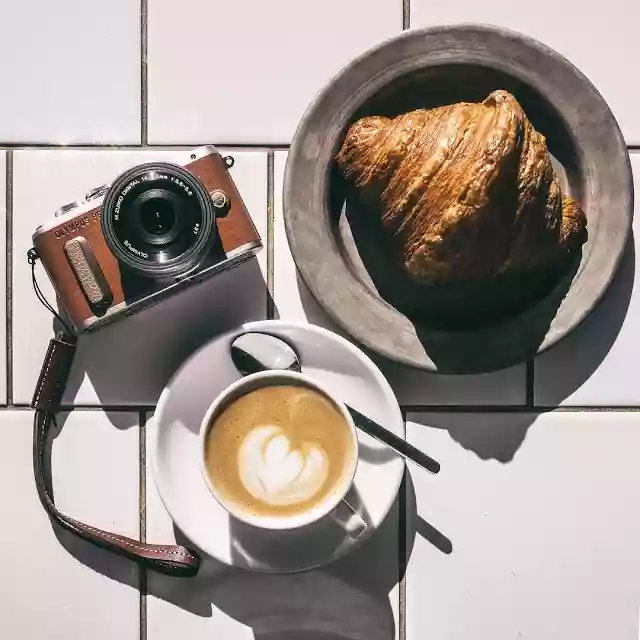
(Credit: Jay McLaughlin - https://www.jaymclaughlin.co.uk)
If you’re just getting started with fashion blog photography, I’d suggest investing in an entry-level digital SLR, this gives you the creative freedom to swap and try new lenses to get different perspectives and try new things.
A digital SLR camera will give you high-quality images that will be much higher quality than your smartphone or compact camera and means you can try new image editing techniques.
However, if you’ve already got a DSLR or you’re looking for something smaller and lighter to take out with you, while still getting the image quality of an SLR and able to use interchangeable lenses, I’d recommend investing in a mirrorless camera.
And remember – always shoot in RAW.
Invest in new lenses
This is starting to sound awfully expensive.
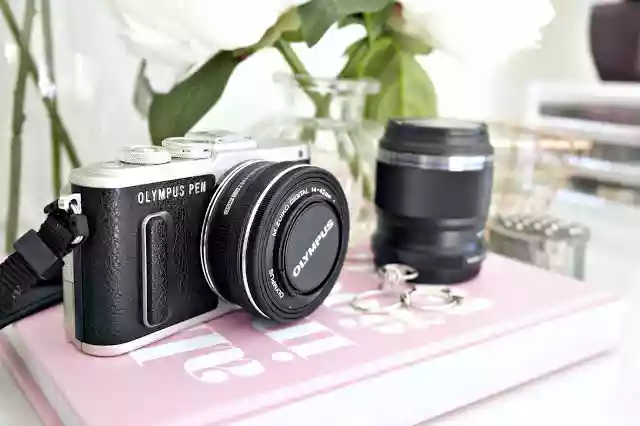
(Credit: Leah – https://www.devotedtopink.com)
If you’ve just bought a digital SLR or you’re thinking of buying one (or a mirrorless camera), one of the best things you can do to transform your photography is to get a new lens.
I mentioned earlier about ‘depth of field’, by upgrading to a better lens, you can utilise a shallower depth of field in your images to create that signature ‘background blur’ or ‘bokeh’.

(Credit: Leah – https://www.devotedtopink.com)
What is depth of field? Depth of Field (or DoF) is a way of explaining how much of an image is in focus, measured in f/stops. When light enters a lens, it goes through the aperture ring – this is a moveable ring that opens and closes to let less or more light into the camera. The smaller the opening, the higher the f/stop (i.e. f/22, f/32) and the less light that enters the image. The wider the aperture, the lower the f/stop (i.e. f/1.8, f/2.8) and the more light enters the camera.
The lower the f/stop the shallower the depth of field. A lens that can go down to f/2.8 or f/1.8 will give you a beautifully blurred background.
Share this post:
By Park Cameras on 22/02/2018
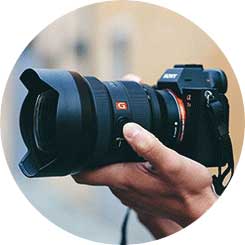
Trade in your old equipment
Fast and easy trade in service ensures your old gear is collected efficiently and you are paid quickly! It's very simple to trade in your unwanted photography gear. Just head over to our dedicated Sell or Part Exchange page, fill out the details, and we'll get back to you with an offer for your old gear. Take the cash, or put it towards the cost of your new gear. It's up to you! Find out more
sign up to the newsletter
Keep up to date on the latest photography news, events and offers. Sign up now