- Call us: 01444 237070
- Contact Us
- Stores
- Sign In / Register
-
- Back
- Used Cameras
- Used Lenses
- Used Video
- Used Film Equipment
- Used Stock Alert
- Used Accessories
- Recently Added Used Equipment
- Used Clearance
- Faulty
- Park Picks
- Sell or Part Exchange
- Trade-In
- Blog
- New in
- Call us
- Contact us
- Stores
- Sign in
- Categories
- Tips & Inspiration
- Reviews
- News
- Events
- Features
- Buying Guides
- Competitions
How to take the perfect Pancake photo
Pancake day is fast approaching, so don’t get caught out in the last minute panic when your Instagram feed is full of everyone’s #pancakeday creations. After all if you’re reading this on the day it’s published, you’re already a step ahead.
Here’s my how to, on getting the best out of your pancake day posts.
1. Preparation
Lets start with how to prepare to shoot your content.
There are two areas to think about when shooting food.
Your set up, what angles you’re going to shoot at, the light, what background you’re going to use and the props within the shot.
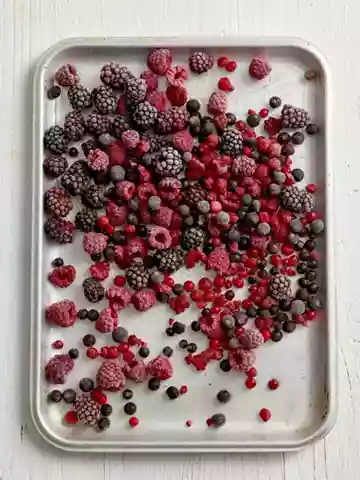
The food itself. On commercial jobs it takes an army of people to get our shot and we work closely with food stylist. If you have a friend who’s a great cook, now is the time to collaborate! If not, preparation really is key so that you’re able to get your shot.
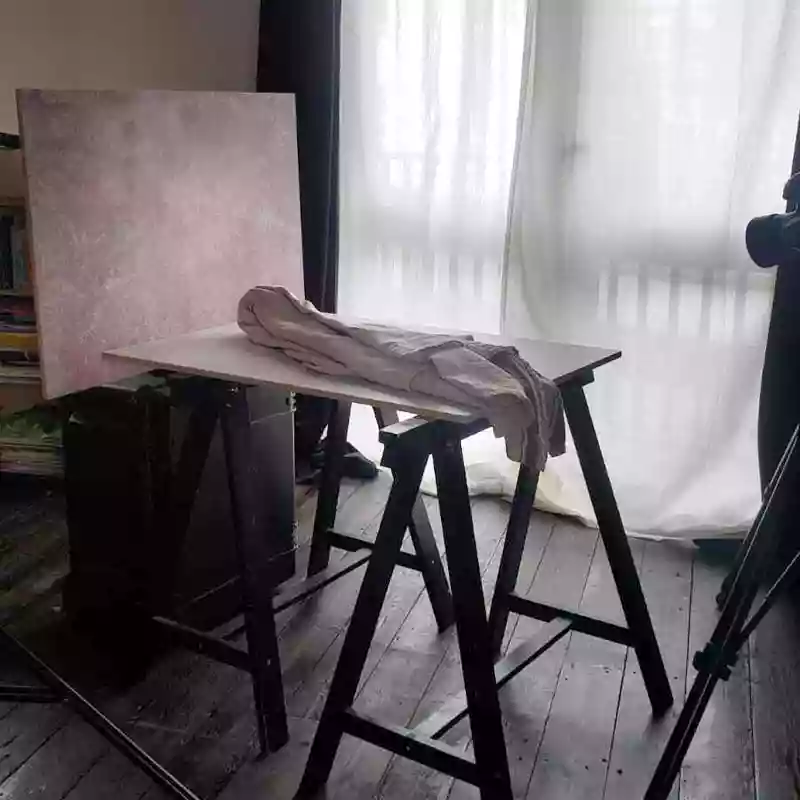
Start by setting your camera up, choosing how you want your shot to look before food is even in the frame. I like to fix my camera on to a tripod so that I can easily make small adjustment to the placement of plates/ props within my frame.
Once happy with your set up, it’s time to get cooking. Don’t worry about keeping all your pancakes warm while cooking them, the colder they are, the more likely it is that they’ll actually hold their shape when stacked!
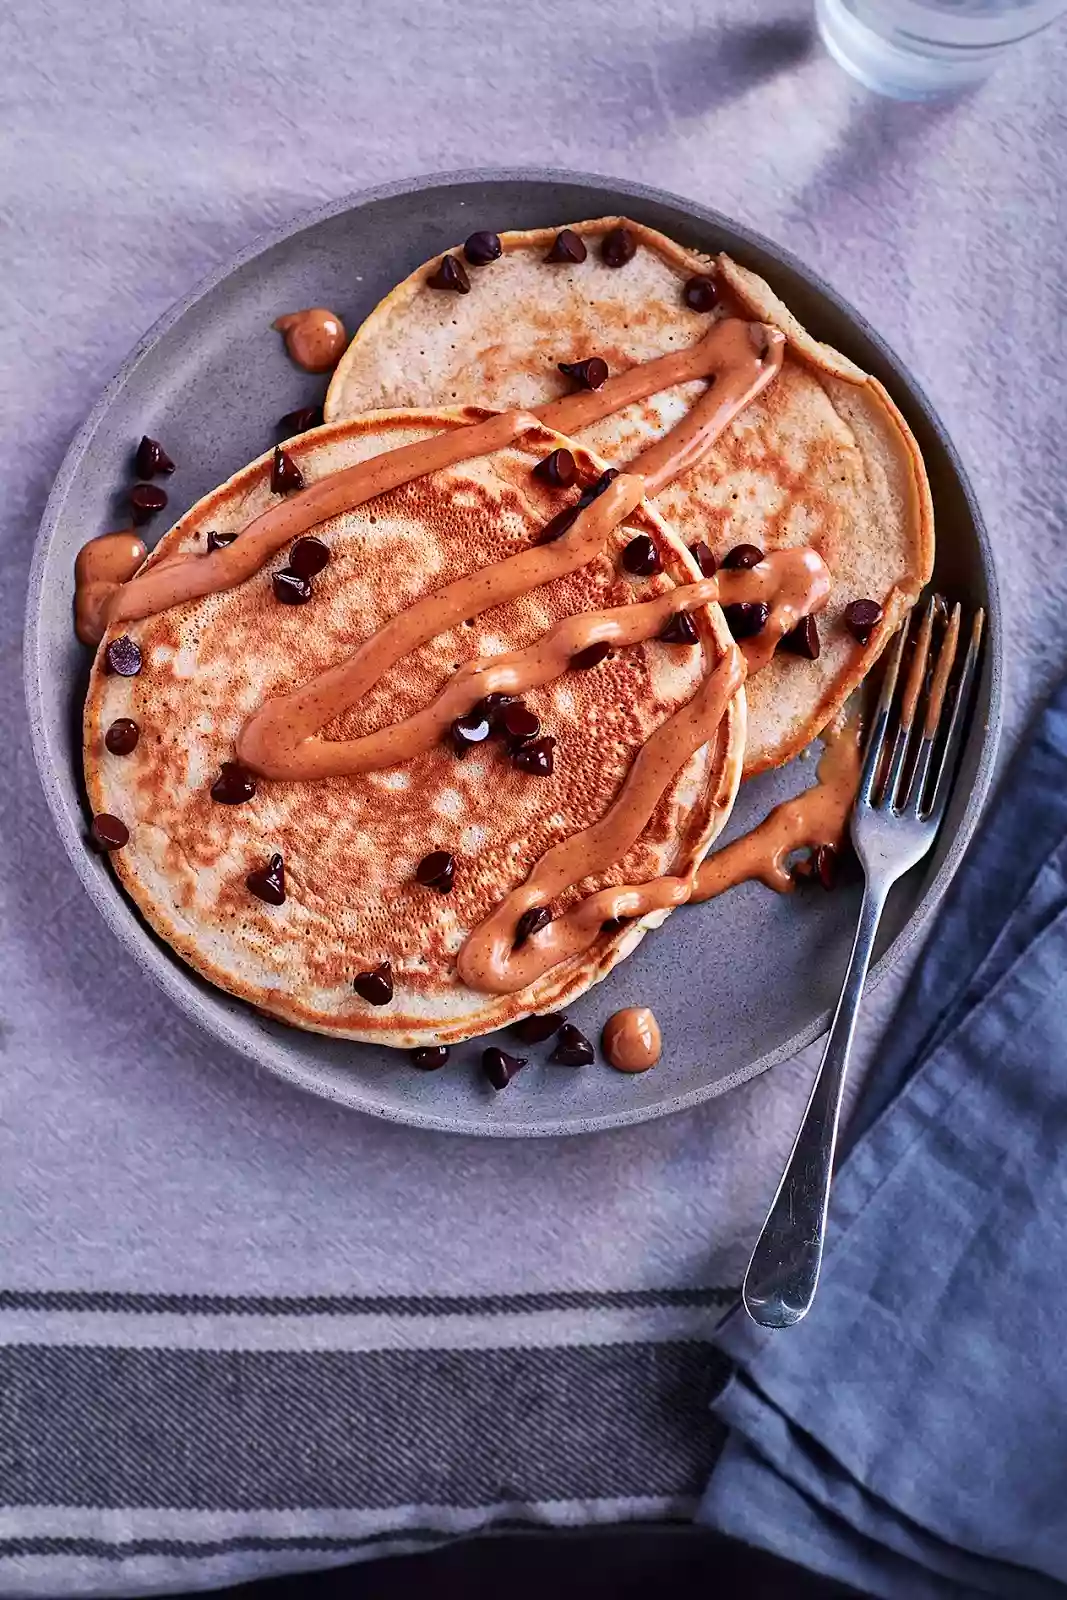
Top Tip: pre-cut circular rounds of cardboard, if you’re after the perfect looking stack of pancakes place cardboard between every few pancakes to really add support to your stack.
It can also be useful to have colder food when trying to add toppings. Maple syrup/icing sugar is much more likely to sit on your food if cold, rather than seep in when it’s warm which means it won’t show up very well in your final shot.
2. Lets talk equipment
You don't need a studio set-up to get the best food photos, work with what you've got.
Pancake day falls in February which is a great month for shooting daylight food photos. The environment isn’t too challenging as the sun isn’t shining through the windows, the softer sky with a few clouds will make for a softly lit scene.
Find a window (preferably that points north so that the light doesn’t move, but this isn’t essential) and use a white card to bounce some light back into the scene if it feels dark or the shadows are long.
Remember to switch off any lights in the house so that you’re not mixing colour temperatures.
If the weather does turn, simply use trace or some diffusion to soften off the daylight. All this applies if shooting with your mobile as well as your camera.
My general rule of thumb when shooting food is that for overhead shots I use a 50mm.
Anything ¾ angled an 85mm, and if I’m really wanting to focus in on the food and knock the background out I’ll shoot on a 100mm.
3. Telling a story
It's important to get the most content possible out of everything you cook.
I like to shoot step by step. Think about everything that’s going into your shot. Try shooting the process along the way.
I like to start with an ingredients shot, perhaps everything mixed in a bowl, and then the final shot. This helps to set the mood and convey your process.
4. Add some movement
Once you’ve got your perfect shot of your pancakes, try experimenting with slowing down your shutter speed to capture some movement in your pictures.
I always like to do this after I’ve already got a shot that I’m happy with all on it’s own, as once you start adding toppings, you can’t go back and it’s easy to over do it.
Sprinkle sugar, drizzle syrup or chocolate and make your shot stand out from everyone else’s.
You’ll need a tripod to do this as handheld will be too shaky.
If no ones around to help out with drizzling, put your camera on timer and have a go yourself.
If your camera comes with a mirror up feature, now’s a good time to use it. The movement of the mirror can mean movement of the camera if your tripod isn’t particularly secure, this will result in a blurry picture all round, rather than just the sugar falling.
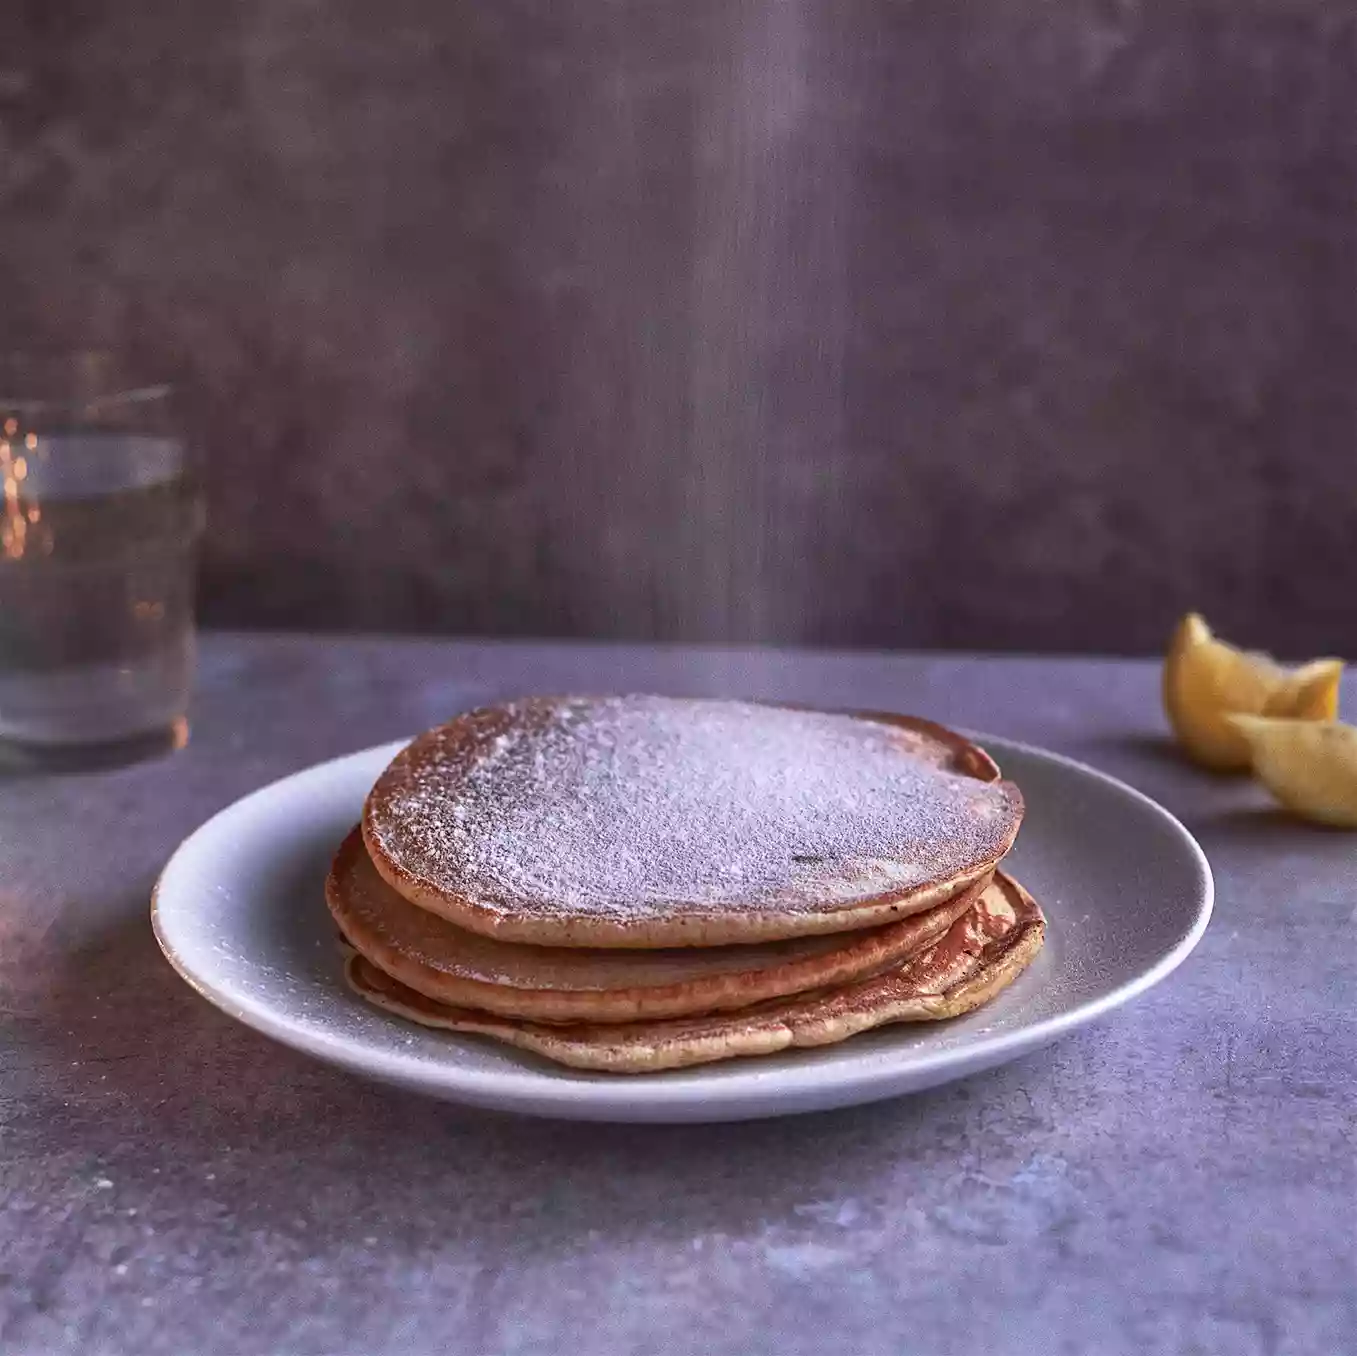
All of the overhead shots featuring in this blog post were taken using a 50mm f/1.4, as this gives you the flexibility to change the composition of the shot with ease and to work around your tripod. The ¾ images were shot on an 85mm f/1.4.
Frankie mainly uses prime lenses for her work, but often shoots on a 24-70mm when needing to move between the two.
The shots within this blog post were all taken mounted on a tripod at around 1/15th sec at f/4 or 1/30th sec at f/8 using daylight only. This of course will vary dependent on light source.
Equipment used: Nikon D850 Body and Nikon AF-S 85mm f/1.8G lens.
Share this post:
By Park Cameras on 24/02/2020

Trade in your old equipment
Fast and easy trade in service ensures your old gear is collected efficiently and you are paid quickly! It's very simple to trade in your unwanted photography gear. Just head over to our dedicated Sell or Part Exchange page, fill out the details, and we'll get back to you with an offer for your old gear. Take the cash, or put it towards the cost of your new gear. It's up to you! Find out more
sign up to the newsletter
Keep up to date on the latest photography news, events and offers. Sign up now