- Call us: 01444 237070
- Contact Us
- Stores
- Sign In / Register
-
- Back
- Used Cameras
- Used Lenses
- Used Video
- Used Film Equipment
- Used Stock Alert
- Used Accessories
- Recently Added Used Equipment
- Used Clearance
- Faulty
- Park Picks
- Sell or Part Exchange
- Trade-In
- Blog
- New in
- Call us
- Contact us
- Stores
- Sign in
- Categories
- Tips & Inspiration
- Reviews
- News
- Events
- Features
- Buying Guides
- Competitions
How to Get Started with Fujifilm Film Simulation
As a manufacturer, Fujifilm is not only focused on bringing cutting-edge technology and trailblazing colour science to all kinds of users – it also pioneers in embellishing the practice of photography. While other digital camera brands direct their focus towards a technological arms race, Fuji is renowned for its focus on perfecting the joy of the photographic experience; something that they feel can be lost in the digital era.
Aside from Instax Cameras and Printers, Fuji’s most popular tool to bring back the classic feel of the age of film is, without a doubt, their Film Simulation technology. Lauded by enthusiasts, its set of presets takes a deep dive into its legacy as a manufacturer of camera film, and especially appeals to a generation of young photographers on social media enamoured by the vintage photographs they produce. Not only this, but the mass proliferation of user-generated ‘recipes’ for their JPEGs has created a vibrant community, making this system one of the most talked about tools for photographers today. In this article, we’ll explore the exciting world of Fujifilm Film Simulation tools, and discuss how you can use them for instantly beautiful results.
Fujifilm RAW vs JPEG
The majority of professionals swear by their camera’s raw image format. These image files are the pure, unprocessed results taken directly from the camera’s sensor, which is important as this means all the data in the photo is preserved, giving photographers maximum image quality and, more importantly, control over their photos in post-production. Whilst this works for users who need the full power of their camera’s output, RAW files may not be the best option for some.
As raw files are unprocessed, they’re incredibly large compared to other image formats, and can quickly take up storage on a smaller memory card. Furthermore, they’re incompatible – if you’re trying to share your raw files without converting them to a different format first, you’re out of luck. This becomes especially frustrating when you’re converting hundreds of photos at a time, as exporting raw photos as JPEGs or PNGs consumes an awful lot of power.
This may lead others to look for a more convenient solution – skipping the raw file altogether and using straight-out-of-camera (SOOC) JPEGs. For those who don’t need the benefits that shooting RAW brings, this can go a long way in streamlining their photography experience as it’s quicker, and the files are compressed to remove the redundant data found in a RAW file.
Fujifilm shooters are strong advocates for straight-out-of-camera JPEGs – with the rise of their X Series, their focus on streamlining photography has been reflected in their dedicated JPEG settings. SOOC JPEGs are used in this case to simulate film, as the snappy X-Processor in each X Series camera immediately applies adjustments to your photo before it’s even stored in your camera’s memory card. While processing RAW photos is a time-consuming process, the vast range of tweaks and creative settings available for Fujifilm JPEGs help users achieve that high-quality look instantly – those fast untampered results are one of many factors that make Fujifilm unique.
What are Fujifilm recipes?
Fujifilm film recipes are one of the biggest talking points among those looking to get started in photography. They’re born from the desire for a nostalgic, artistic look straight out of the camera without the need for hours spent editing.
At the most basic level, Fujifilm recipes are programmed presets that fine-tune the appearance of your JPEGs. While some settings that can be controlled are commonplace, giving users the power to make standard adjustments like changing sharpness and clarity; Fuji cameras allow you to manually control dynamic range, colour effects, and even add grain effects. While this may not be for everyone, allowing users this much artistic control with such ease is exceptional.
Fujifilm cameras come with a set of standard film presets. Most cameras come with seven built-in, however, this could vary, so do check with your model to see how many recipes it will store. Going above and beyond Fuji’s options, the photography community has built upon this by publishing thousands of custom ‘recipes’ that produce stunning images, whether they’re replicating classic film profiles like Kodak Portra 400, or introducing their own creative looks into the scene.
Which Fujifilm camera has Film Simulation?
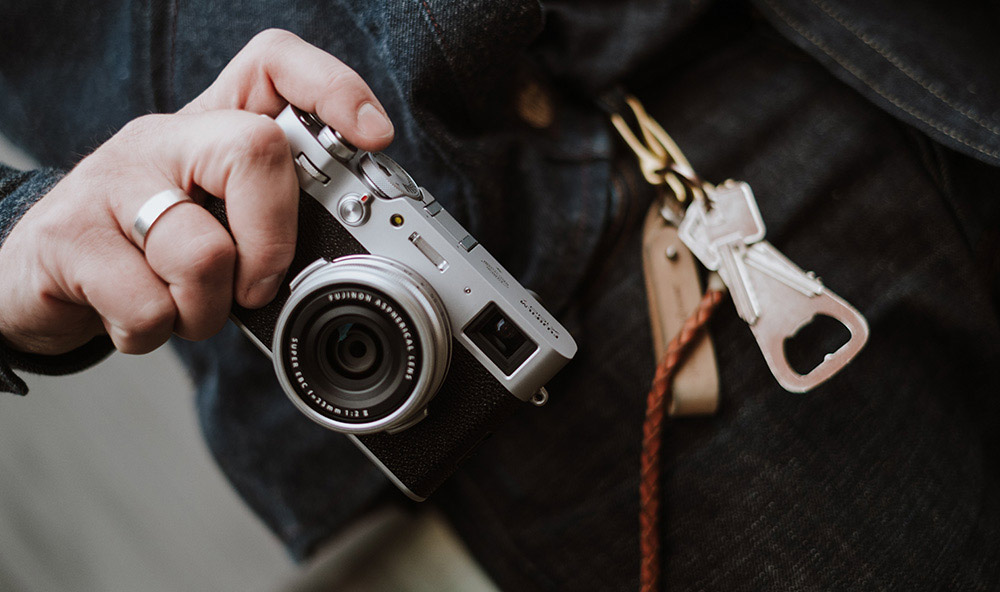
The Fujifilm X Series is recognisable for its retro designs, wonderful user experience, and the personality that each of its cameras possesses – with Film Simulation, this is no exception. It’s available on all cameras in the series, from the professional Fujifilm X-H2 with 8K video and a 40MP sensor, to all the hugely popular compact cameras in the X100 and X-Pro series that are perfect for travel, street photography, and more.
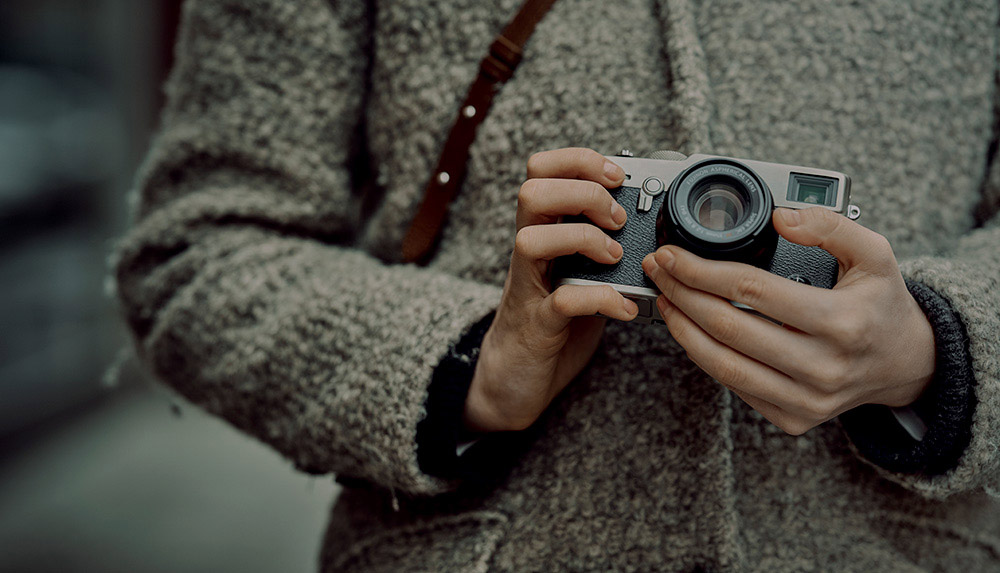
The experience of shooting film is best simulated with Fuji’s smaller options. Models like the X100V and X-Pro3 are one of the main reasons Fujifilm Film Simulation is so popular; seeing the beautiful images these cameras produce whilst being able to fit in a pocket brings so much appeal to those looking to indulge in spontaneous, everyday photography. If there ever was a digital film camera, it would be almost identical to the X-Pro3 – the design is parallel to that of a classic rangefinder style cameras, and also has a hidden LCD screen, allowing you to shoot without distractions and be immersed in your photography. With larger pro cameras, it’s much harder to achieve that natural feeling that’s achievable with a compact camera, and can never be matched with a smartphone. This is where the power of Film Simulation makes itself known – getting that creative look is so simple you hardly have to think about it, even whilst on the go.
Default Fujifilm Film Simulation Modes
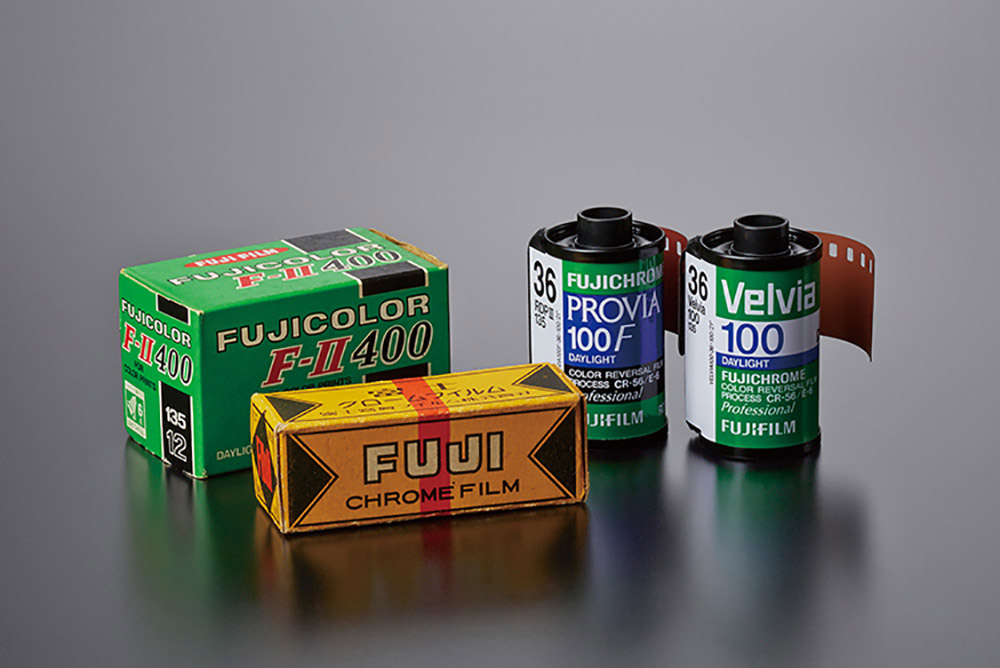
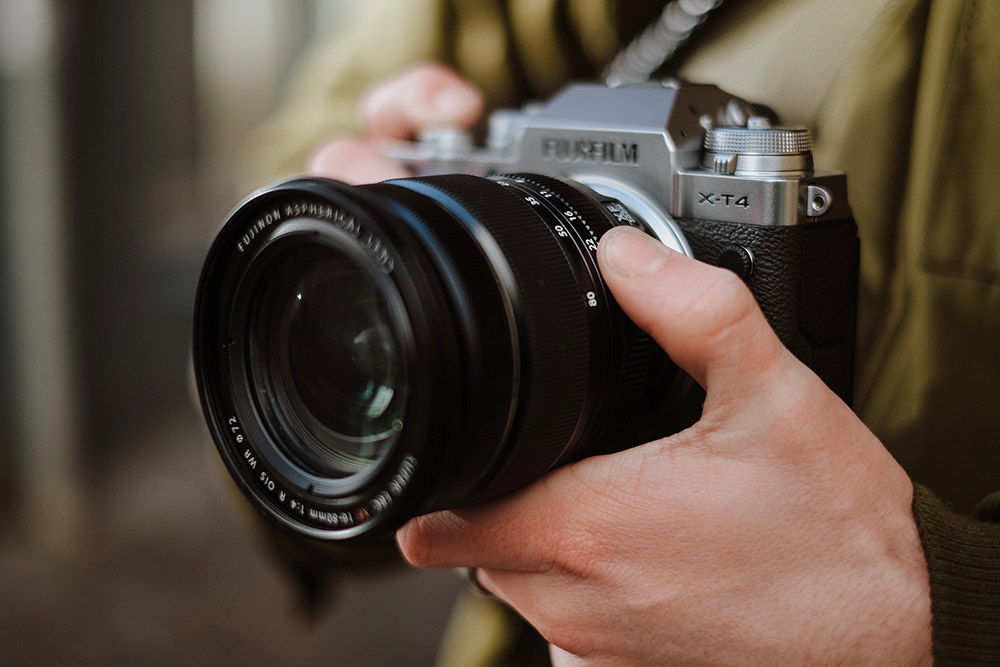
Fujifilm’s standard recipes are call-backs to their days as a film photography powerhouse. They’re known for going great to lengths to preserve this legacy, which is evident in the stylish retro designs that the X Series is notorious for. For many photographers, it helps to answer the question of should you still buy the Fuji X-T3 Or X-T4, as these older cameras still offer beautiful simulation modes, keeping them relevant in the current market.
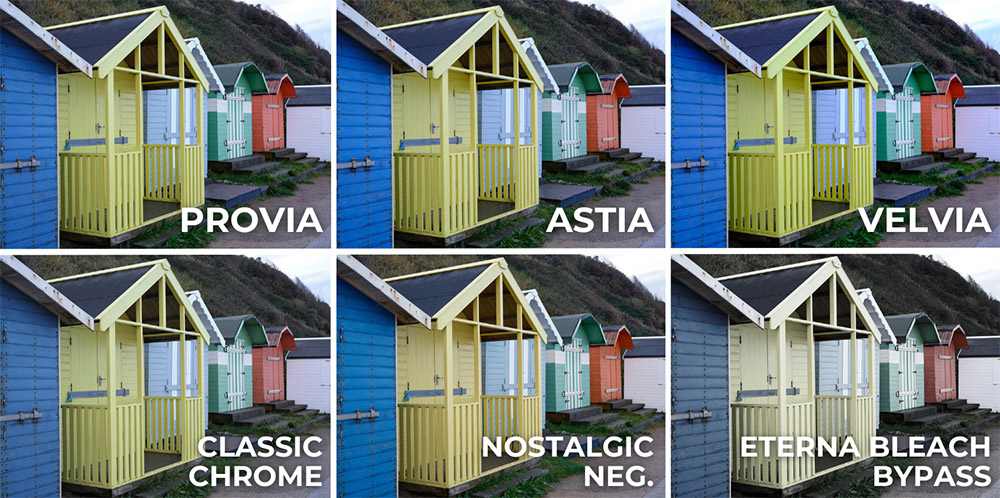
The default setting for Film Simulation is PROVIA –for a long time, Fujifilm PROVIA has been the most popular Fujifilm 35mm film available, and is suitable for almost anything. The other two classic modes are Velvia and ASTIA, which offer a vivid punch and softer tones respectively. On cameras like the X-S20, there’s an Auto Film Simulation that chooses between these three automatically depending on your scene, which helps to power the ease of use even further.
Other modes are included too – Classic Chrome’s subtle desaturation and contrasting shadows create a dramatic retro look. Options like Nostalgic Neg. aim for that old-school aesthetic that most are looking for when simulating film, with a beautiful warm tint on the highlights. Lastly, the Eterna Bleach Bypass mode brings a muted effect that’s cinematic enough for both photo and video.

Custom Fujifilm Recipes
The most interesting thing about the growing discussion around Fujifilm film recipes is the fact that they’re completely organic, meaning they’re a completely user-created invention. As its cameras’ ability to produce straight-out-of-camera JPEGs with a vast range of different creative applications became more widely appreciated, photographers quickly began sharing their own settings and, almost out of nothing, Fujifilm film recipes were now a standard term. In fact, the first ‘recipe’ was published in 2017 by independent blogger Ritchie Roesch, who’s been running the popular Fuji X Weekly blog since then. For those looking for a wider range of presets, film.recipes is a good aggregator of all the community’s best creations.
How to Add Film Simulation Recipes to your Fujifilm Camera
Adding Fujifilm recipes to your camera is simple. After all, there are hundreds of much-loved presets available in the community, and countless settings to tweak to your liking, so all that’s left for you to do is to follow these steps:
- Enter settings and navigate to the Image Quality (IQ) section.
- Select EDIT/SAVE CUSTOM SETTING in the Image Quality menu.
- Highlight the preset you’d like to edit and press OK.
- From here, select each setting you want to alter, and change it to your liking. Here, you can either plug in a specific recipe you’ve found or have a play around for yourself and see what you like.
- Once you’re done, save changes and exit.
Fuji Film Simulation recipes are very easy to find online. The long-running Fuji X Weekly blog has published over 100 of its own recipes here that are compatible with any Fujifilm camera, from the first X-Trans sensor to the X-Trans V. They also have an app available for readily accessing recipes in an intuitive interface.
At Park Cameras, we’re super passionate about Fuji’s exciting lineup and all the great tools they have to offer photographers. If you’re looking for the best Fujifilm camera to pair with any Film Simulation recipe, then you’re in the perfect place - as an Authorised Fujifilm Dealer, we’re dedicated to helping you shop their wonderful range of Fuji cameras, lenses, and more.
Share this post:
By Thom Pyle on 04/01/2024

Trade in your old equipment
Fast and easy trade in service ensures your old gear is collected efficiently and you are paid quickly! It's very simple to trade in your unwanted photography gear. Just head over to our dedicated Sell or Part Exchange page, fill out the details, and we'll get back to you with an offer for your old gear. Take the cash, or put it towards the cost of your new gear. It's up to you! Find out more
sign up to the newsletter
Keep up to date on the latest photography news, events and offers. Sign up now